
Don’t let the title of this post scare you away if you don’t have a nursery to decorate! Although I’m going to share a tutorial specifically for this cute elephant nursery string art, this technique can be adapted to create any type of string art you choose.
You can modify the dimensions and use any image. When it came time to create decor for the baby’s room, this was probably one of my favorite projects. I chose an elephant because we had a few other elephant accents in the room, plus I just thought it was cute.
(You can see our nursery reveal here, by the way.)
I used the same general technique for this project as I did for my tree string art and this snowflake string art, but I’ll walk you through the full tutorial.

PROJECT SUPPLY LIST:
Disclosure: Affiliate links included. As an Amazon Associate I earn from qualifying purchases.
- 1×4 cut into 6 segments at 36″ each.
- Saw (I used my RYOBI miter saw) or you can have your wood cut when you purchase it.
- Wooden yard sticks or thin scrap wood
- Brad Nailer and 1/2″ brad nails
- Wood glue

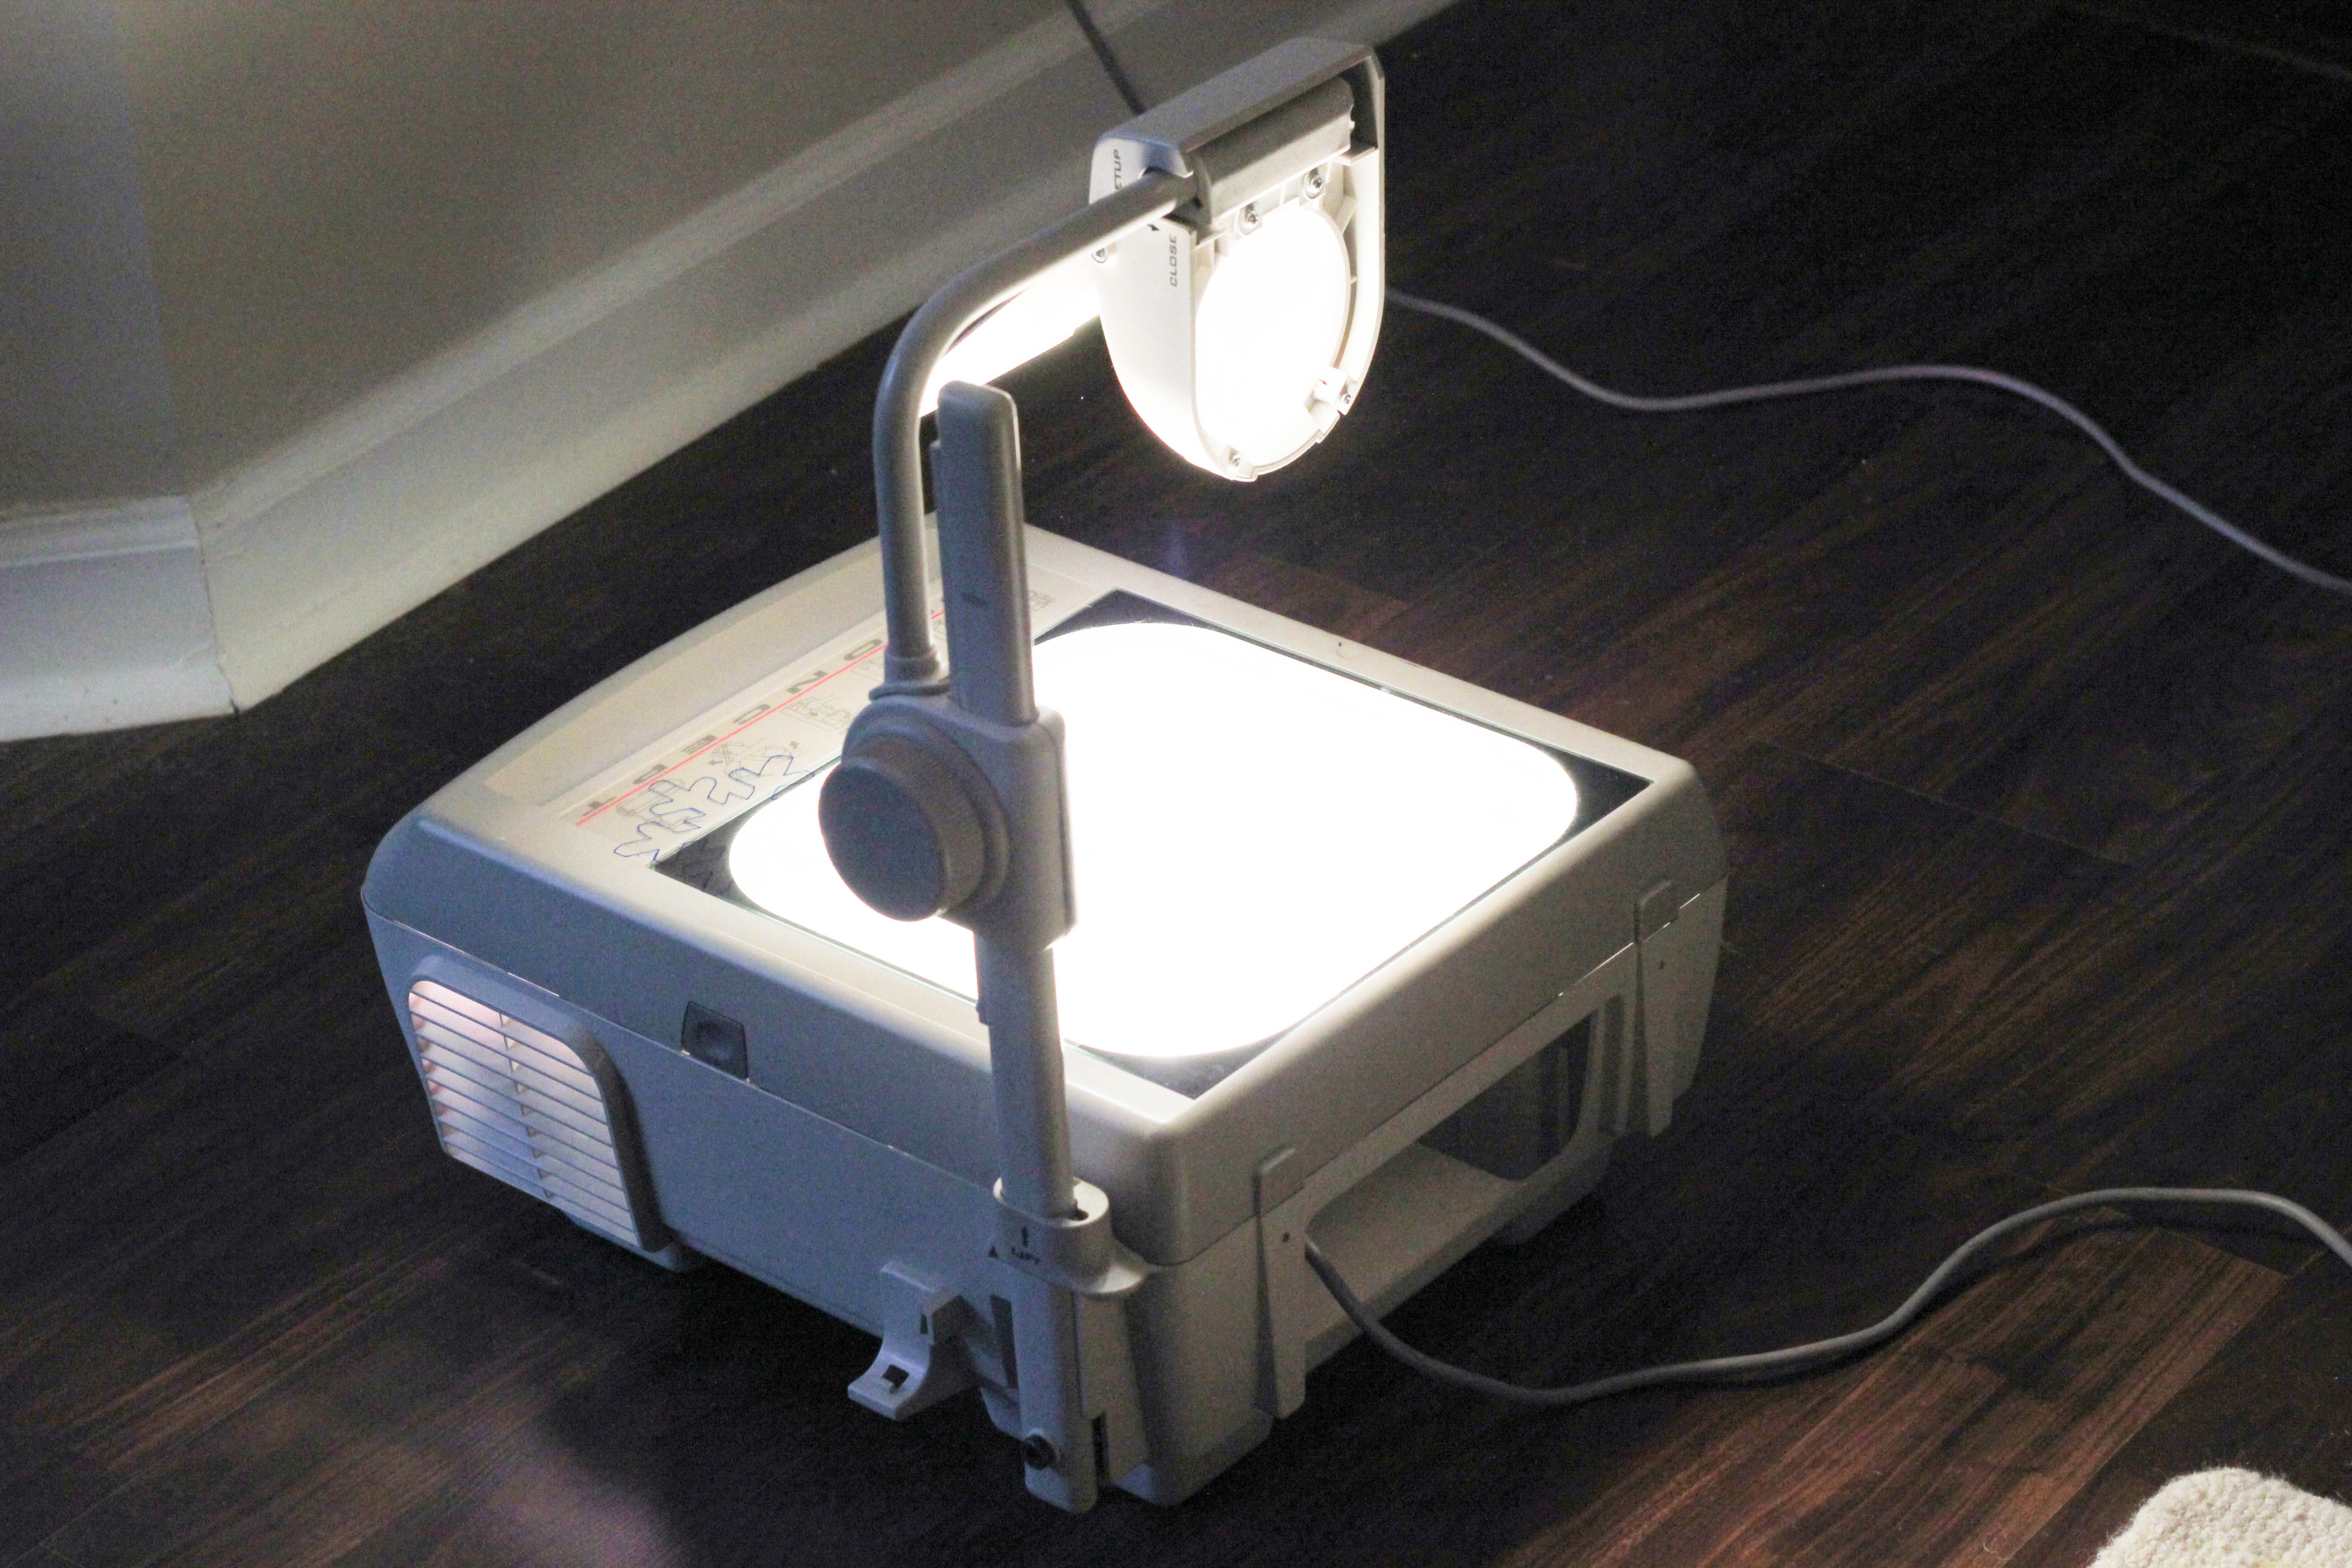
- Overhead projector and Transparency film (or large printed template)
- Sharpie marker
- Pencil
- Hammer
- Brass escutcheon pins
- Gray yarn
- Sander (or sanding block/sandpaper)
- Stain of your choice (We used Minwax Pre-Stain Conditioner followed by Minwax Special Walnut Stain.)
- D-Rings
Step 1
Cut your 1×4 into 6 segments, each at 36″ long. I used my miter saw for this, but you can have your wood cut when you purchase it at the Home Depot, or just use a regular hand saw.
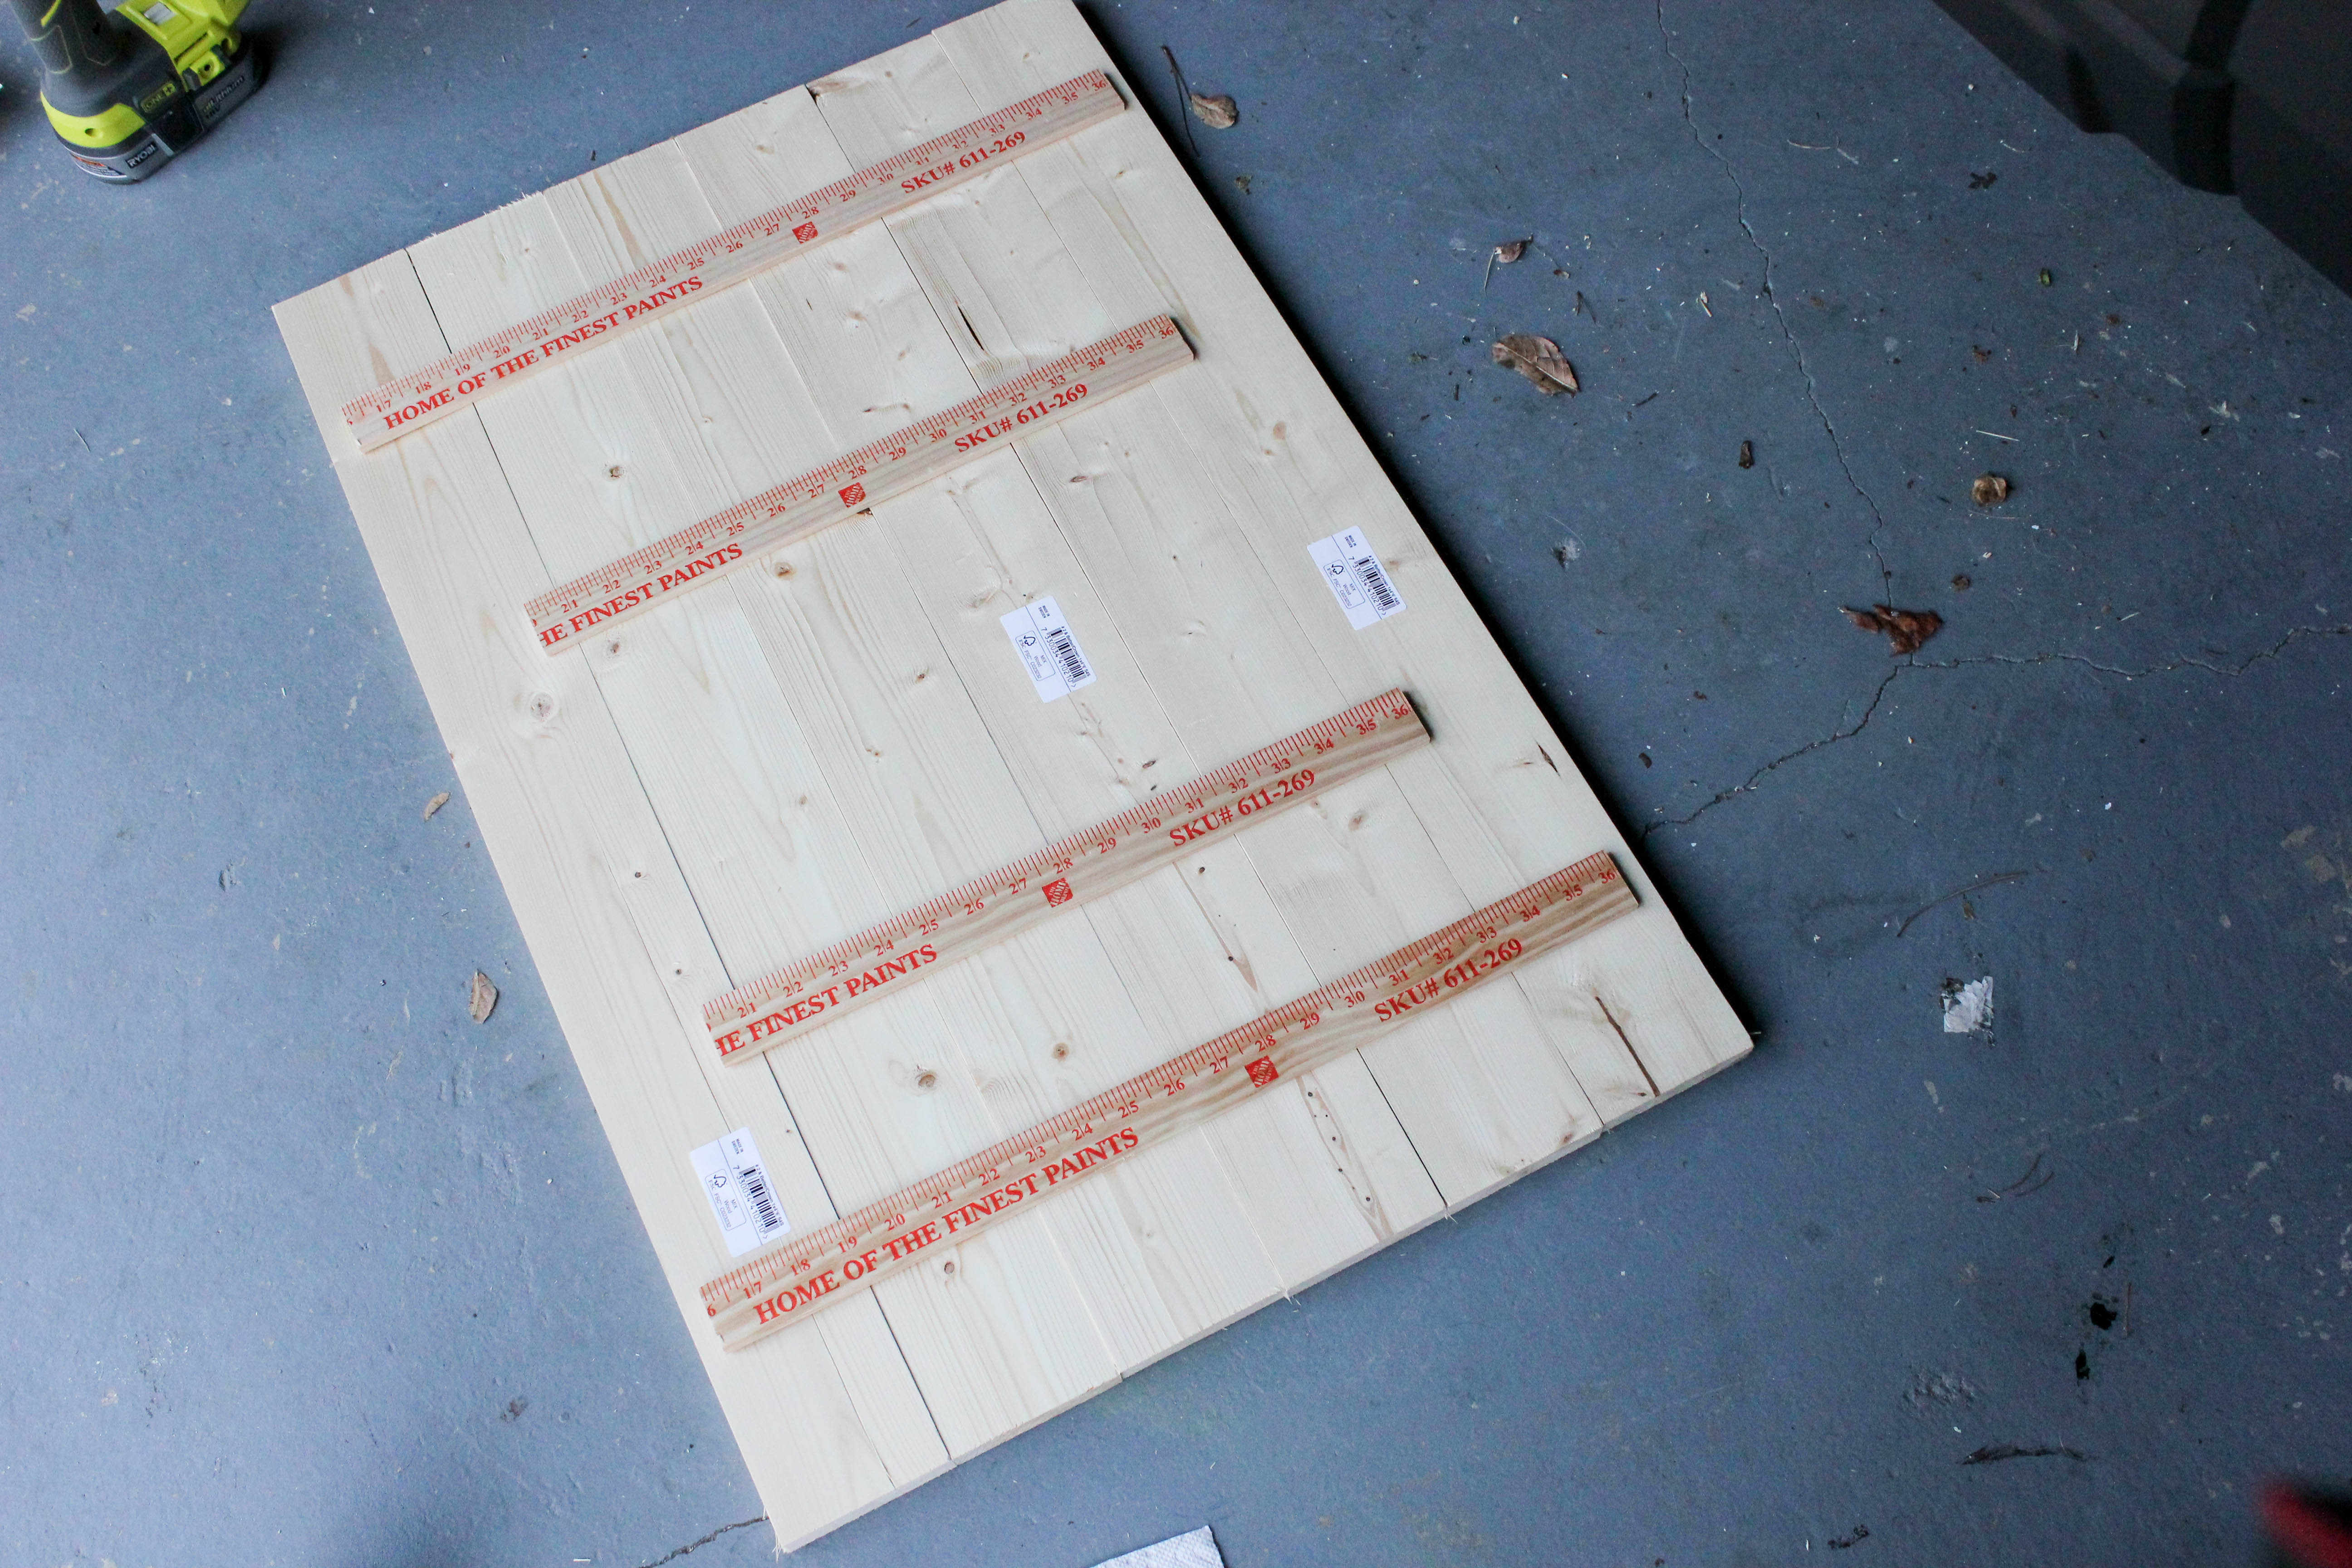
Cut your wooden yard sticks into 4 segments. (If you don’t want to use individual boards, you could also use a sheet of PureBond Plywood cut to the dimensions of your choice, like I did with this tree string art.)
Step 2
Position your boards parallel to each other and press them together, forming a large rectangle. Sand them and then use wood glue and brad nails to attach your yard stick segments to the back, perpendicular to the boards.
This will keep them all attached. I cut two of them a bit shorter and placed the longest ones on the outer edges.
Step 3
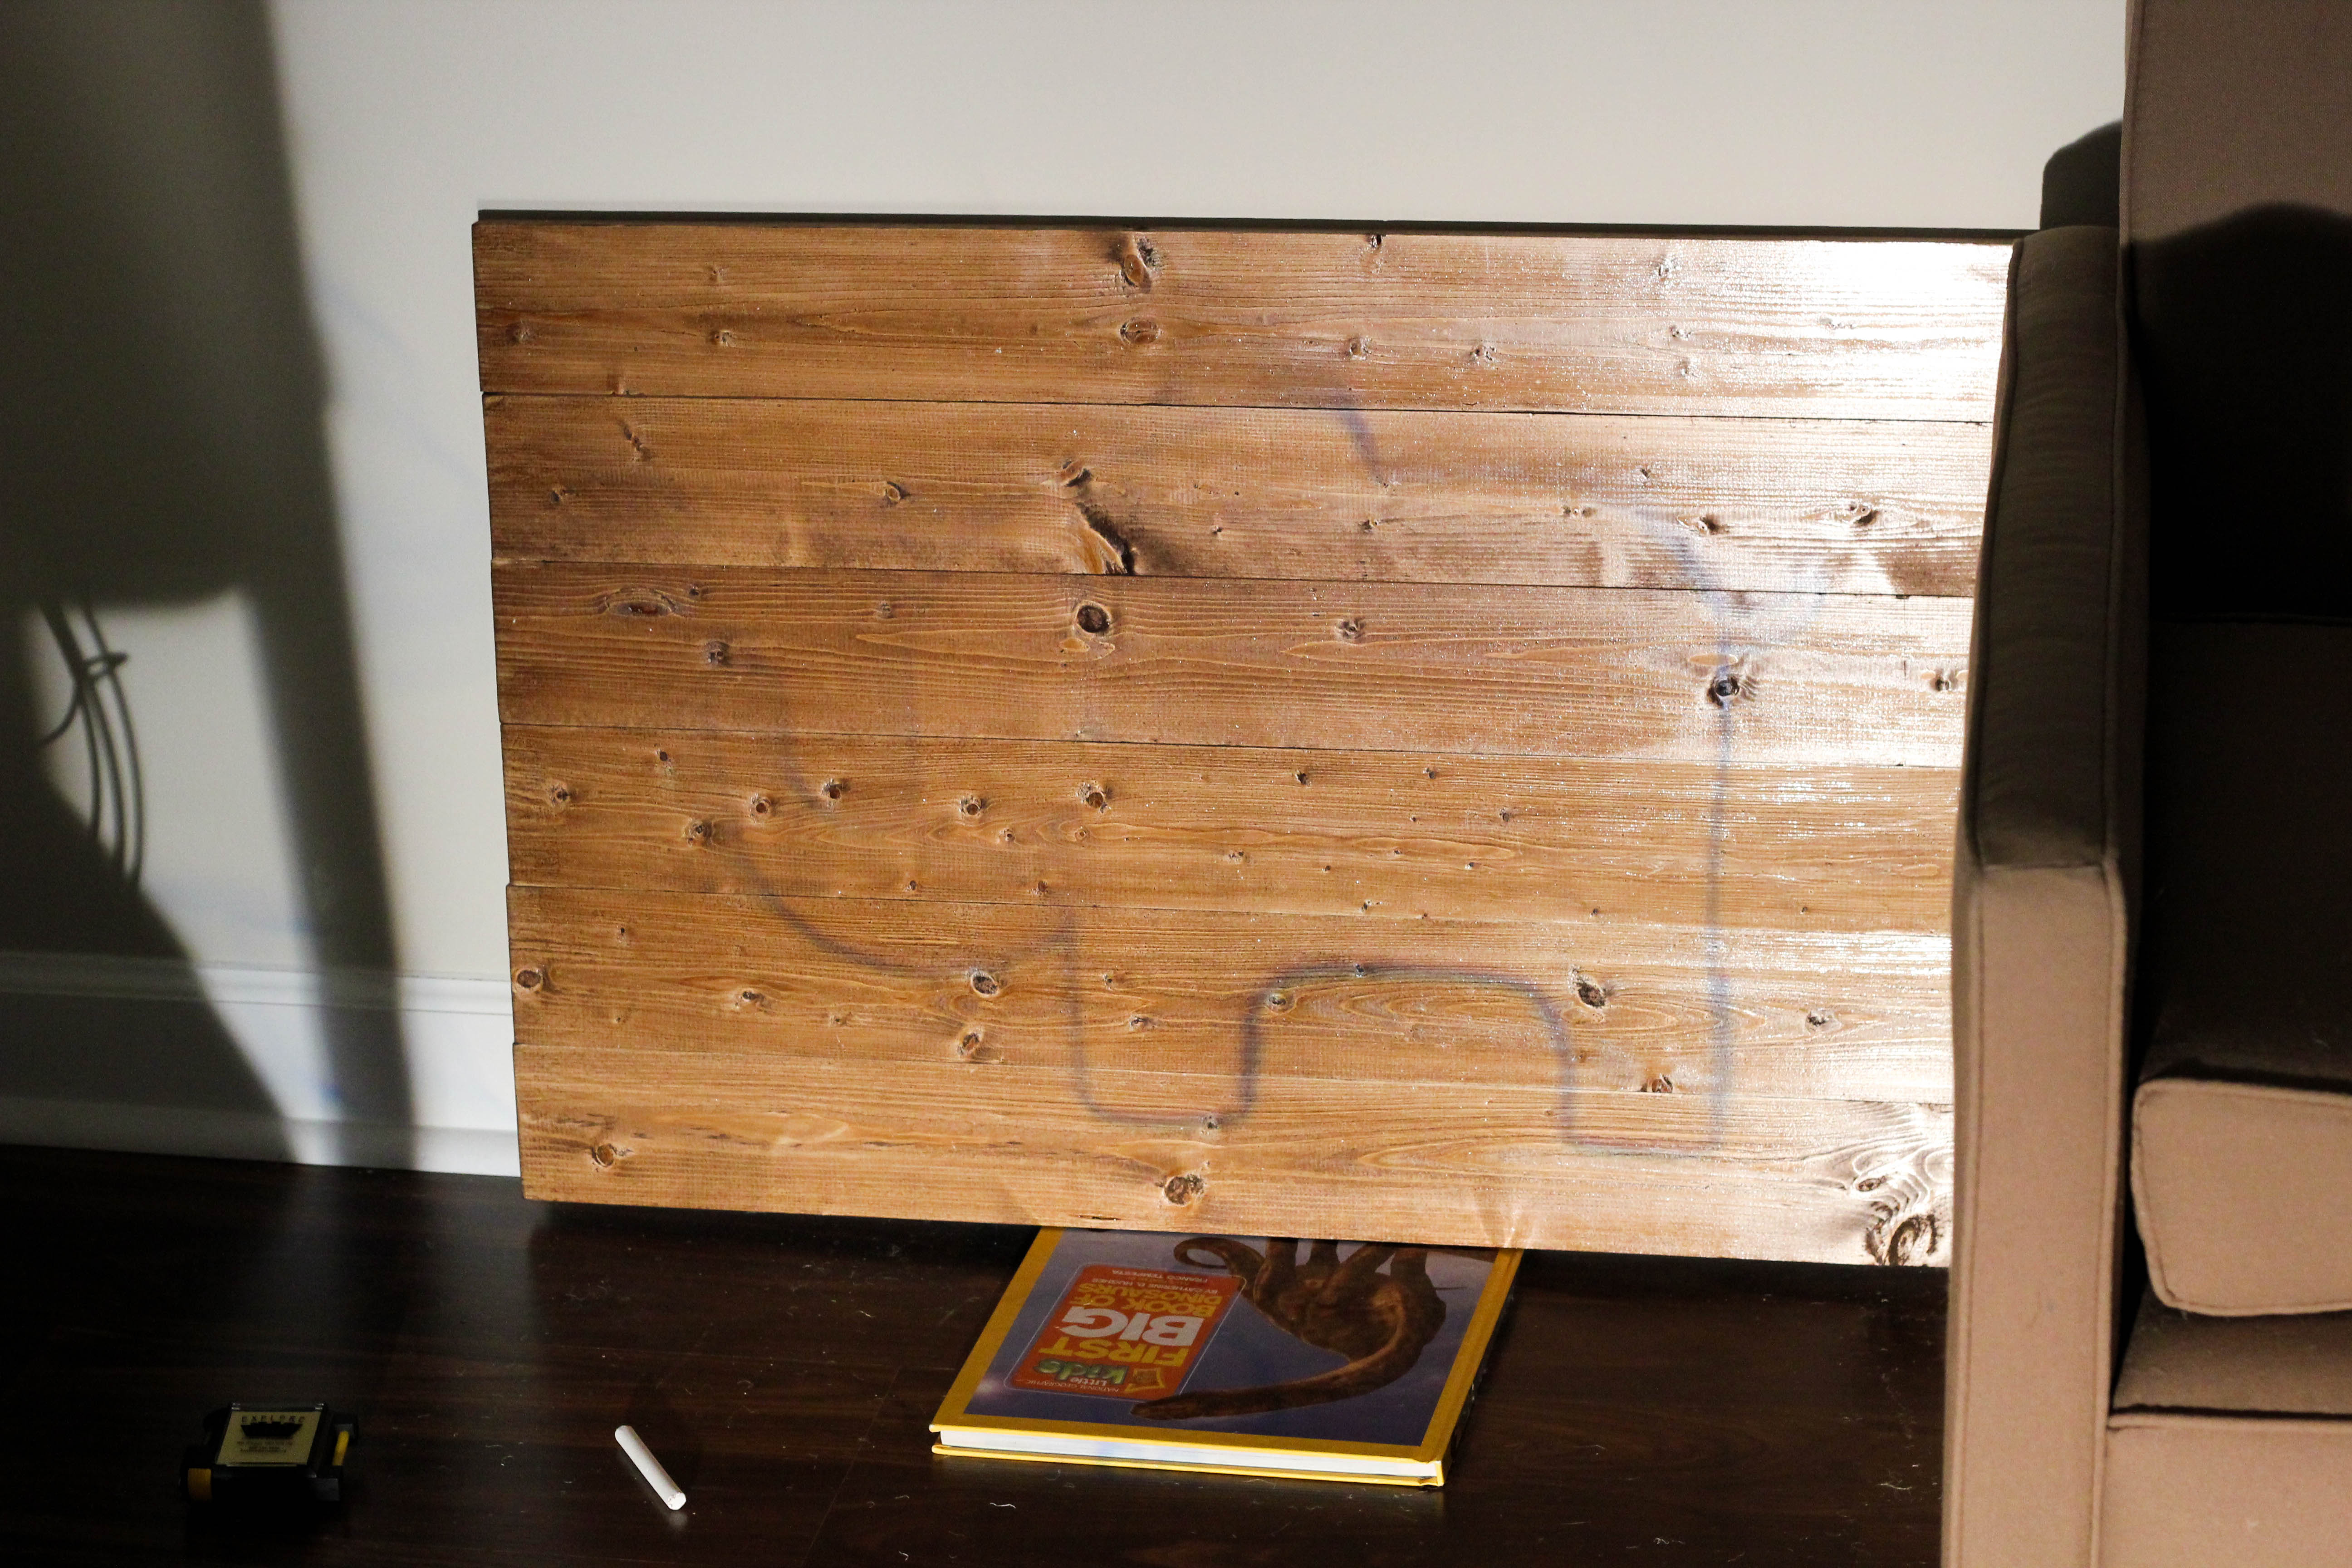
Stain your wood. We used Minwax Pre-Stain Wood Conditioner![]() followed by two light coats of Minwax Special Walnut Stain
followed by two light coats of Minwax Special Walnut Stain![]() .
.
Step 4
Print the image of your choice (for my elephant, I googled elephant silhouette clip art — the same clip art I used for my hand painted nursery art which I will share with you soon), and then trace it onto transparency film with a Sharpie (if you are using an overhead projector).
Otherwise, simply have an enlarged print made, cut it out and trace it onto your wood. If you’re using a projector, trace your image onto the wood lightly with chalk or a pencil.
Step 5
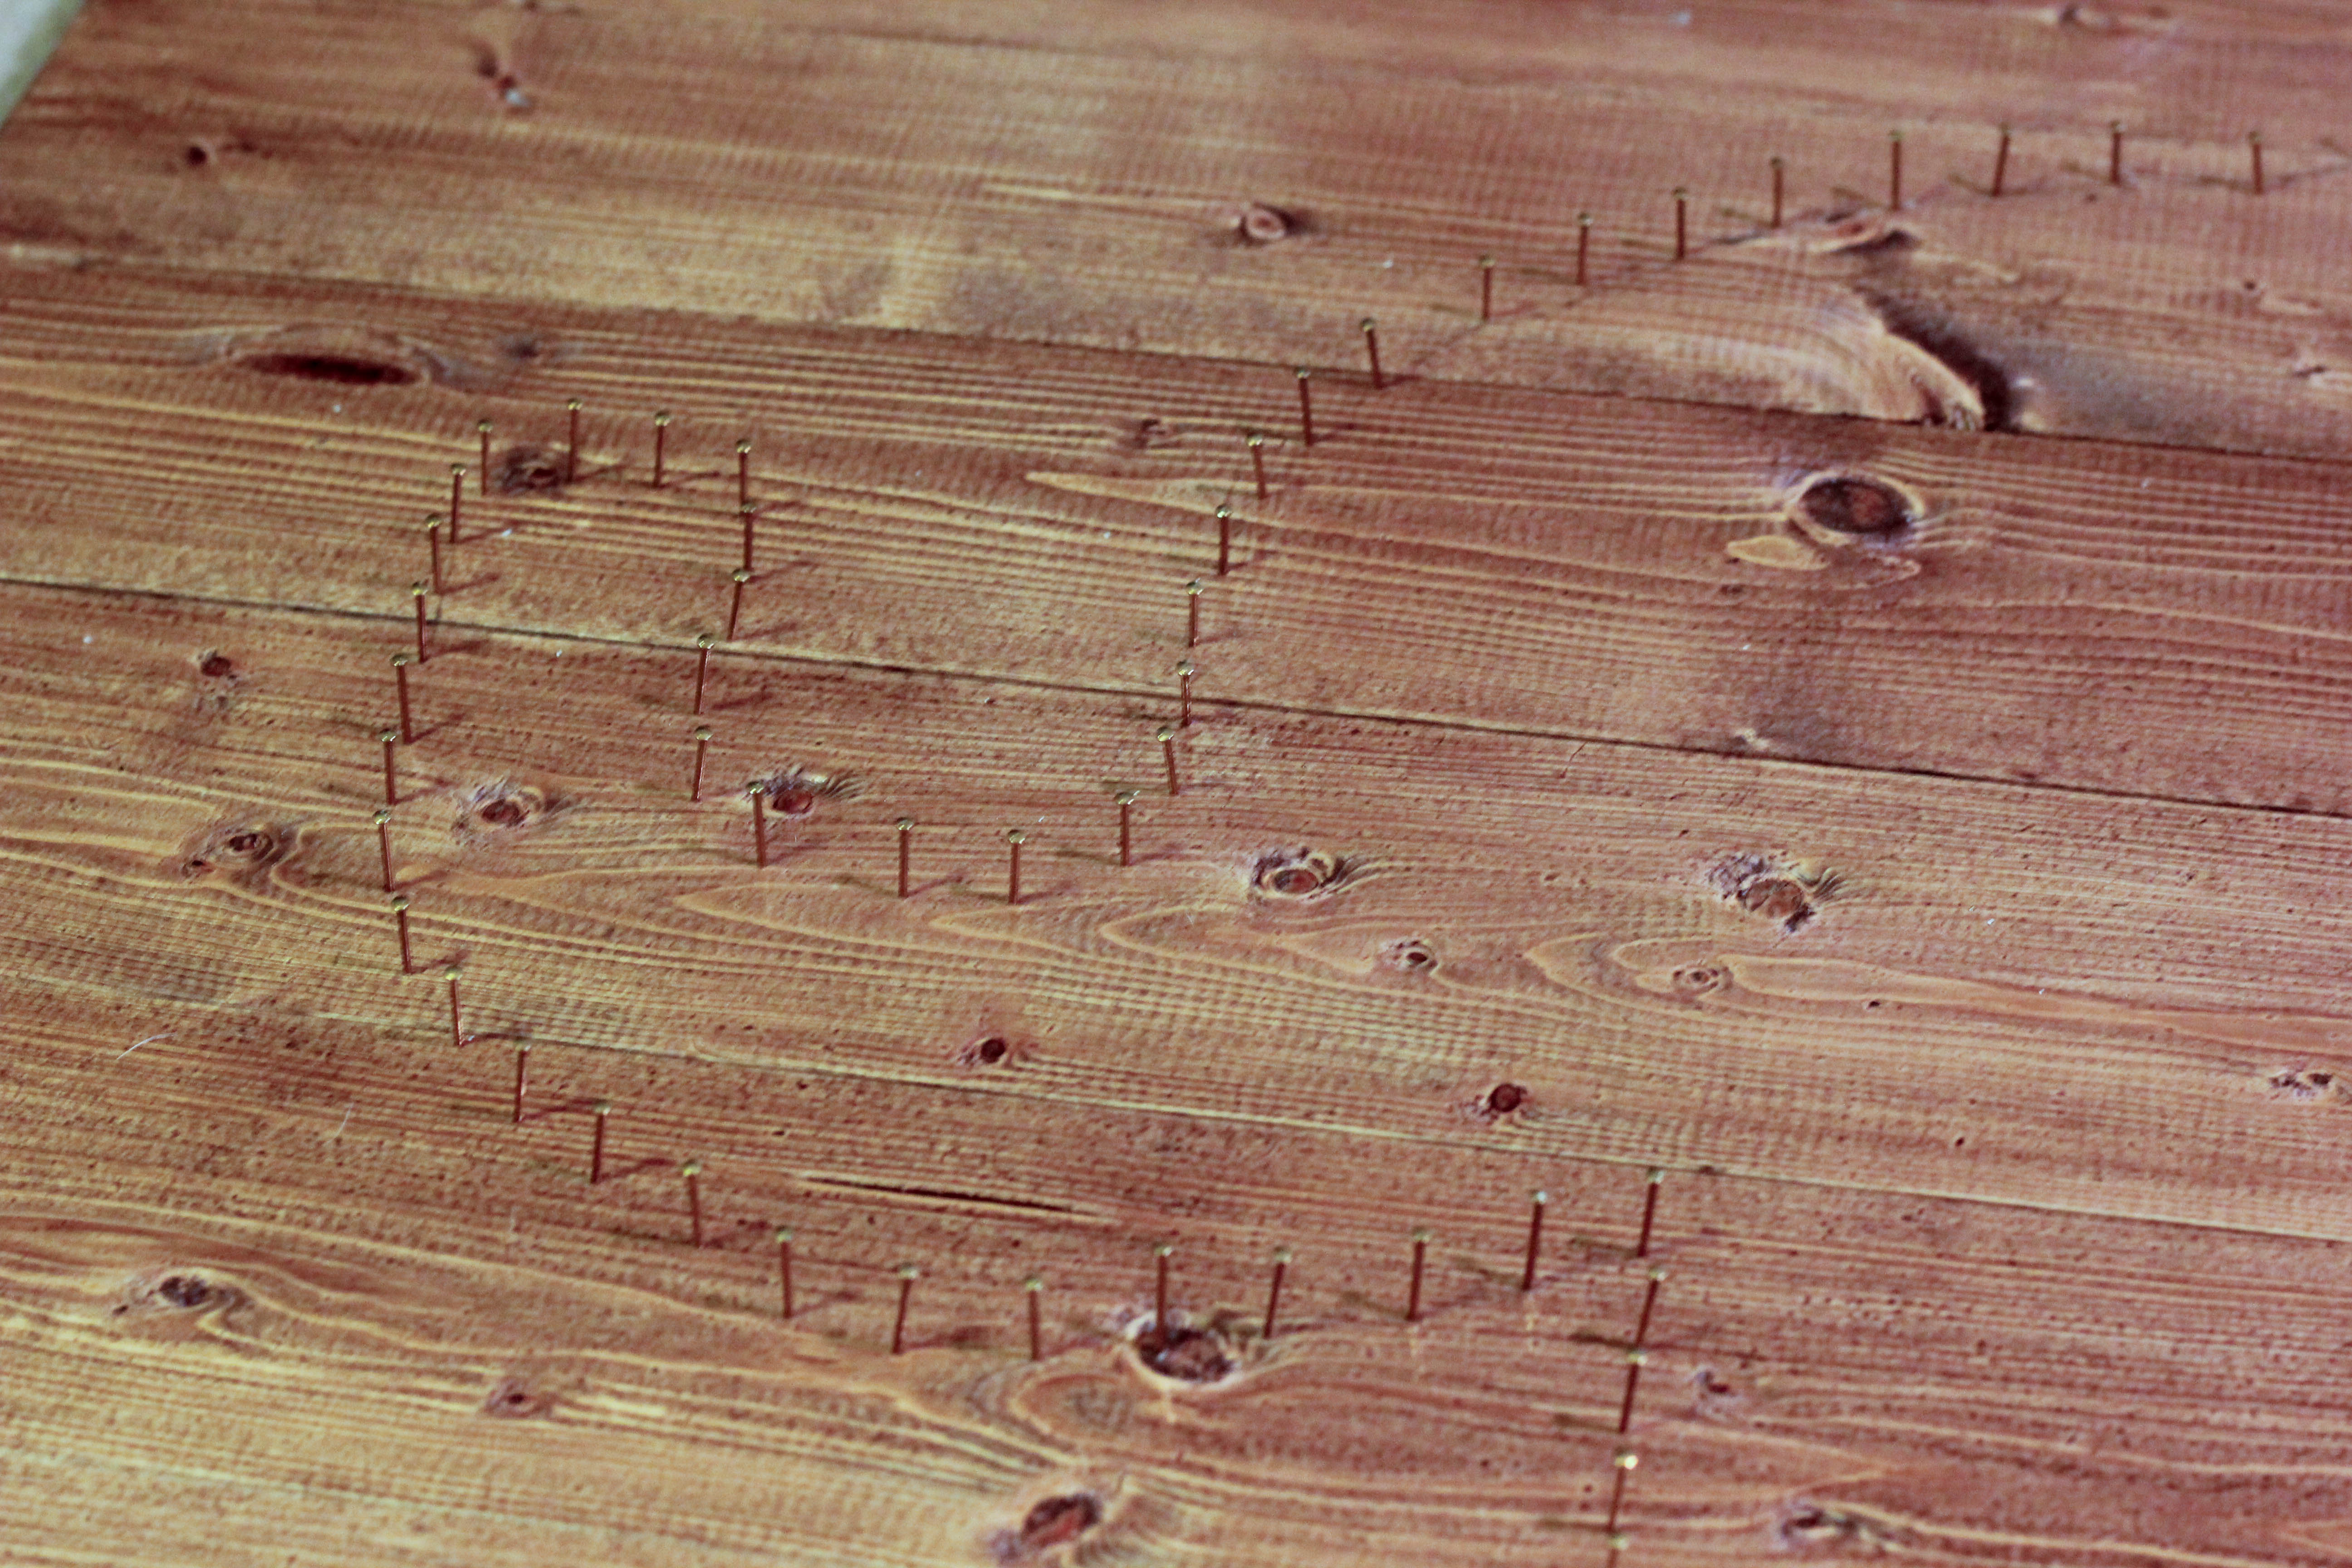
Hammer your brass pins along the outline of your image, spacing them about an inch apart or so.
Step 6
Tie the end of your yarn in a knot around one of the pins, and then randomly string it across the brass pins until you achieve the coverage you want. Tie off and snip the end when you’re finished.
Step 7
Attach D-rings to the back of the wood to hang it on the wall.
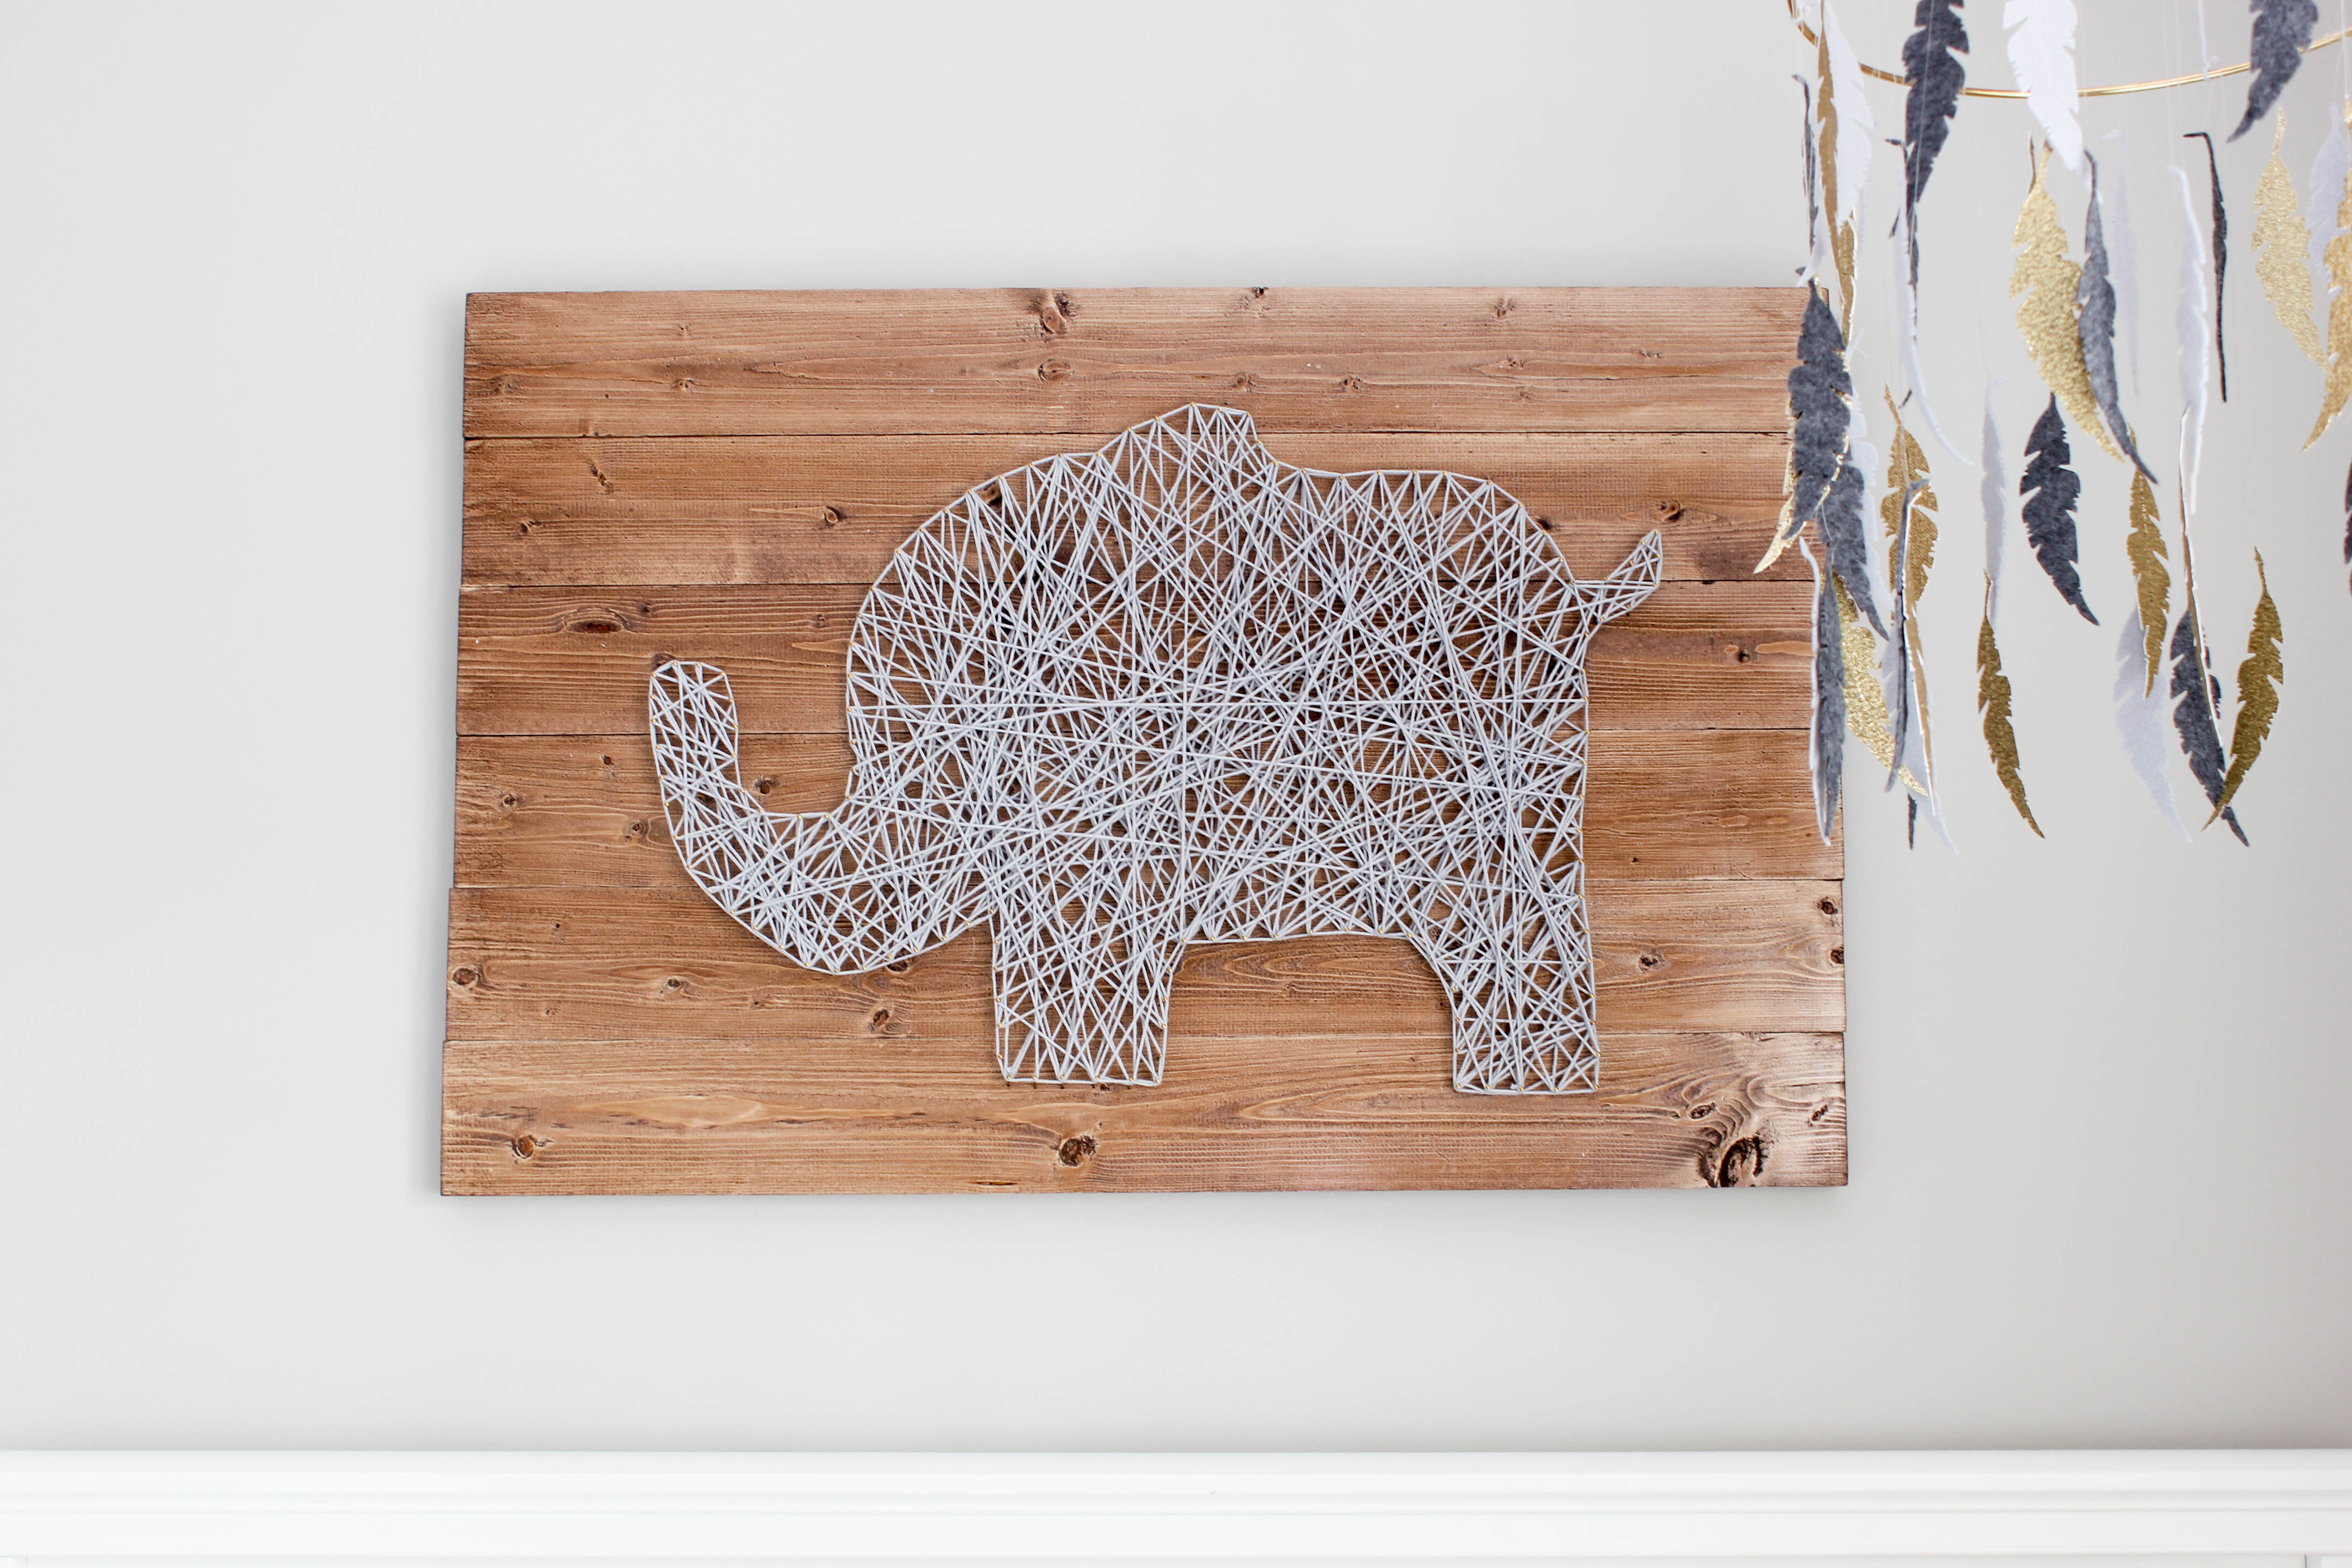
I love string art, not only because I like how it looks, but it makes a big impact even though it is easy and inexpensive to make. This artwork fits perfectly above Jonah’s crib, and it’s something that can grow with him eventually when his room becomes a toddler or “big boy” room.
You Might Also Like:
- Gender Neutral Nursery Reveal
- Boys Bedroom Decor
- 7 DIY Project Ideas for Kids’ Rooms
- Hand Painted Nursery Art Tutorial
- The 20 Toy Rule: How We Decluttered Our Playroom & Simplified Our Life
You can also connect with me here:
