

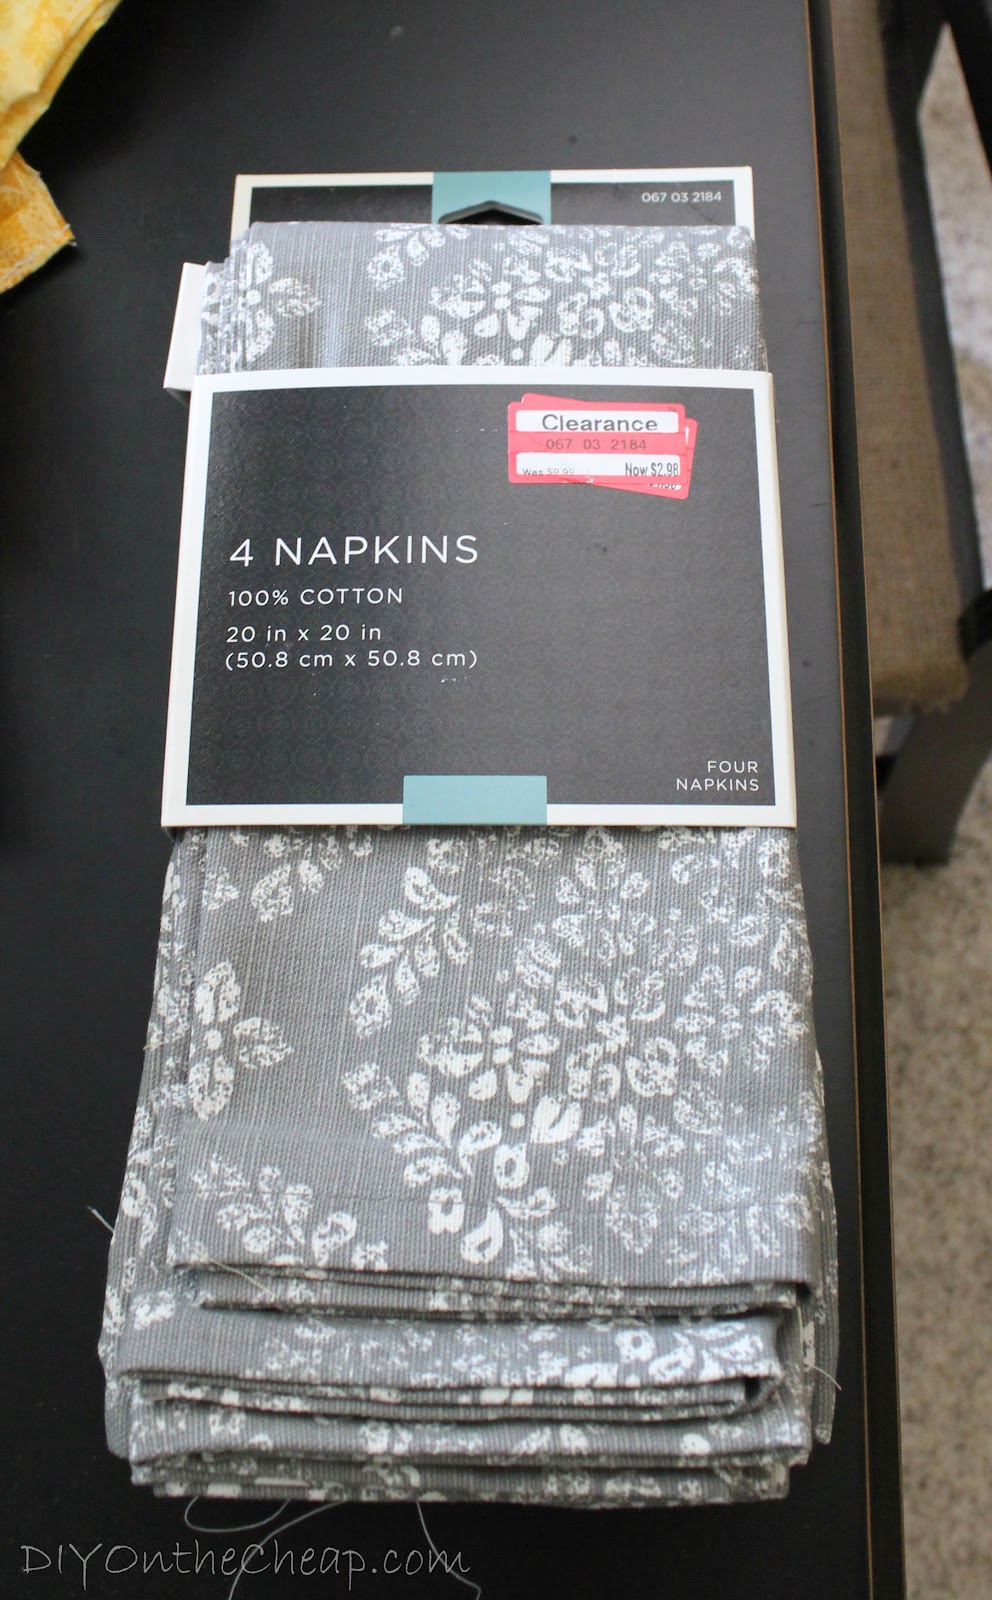
Ok, let’s be honest, when it comes to craft and DIY projects, I am cheap. I prefer resourceful, but “DIY On the Resourceful” just didn’t have the same ring to it. It’s almost become a little game where I compete with myself to see how inexpensively I can do or make (or repurpose) something for our home. Long story short, I made a Cloth Napkin Pillow out of some pretty gray cloth napkins that I scored on clearance at Target for $2.98. That’s right, 4 napkins (so 2 pillows) for $2.98! (I still need to make the second one.) If you already have your other supplies (which I did), then you have 2 pillows for under $3.00. If you have to go buy Poly Fill, I’d estimate with the amount you’ll use for this project, you could probably make a pillow for around $5.00 or less.
What I used for this project:
- 2 Cloth Napkins
- Poly Fill
- Upholstery Thread
- Sewing Machine
- Pins
Warning: This post is photo-heavy. I wanted to show the whole process from beginning to end, especially for those who may not have pillow-making experience.
You could certainly hand-sew these if you’d prefer, or you could go the no-sew route by using fabric glue along the edges instead. Just give it plenty of time to dry before turning it right side out and stuffing!
And here’s the “How-To”!
I started with these:
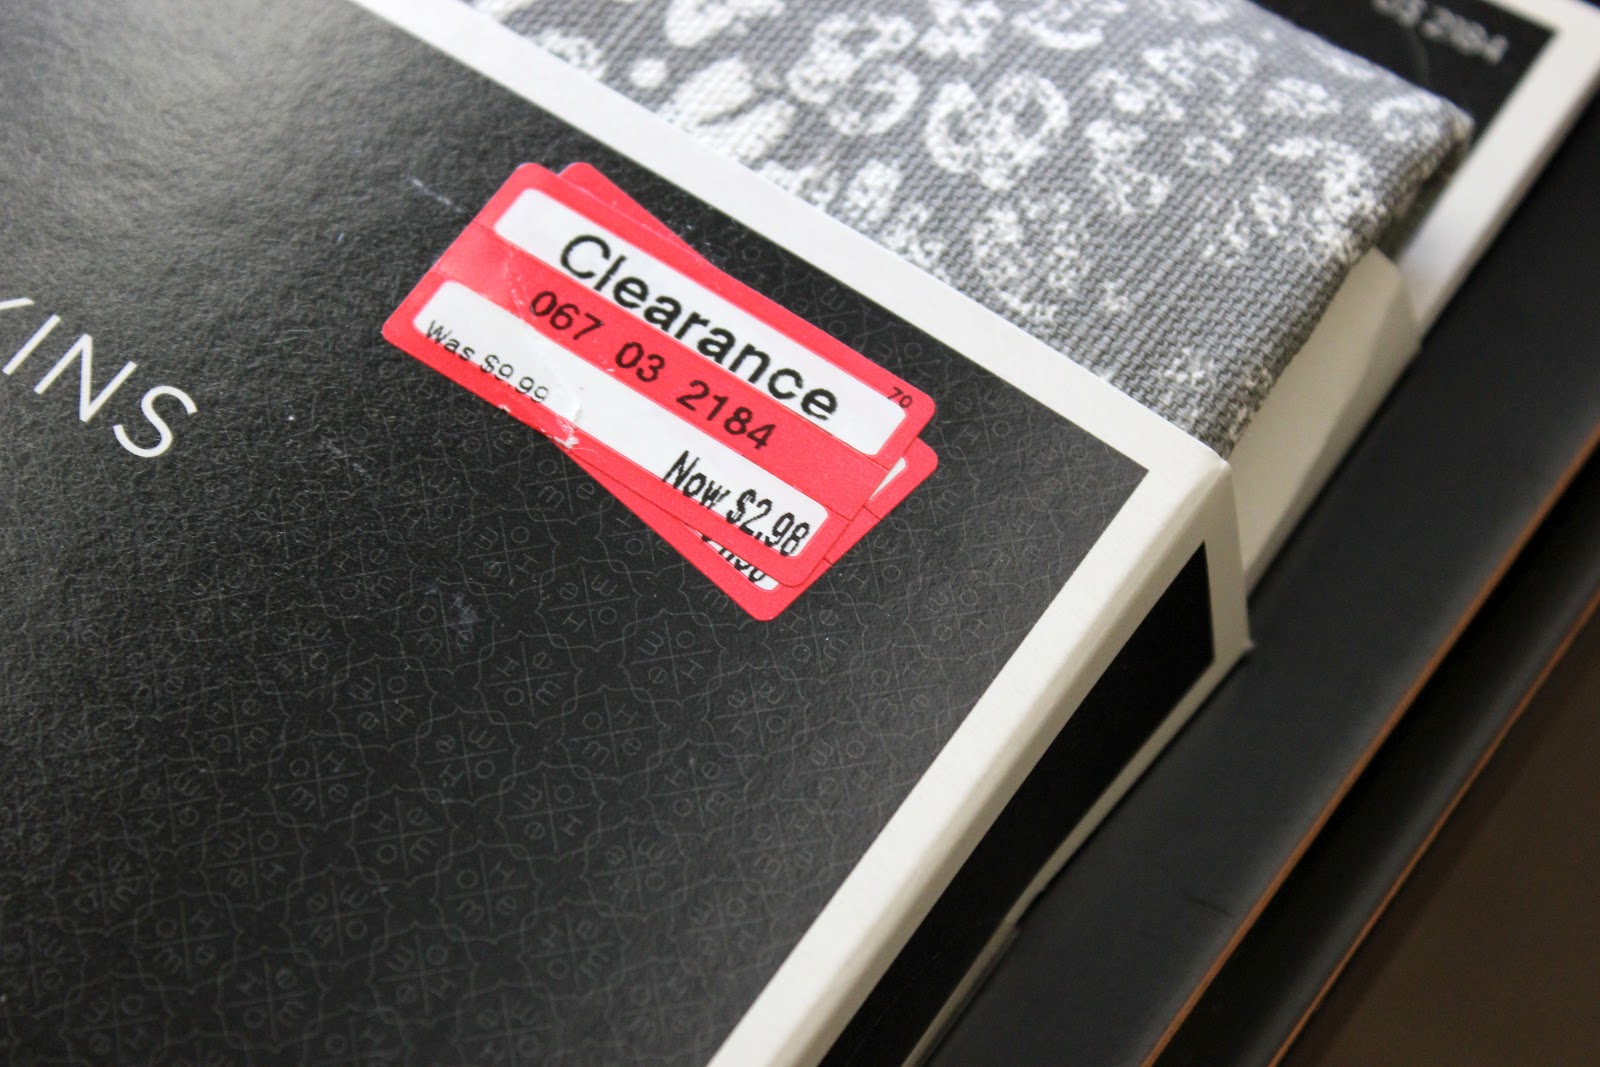
And just because I’m so excited about this bargain, here’s a close-up of the awesome price:
The great thing about using cloth napkins to make a pillow is that all of the cutting and measuring is already done for you. All you have to do is line up two napkins, sew them together and stuff them. Easy peasy! I’m going to walk you through exactly how it’s done. (Or at least how I did it – not sure if it’s technically the “right” way since this is only the second time I’ve sewn, but it worked for me!)
You’ll have to iron them first since there will be creases when you open them. Here’s one fresh outta the package:

After I ironed them, I lined two of them up so the right sides faced each other (so it would be inside out when sewn), and pinned them together. I pinned each corner plus stuck one pin along one edge to remind me to leave a little hole for the stuffing.


Sew the napkins together, using the existing hem as a guide. Be sure to leave a gap along one edge (where your reminder pin is) for stuffing!

Snip your corners diagonally before turning right side out. This will create a more crisp corner.

Turn the pillow right side out, then stuff with Poly Fill.

When your pillow is stuffed as full as you want it, stitch the opening closed. You can do this by hand, or just smoosh and cram it into the sewing machine like I did.
Here’s the finished product!

Be sure to check back tomorrow for a very exciting giveaway! {Hint: You’ll be able to make this project with it – and many, many more too!} Check out this post if you want a preview of tomorrow’s giveaway prize!
Have you ever made a pillow out of napkins? Are you going to try this? Please leave a comment and let me know!
