

I know I usually post crafts or DIY projects related to the home, but if you consider the fact that many households can’t be a happy home without coffee, then I guess this post fits the bill. 😉 Personally, I’ve never been a coffee drinker. (Gasp! I know!) My husband, Chris, on the other hand, drinks enough for the both of us and he has grown very interested in the process of roasting his own beans and preparing the “perfect” cup of coffee. Today I’ve partnered with him to bring you a tutorial for how to roast coffee beans on a budget without spending money on an expensive coffee roasting machine. We are going to walk you through his entire process, complete with tips and advice on creating your perfect cup of home roasted coffee.
What you’ll need:
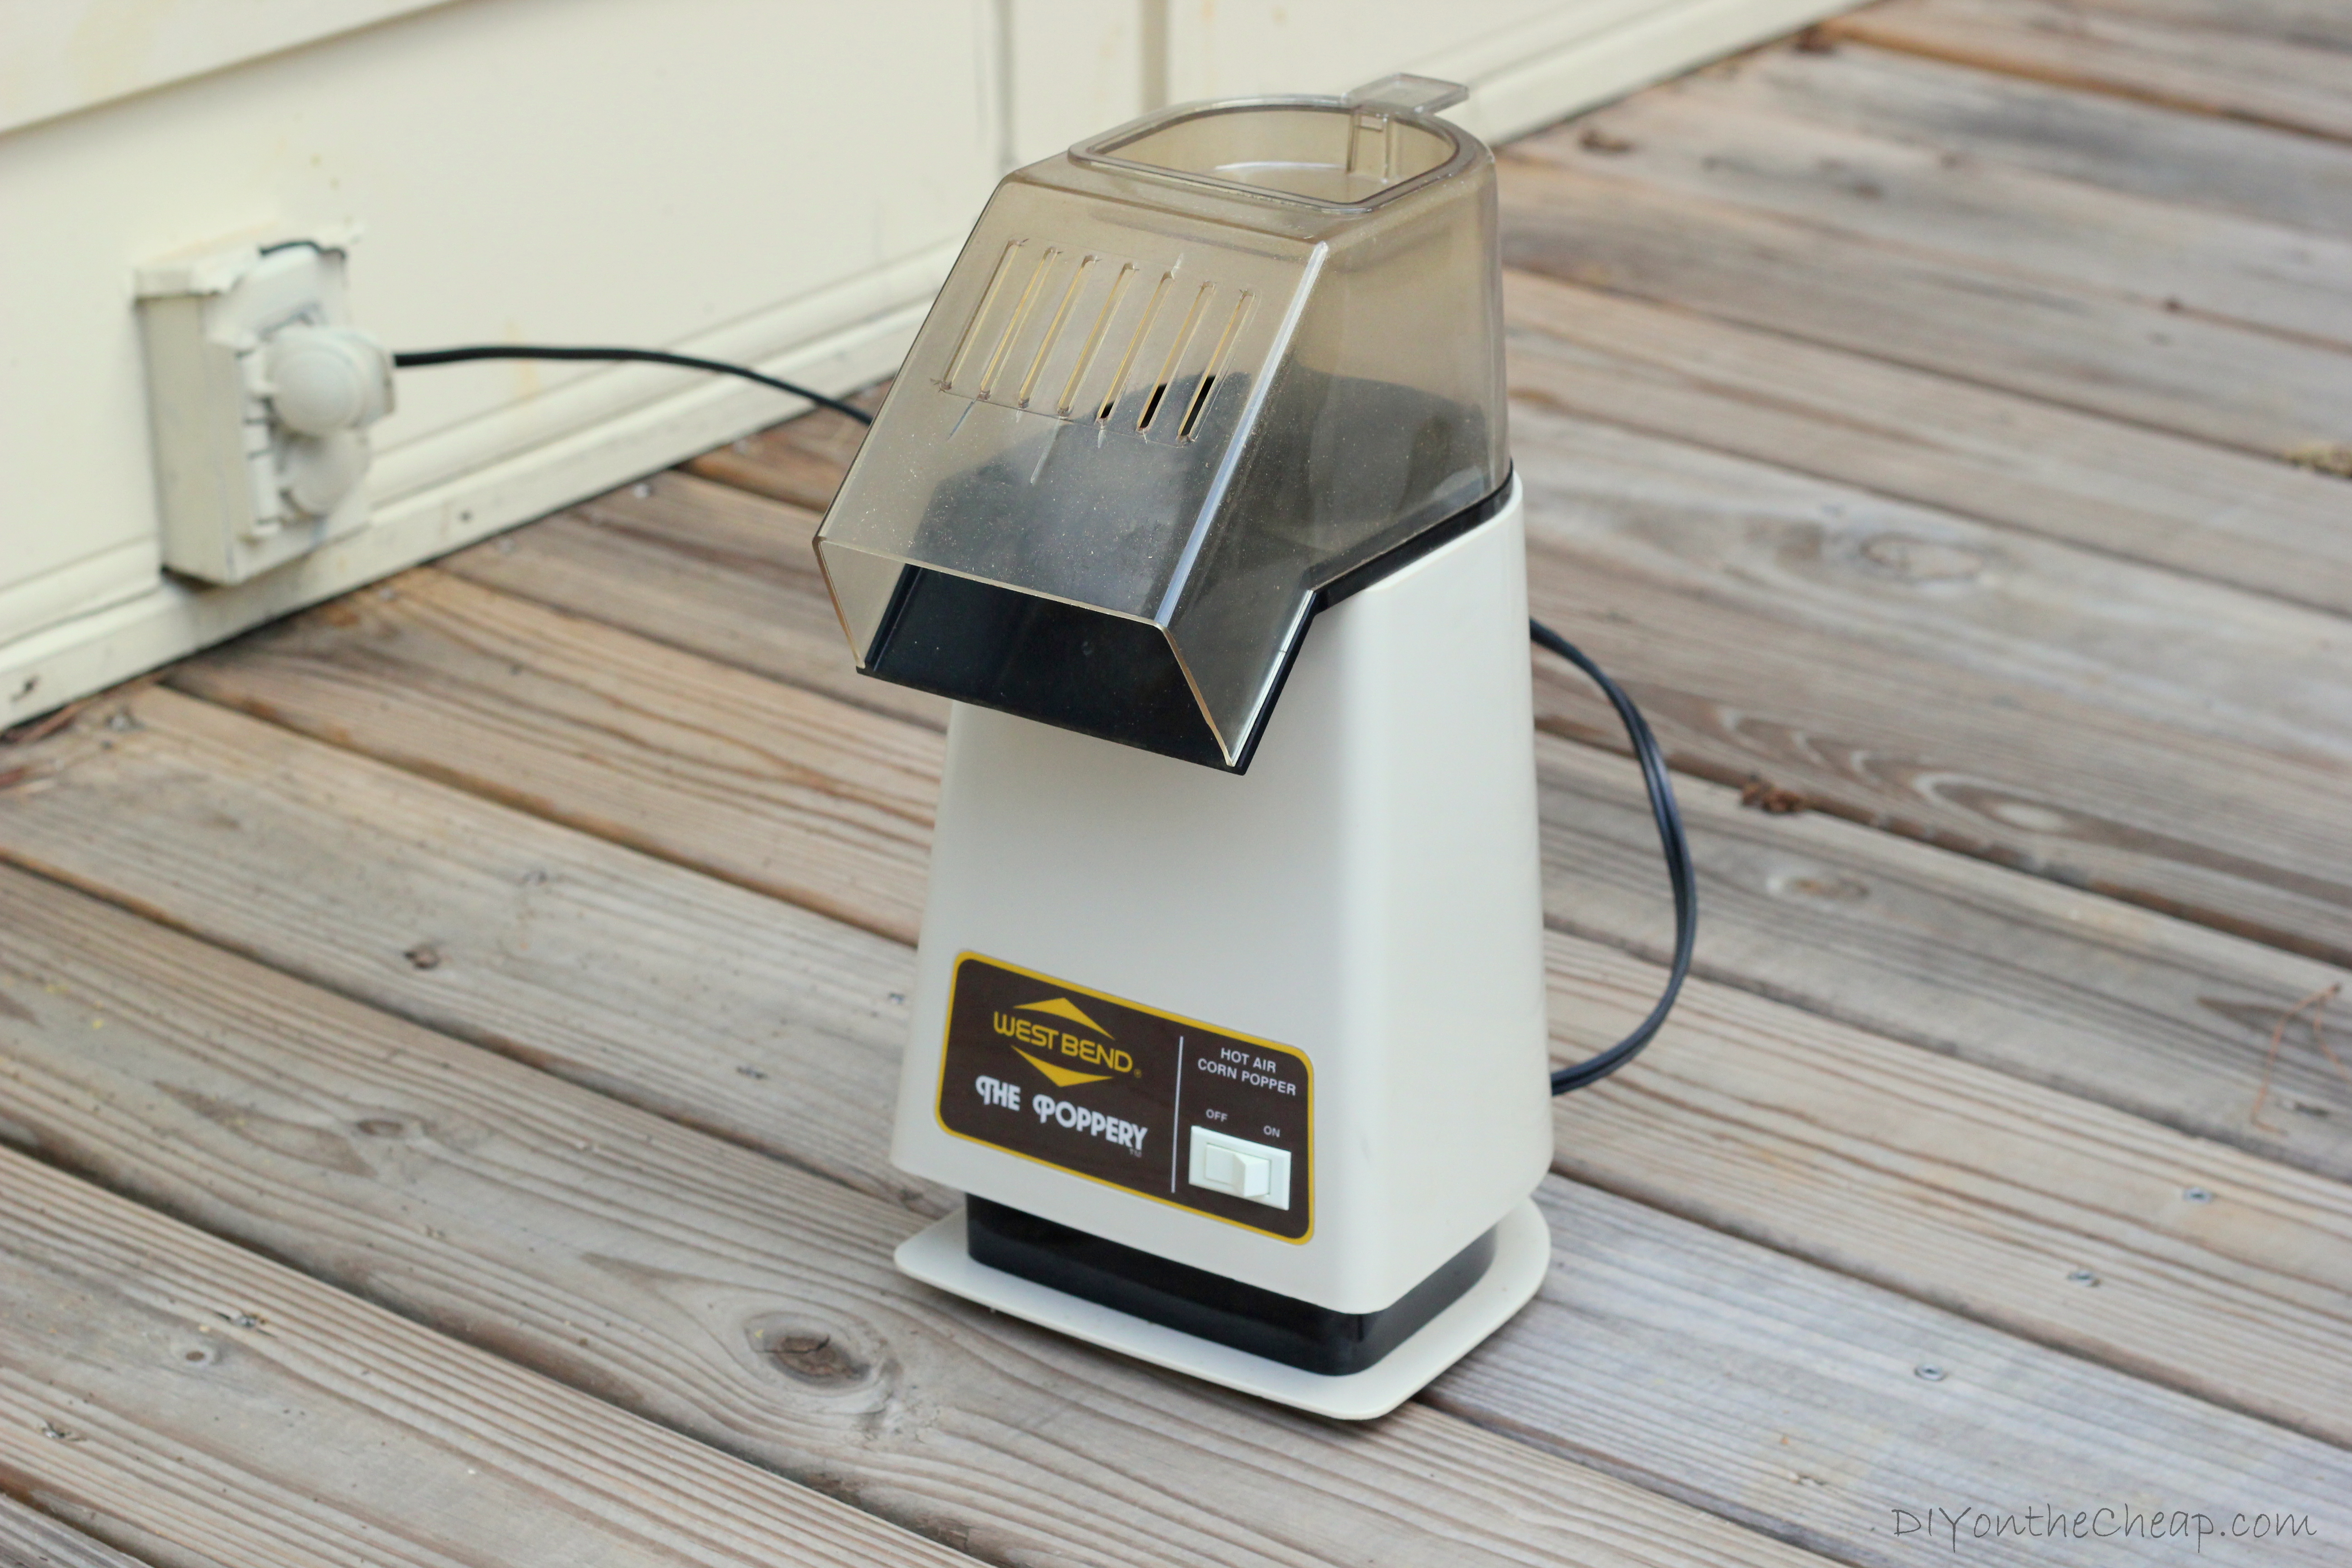
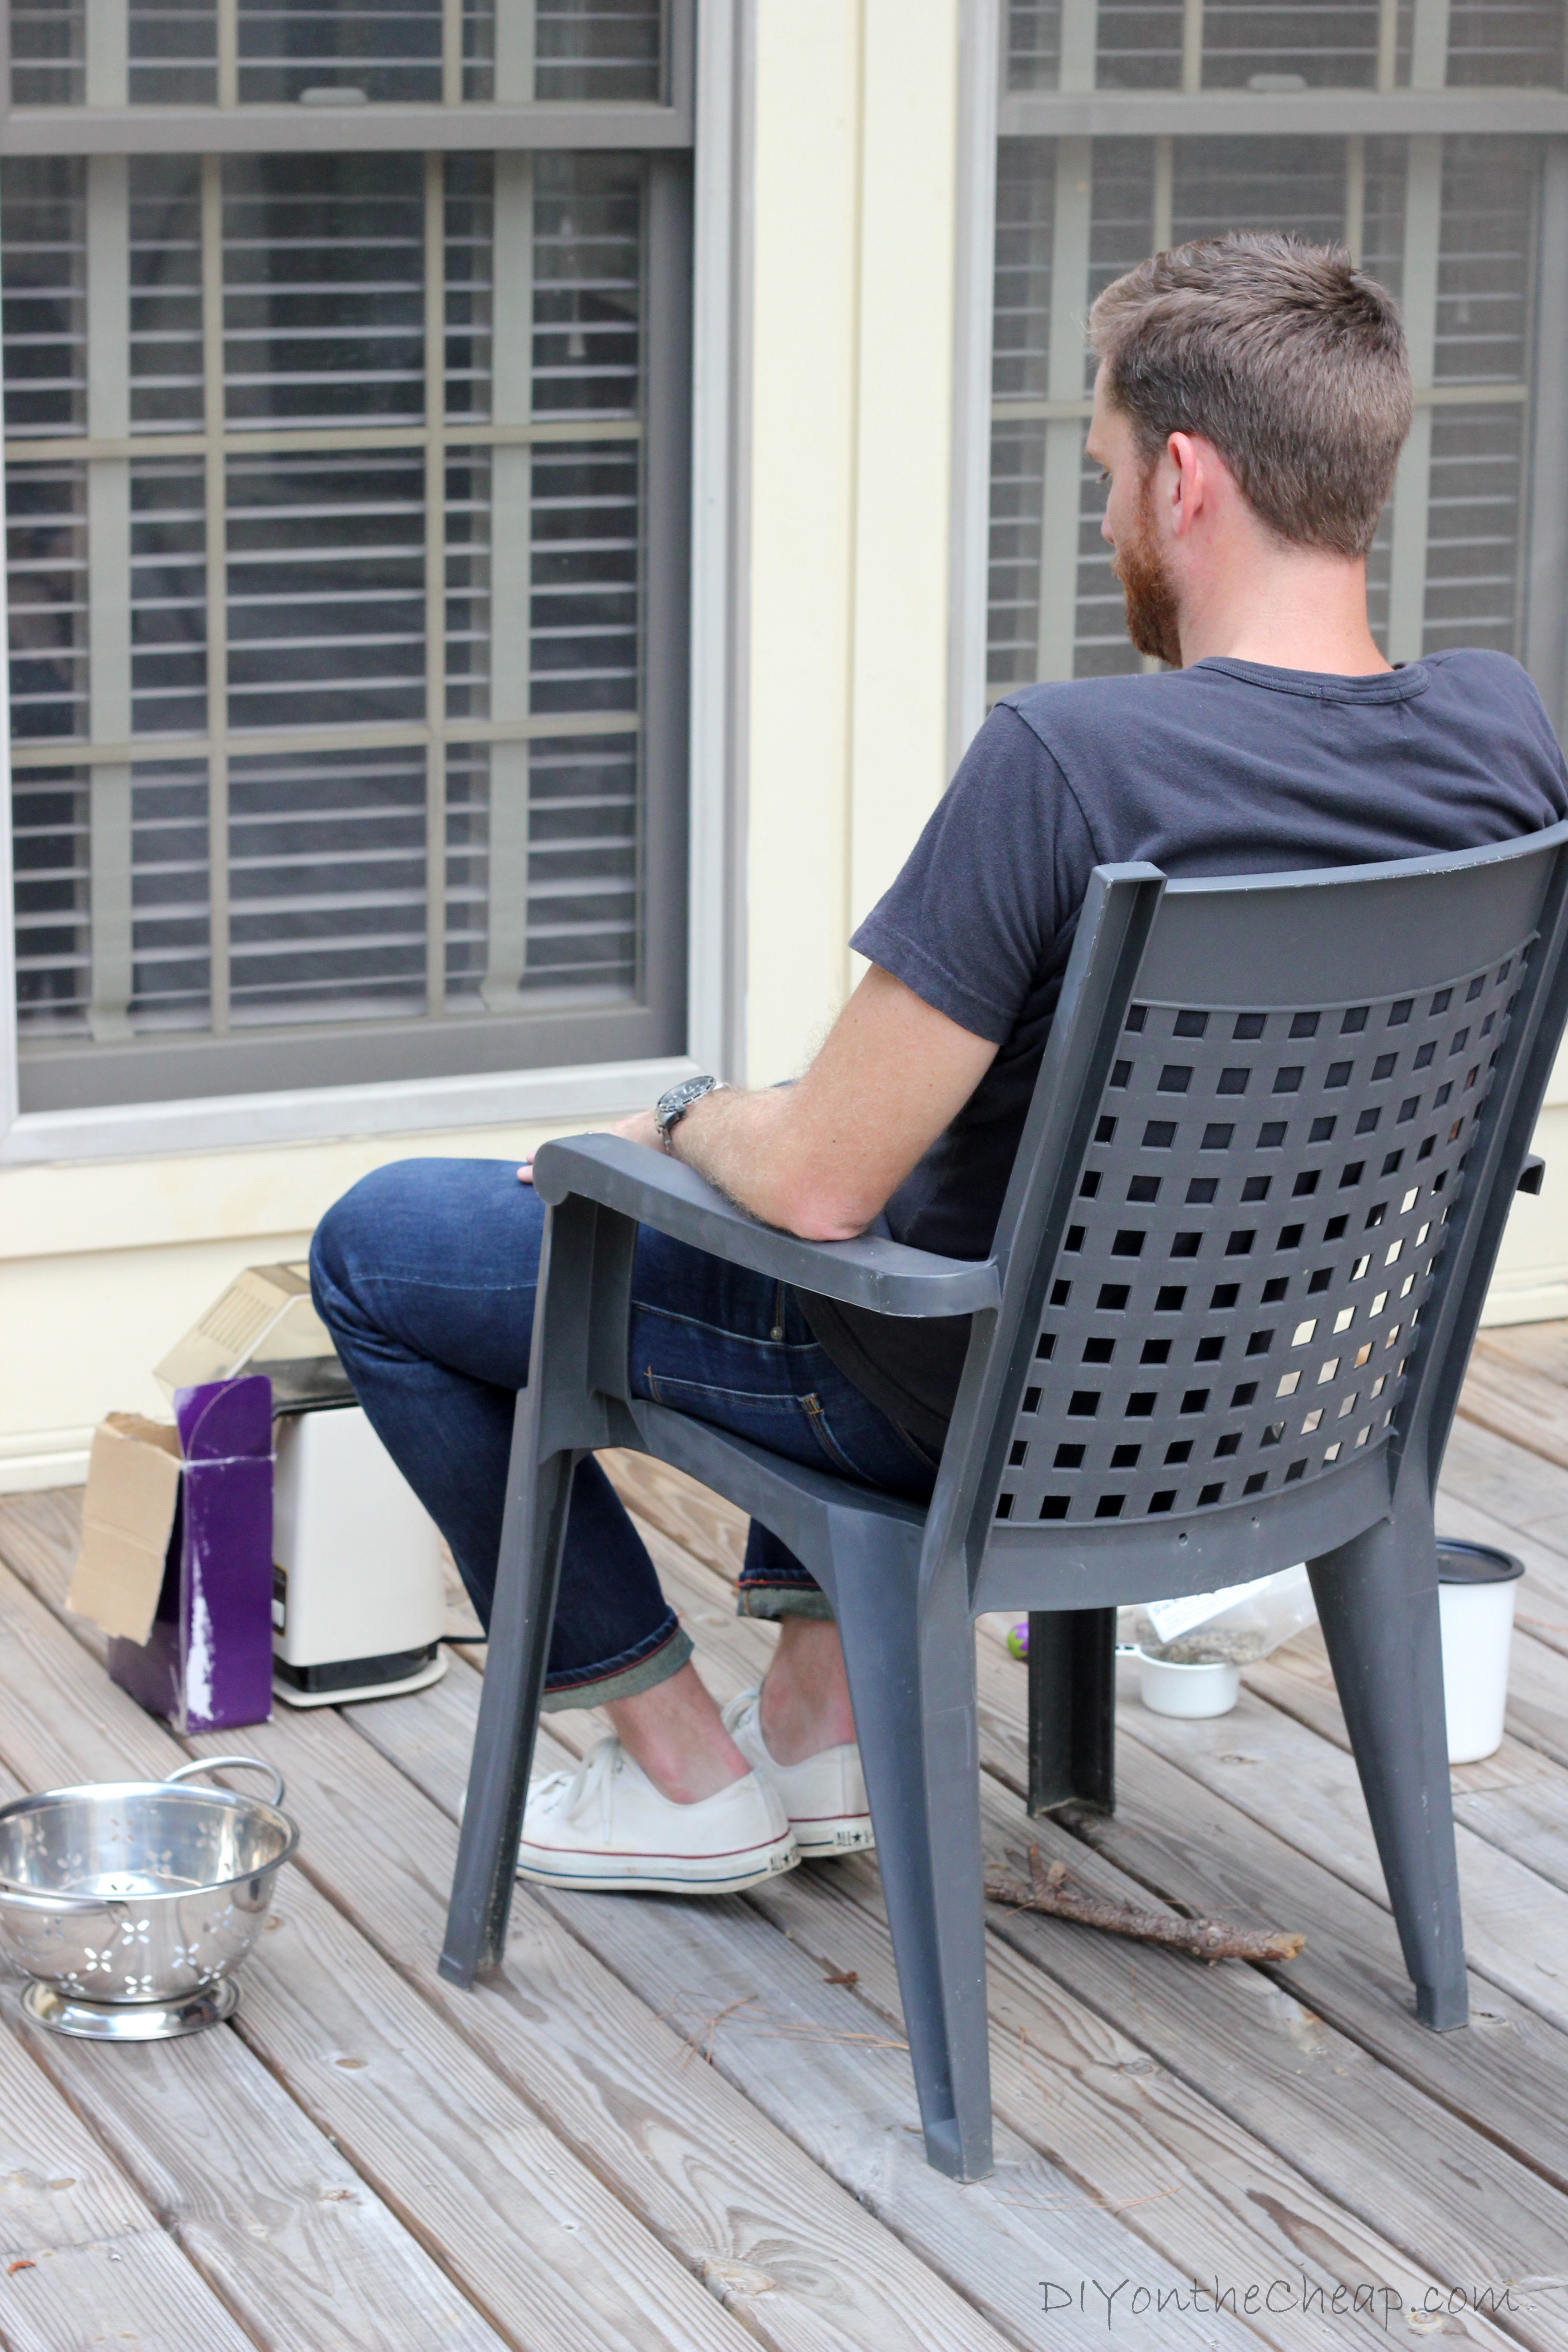
- Old school hot air popcorn popper (Chris recommends older models like West Bend’s The Poppery or Poppery II). We found ours on eBay which is a good source, or you can check yard sales, thrift stores, or your granny’s attic. We had one of these machines during my childhood — who knew I’d end up with another one just like it someday! The machine needs to run at 1200-1500 watts. Newer air poppers don’t get hot enough to roast the beans evenly. Decent coffee roasting machines cost several hundred dollars, so this method saves a lot of money!
- Large mesh or metal colander
 . (Or two.)
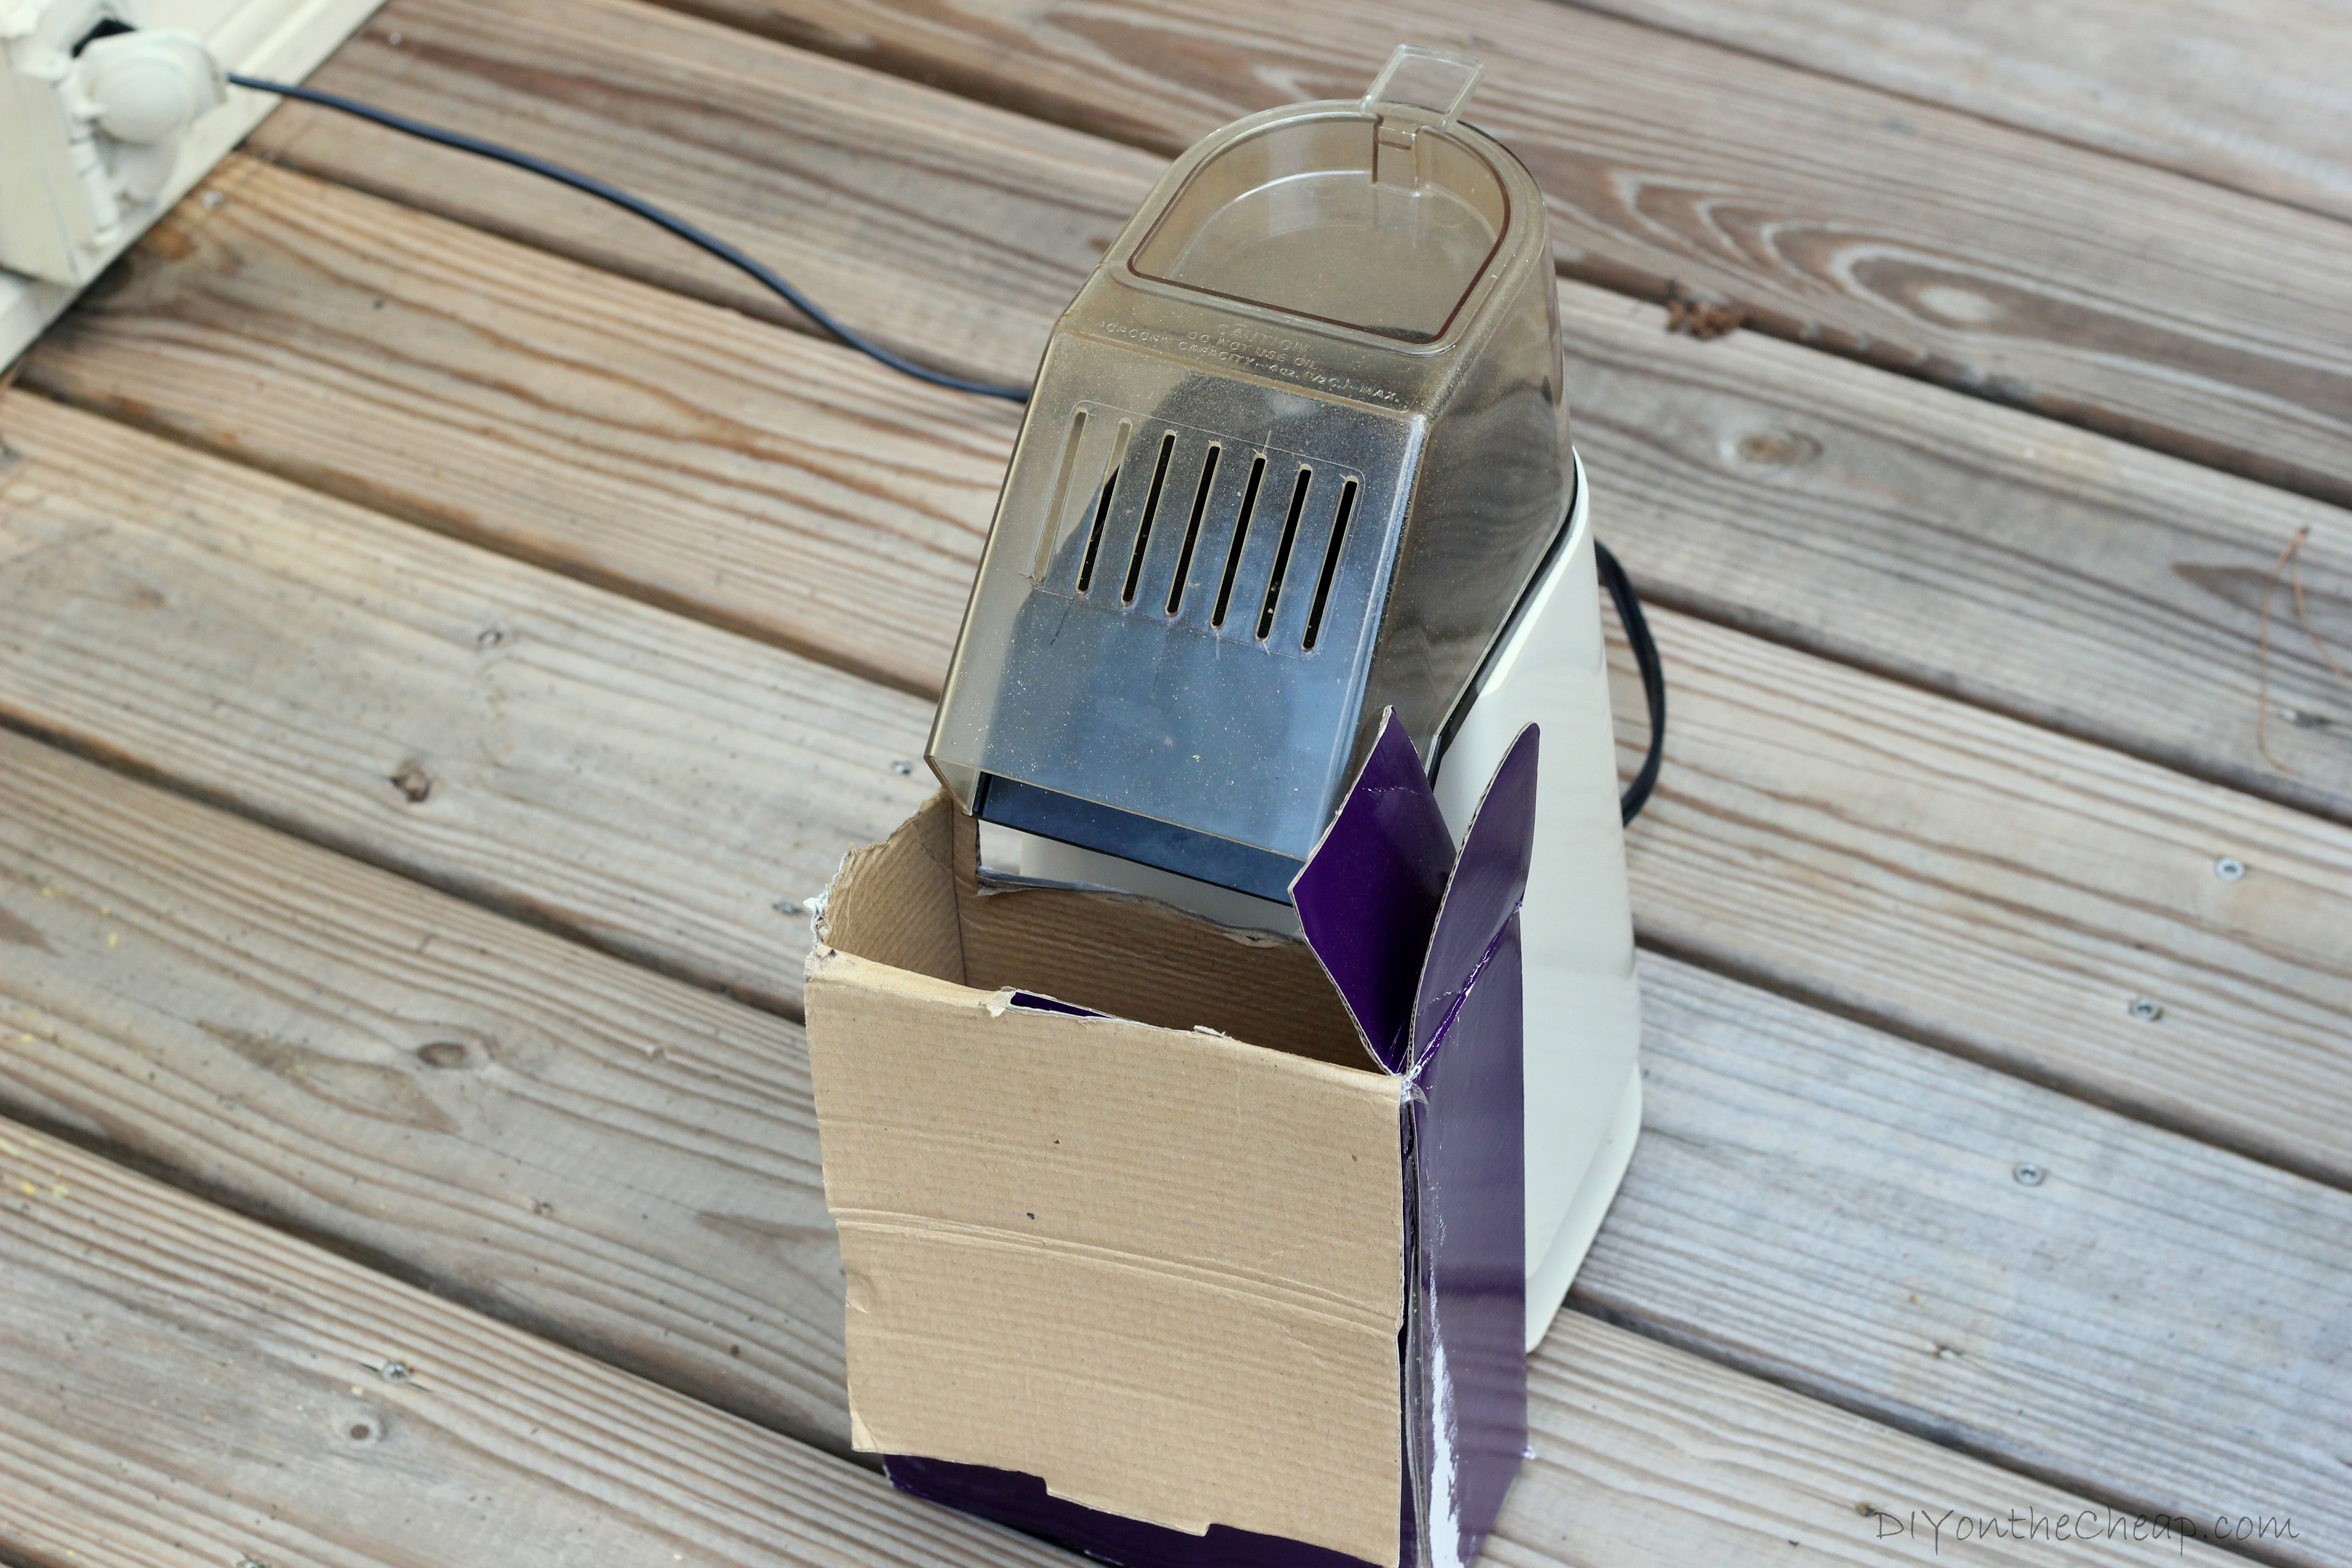
 - Box or bowl to place in front of the popper.
- Oven Mitt
- Airtight Container
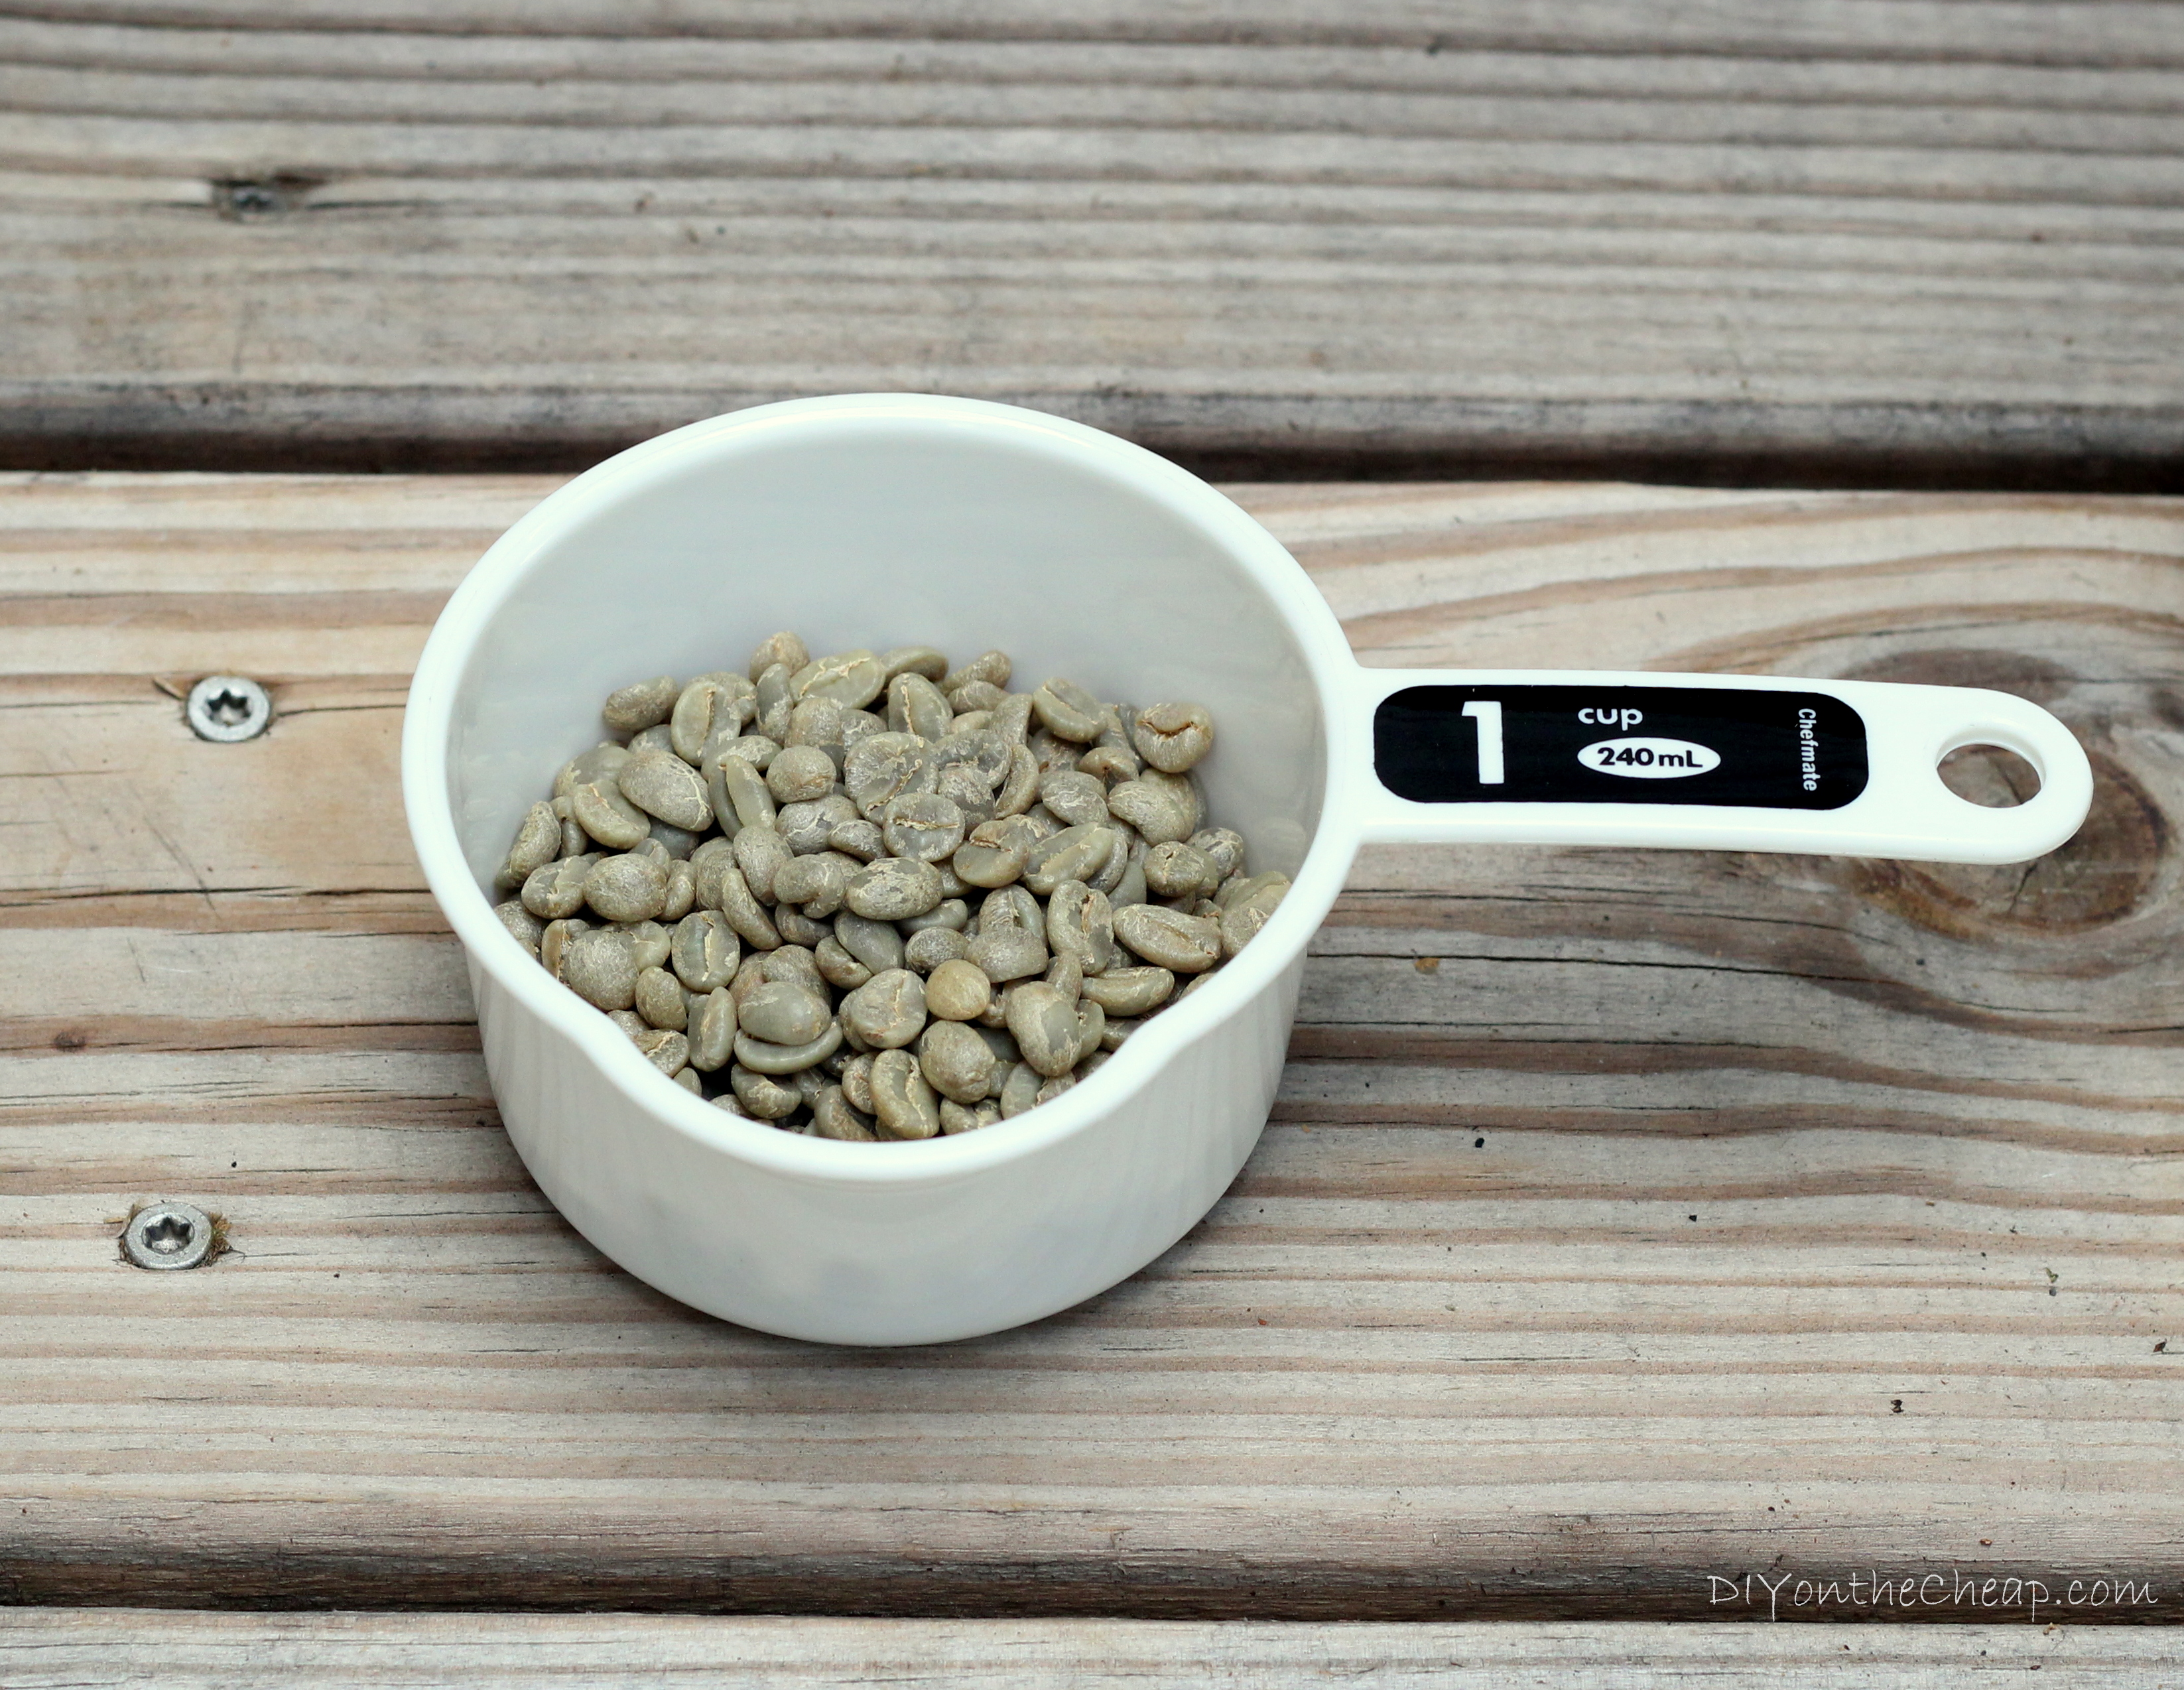
- Measuring Cup (1/2 cup or 2/3 cup)
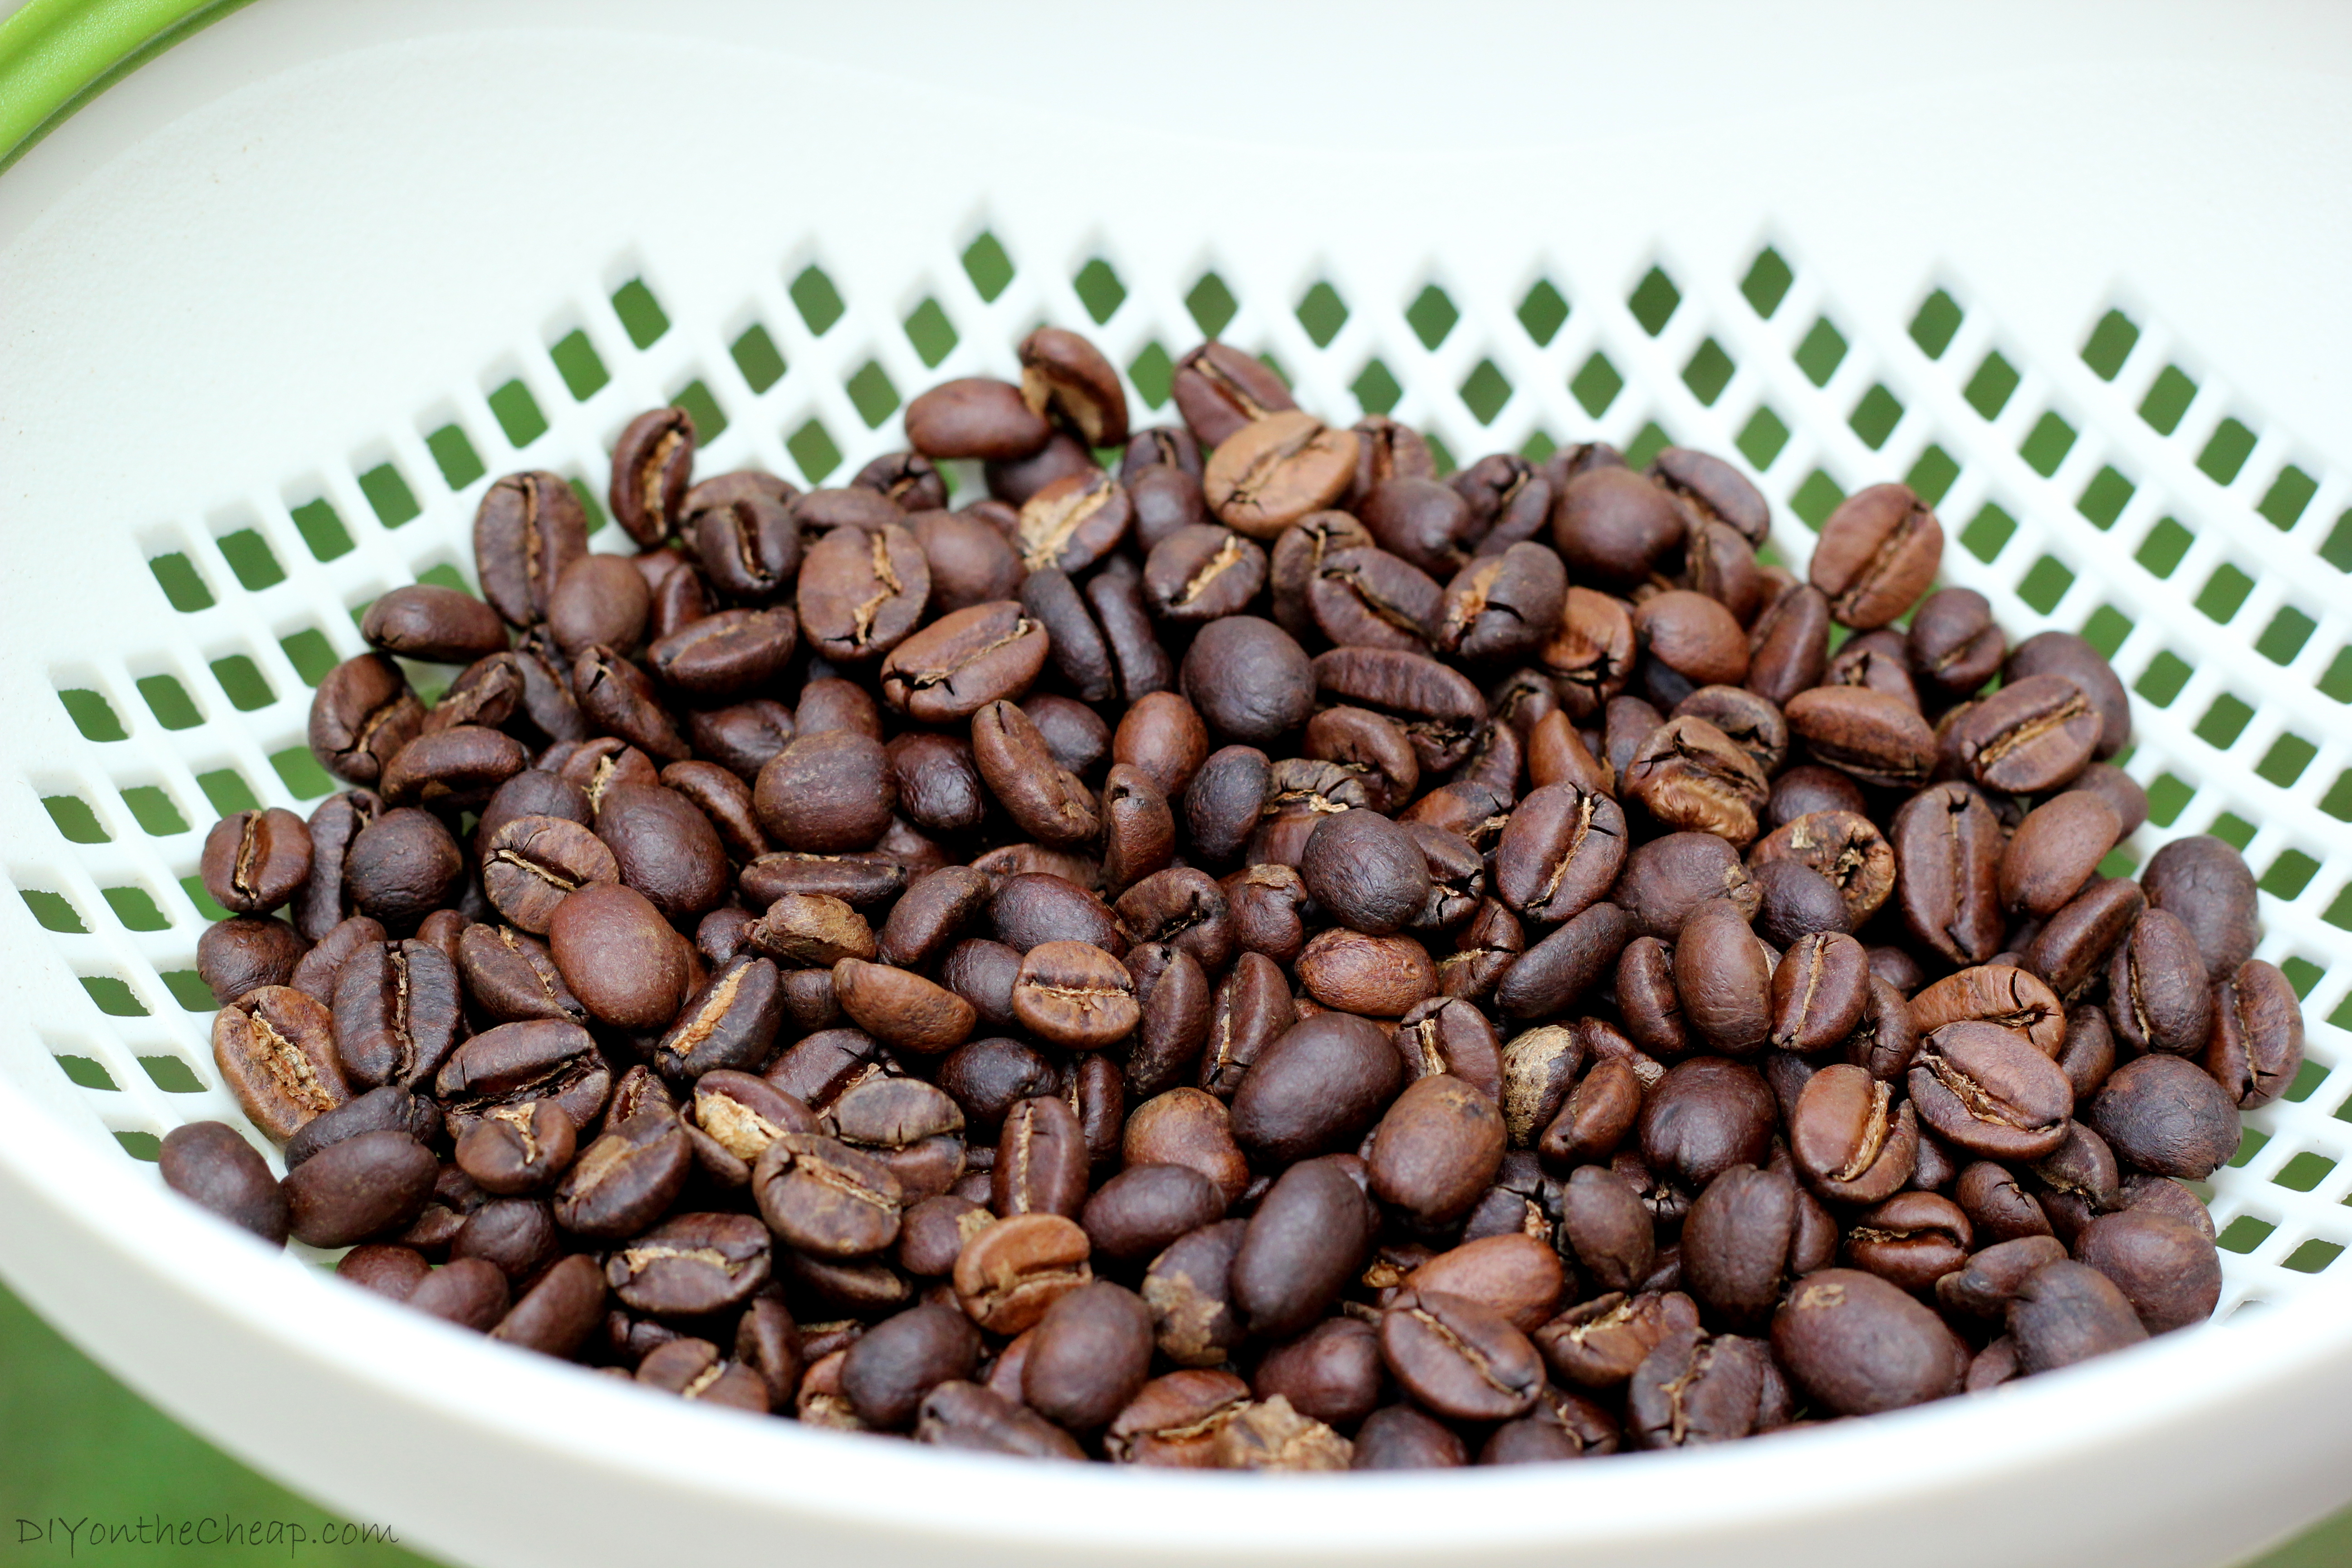
- Green (raw) coffee beans.
(Chris says, “I like Sweet Maria’s for these. They are a company out of Oakland, CA that stocks lots of green coffee beans from all over the world, as well as coffee roasting equipment and other related products, and their website is pretty easy to use. There are other companies that sell green coffee beans, so you can shop around to see what you prefer.”)
How to Roast Coffee Beans:
Step 1:
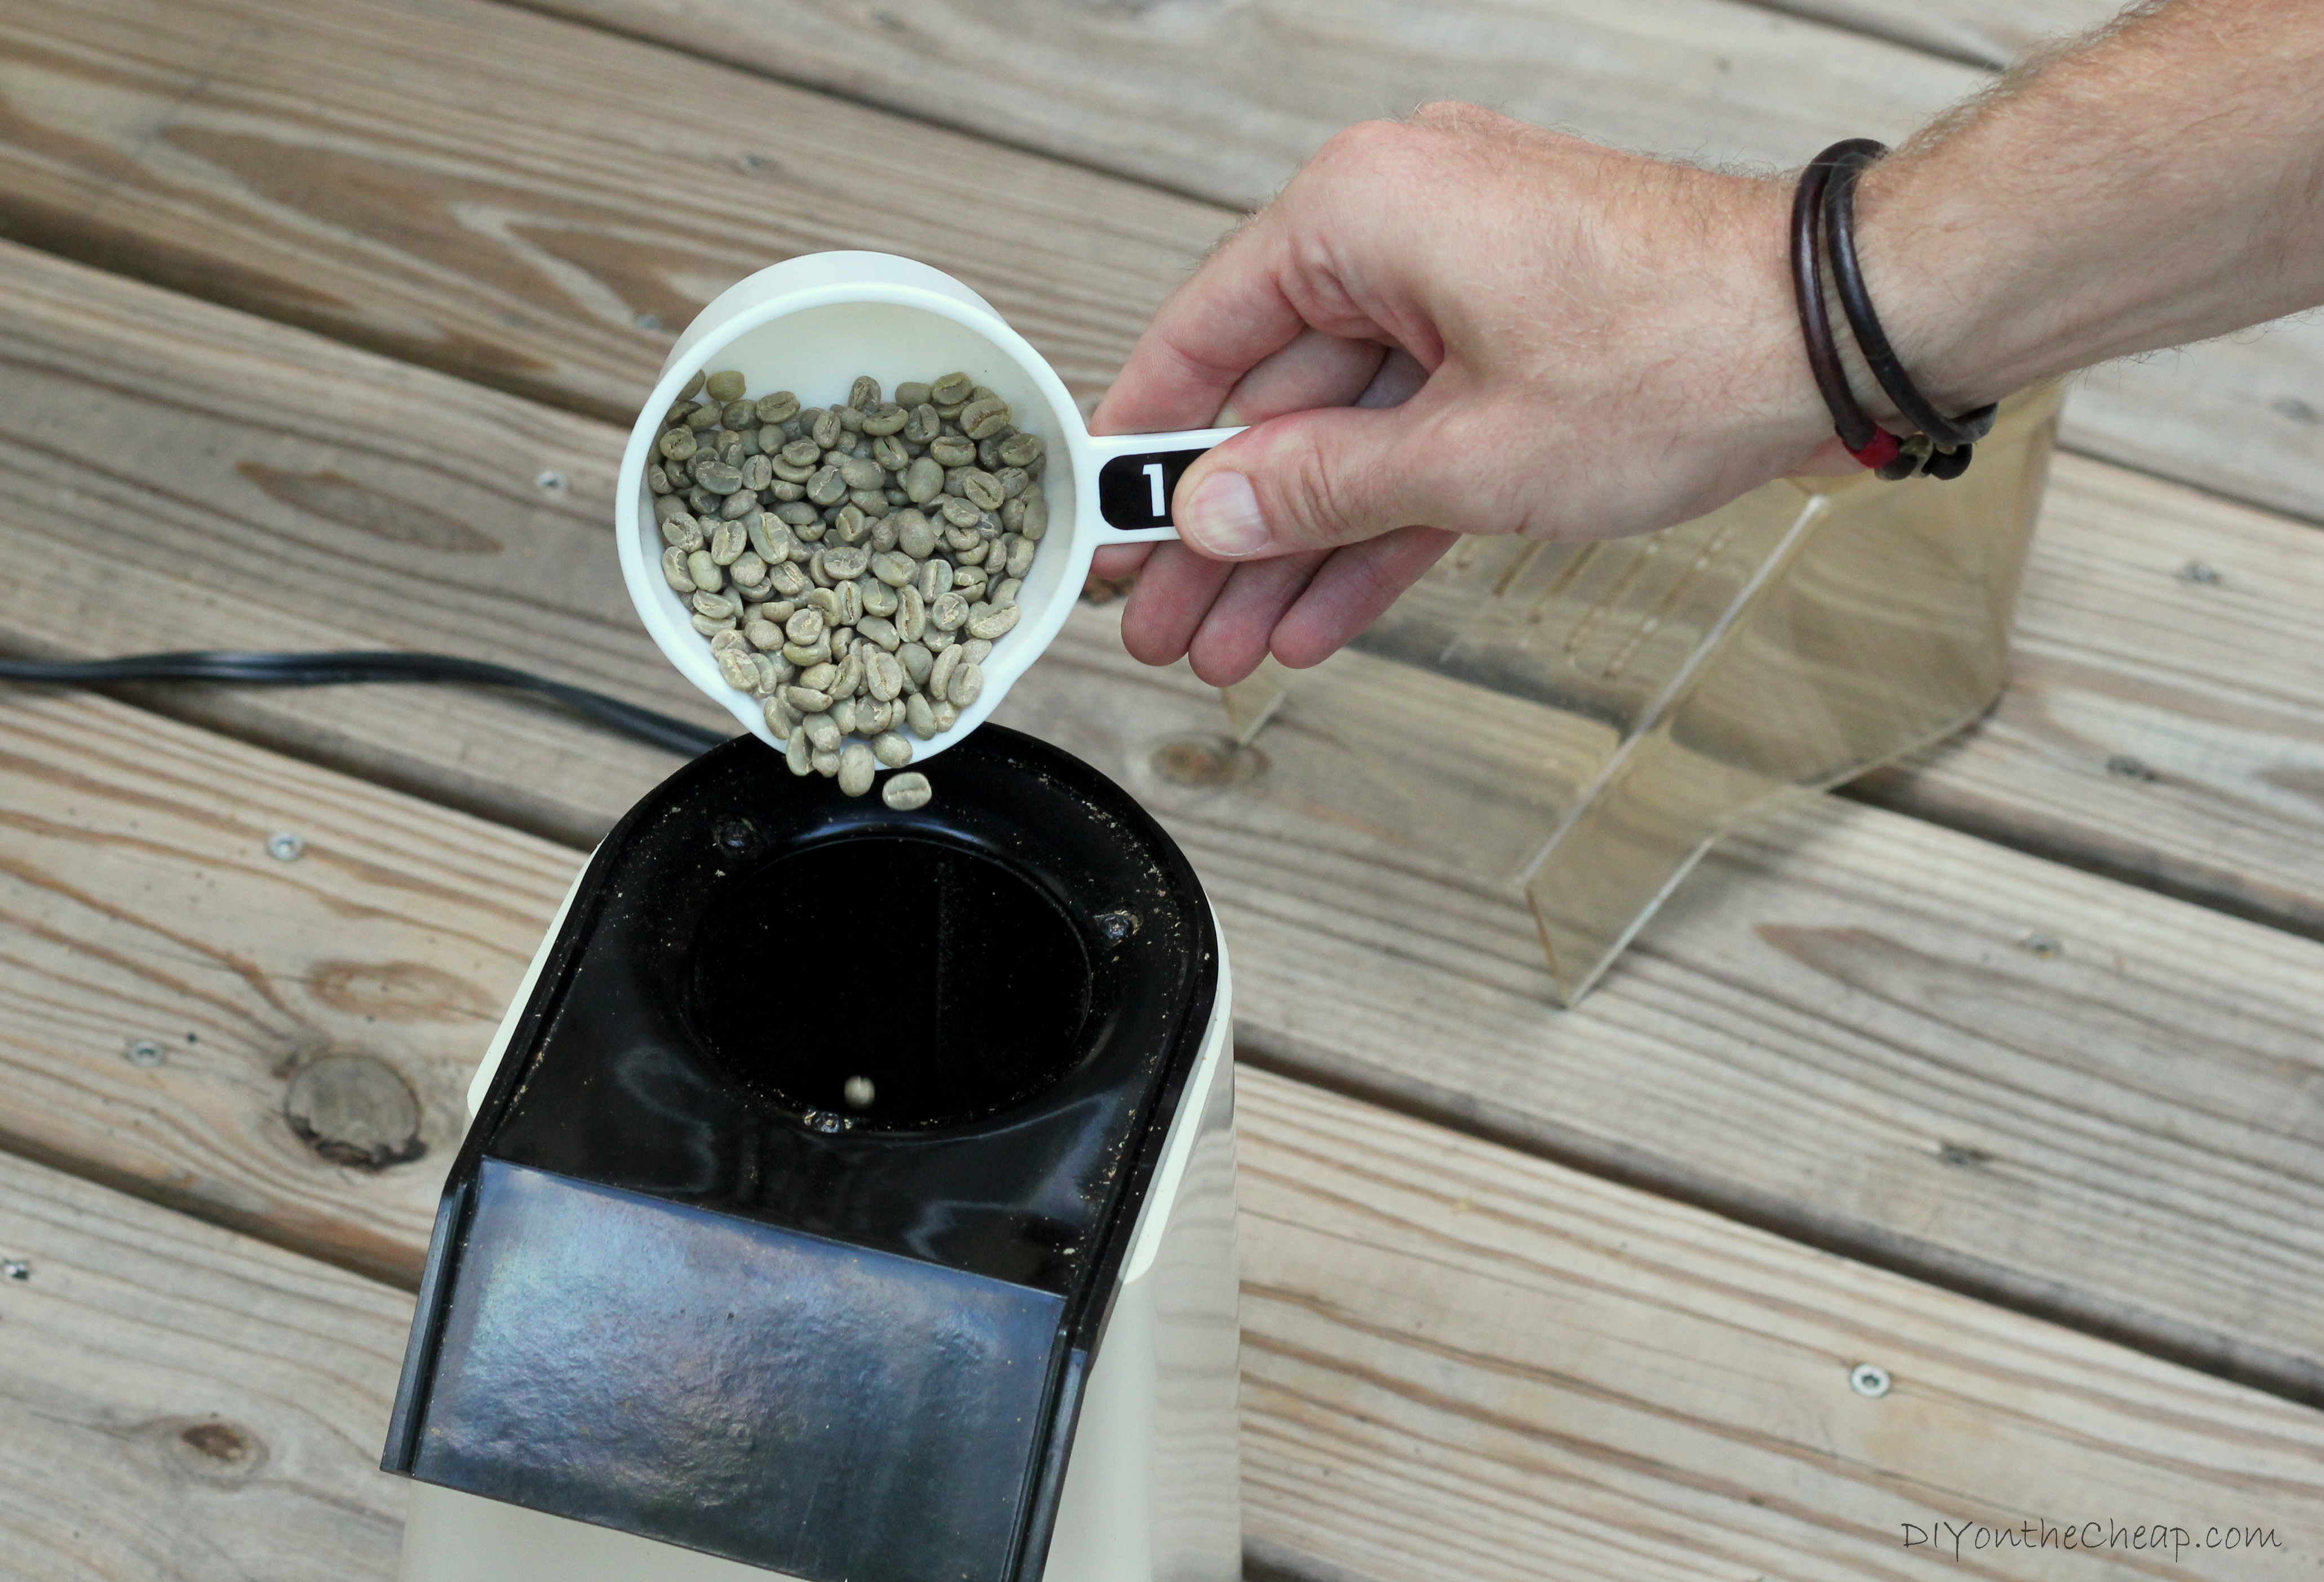
Measure out about 1/2 to 2/3 cup of green coffee beans and pour them into the air popper. Do not put any more than 2/3 cup (1/2 cup is really best) because the beans may not roast evenly.
Step 2:
Turn on the air popper. Place a box or bowl in front of the machine to catch the chaff (skin of the beans). (You don’t necessarily need this, particularly if you are going to roast outside and don’t mind the chaff getting on your deck or patio, for example. It will blow away in the wind. No big deal.) It’s best to roast your beans outside or in a basement as they will emit a distinct smell. It will take a bit longer to roast the first batch since the air popper will need to heat up to the maximum temperature. Watch the coffee beans twirl around in the machine. Determining the darkness of the roast (light, medium, dark) is done by the sound the beans will make as they roast. When you hear the beans start to “pop” similar to popcorn popping, you have reached what is called a “City” roast or a light roast. The longer you let the beans roast from this point on, the darker the roast you will achieve. You will hear the beans pop like popcorn for several seconds. Then it will taper off. The next stage is when the beans start to sound more like Rice Krispies crackling in milk. When this sound begins you have reached what is called a “Full City” or dark roast. If you allow them to crackle at this stage for several seconds you are into Full City + and a French roast (very dark). Do not let them go beyond this point or the result will be a burn, bitter coffee, not something you will enjoy drinking. Since Chris prefers a medium roast, he usually lets the beans go for several seconds while they are popping like popcorn, but he doesn’t let them get to the rice krispie stage. While the beans are roasting, you will see the chaff flying off either into your box/bowl or into the air. This is normal.

Once you have achieved the desired roast level, turn off the air popper and very quickly pour the beans out of the popper and into the metal or mesh colander (Careful! – the beans will be very hot). This is very important because the beans will continue to roast if you do not cool them down quickly. To cool them down fast, you can pour them into one colander, shake them around, and then pour them into a second colander. This will stop them from popping and roasting and cool them down faster.

Step 4:
Once you have the beans cooled in the colander, you should shake/sift them around to remove any remaining chaff. You can blow on them to remove loose chaff and sift with your hands (careful – beans will still be hot) to remove any pesky chaff that sticks. Normally, the longer you roast your beans in the popper, the less chaff you will have left on the beans. Chris typically uses two colanders and passes the beans from one to the other to help them cool.


Step 5:
When the beans are sufficiently cooled down and the chaff is removed, place them into an airtight container for storage.

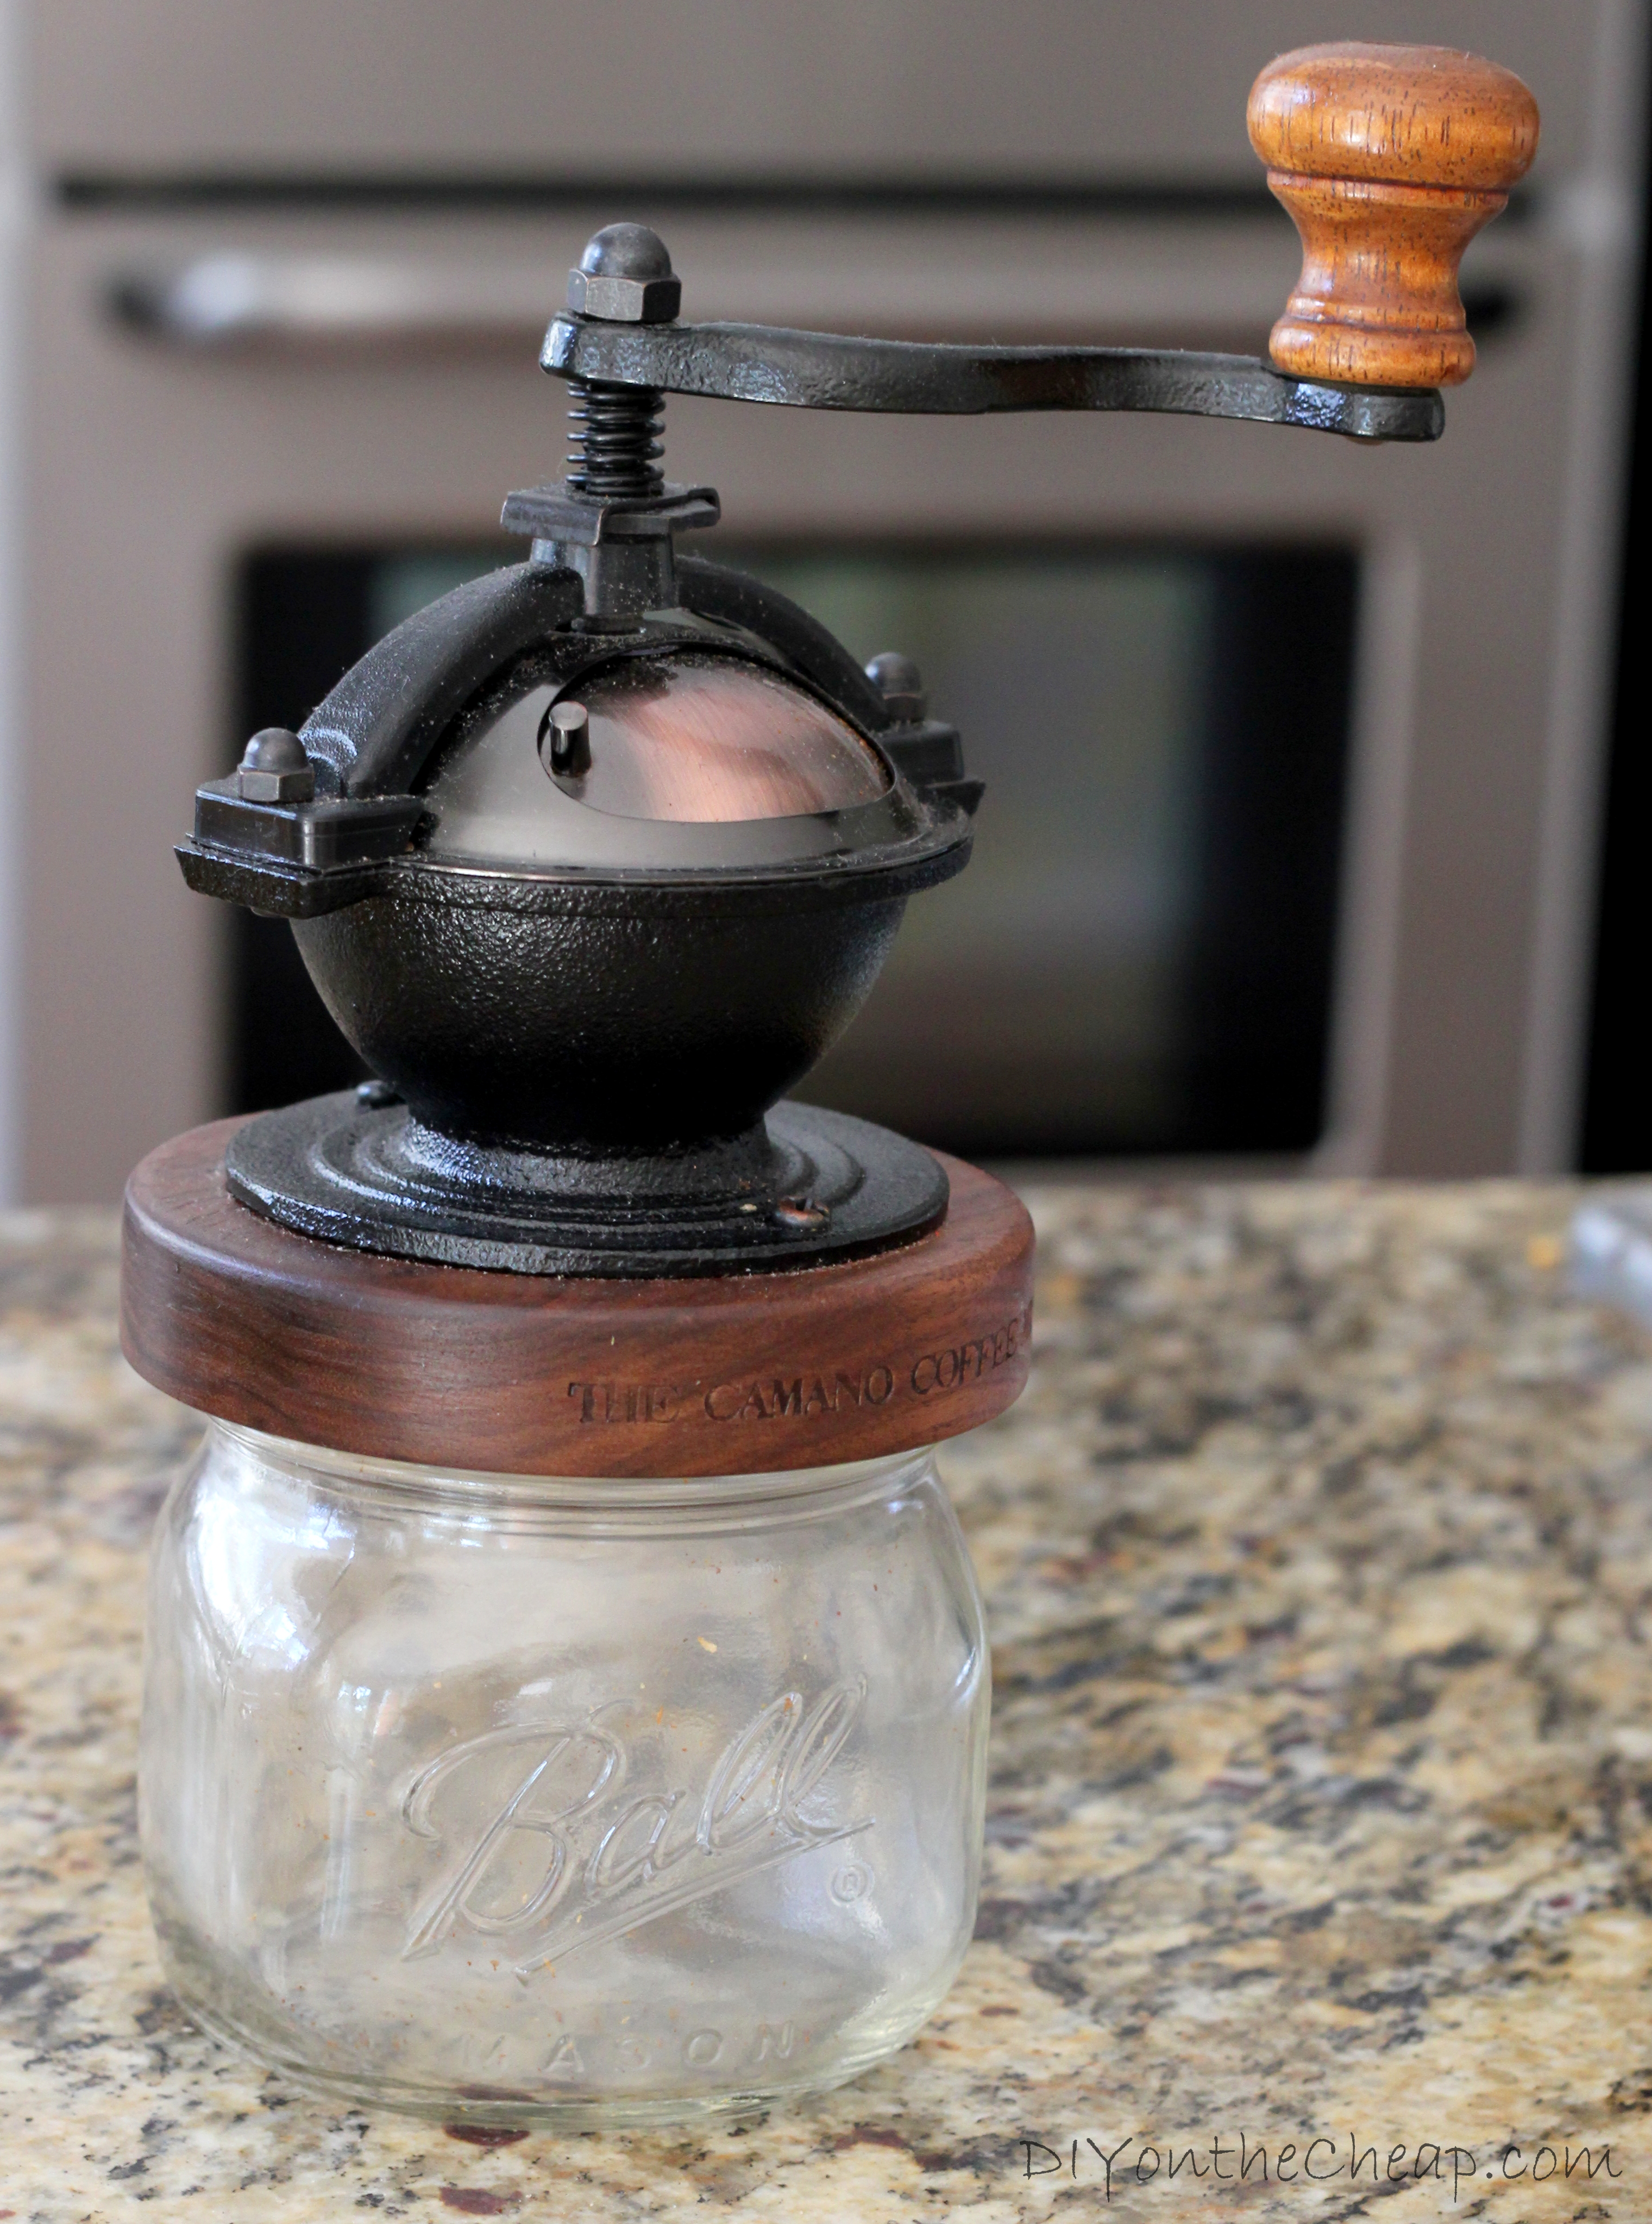
Most home roasters recommend waiting at least a couple days (Chris normally at least lets them sit overnight) before grinding the beans and making coffee. This is because the beans will continue to de-gas as they settle and the flavor will mature. On the topic of grinding, the fineness of your grind will depend on your brewing method. Chris normally brews with either a French Press![]() or an Aeropress
or an Aeropress![]() and each method requires a specific type of grind. For a French press, you want a coarsely ground coffee so that you don’t get as much of the “sediment” in the bottom of your cup.
and each method requires a specific type of grind. For a French press, you want a coarsely ground coffee so that you don’t get as much of the “sediment” in the bottom of your cup.
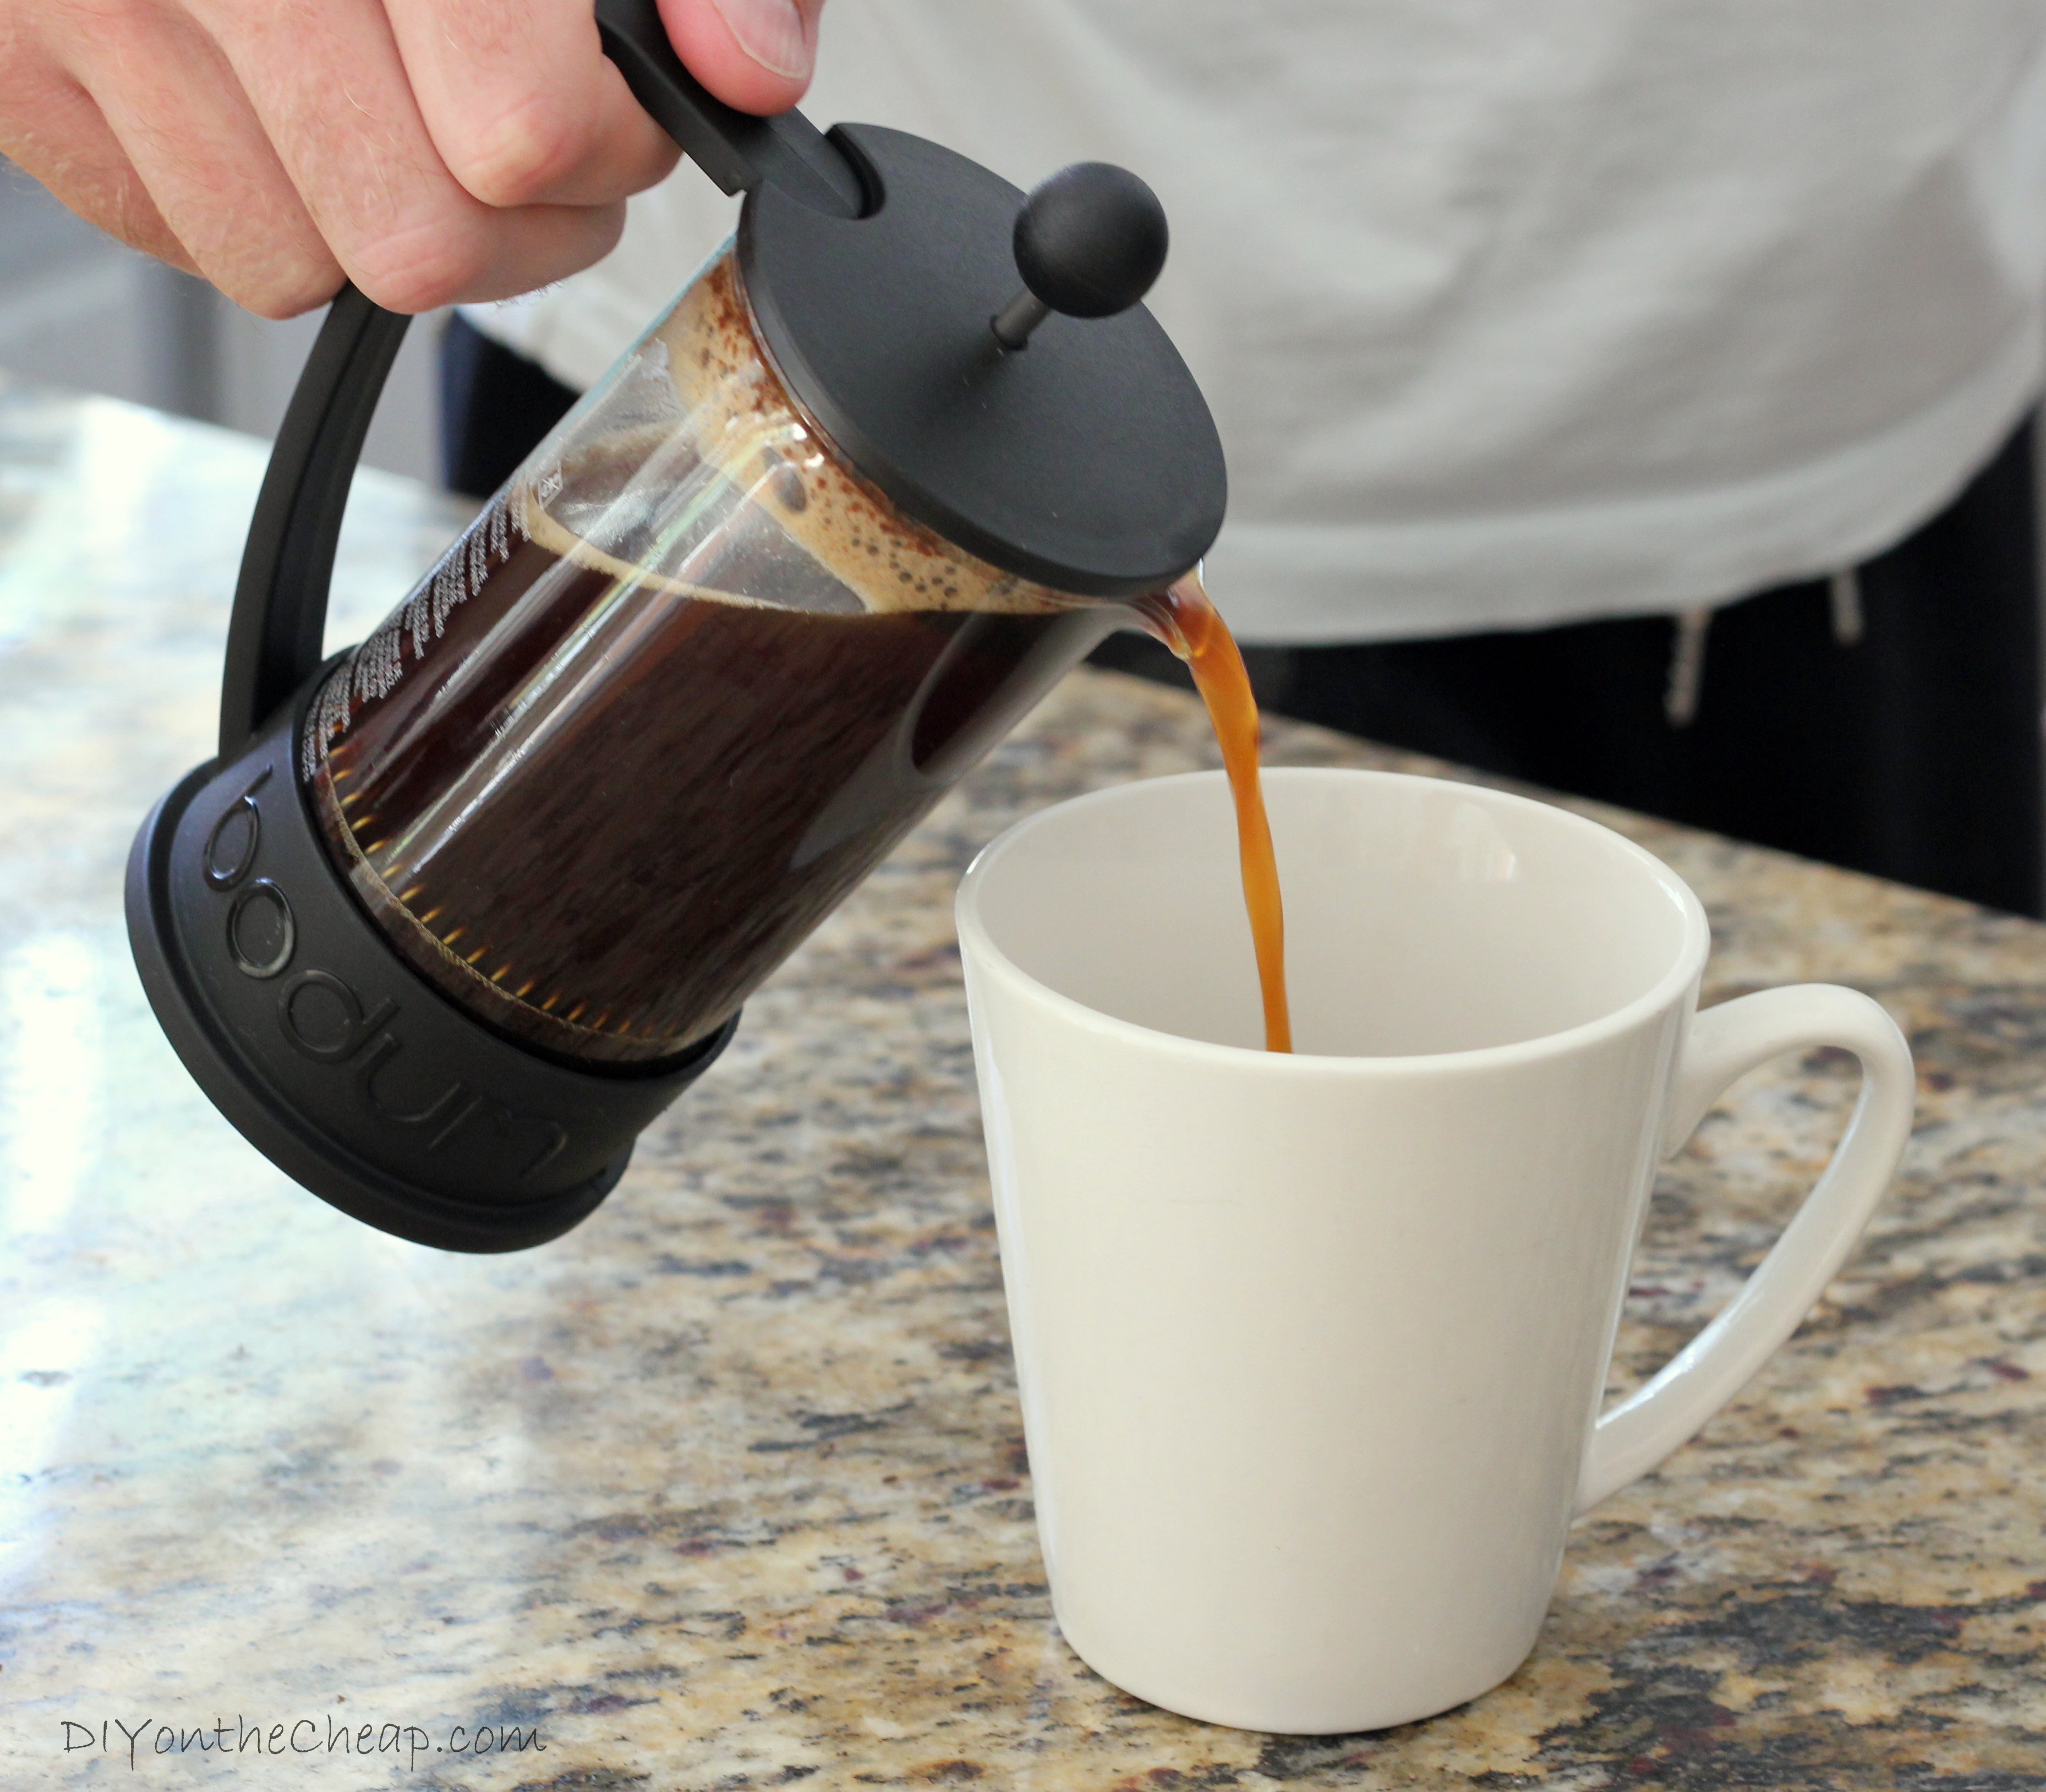
Alternatively, an Aeropress uses a very fine paper filter and thus you should use a more finely ground coffee. Conical burr grinders are the best, but a cheaper blade grinder will do the trick.
Benefits of Home Roasting:

Connect with me here:
![]()
![]()
![]()
![]()
![]()
![]()
