Disclosure: This post is brought to you by Fabric Creations™ and Blueprint Social. All opinions are my own.
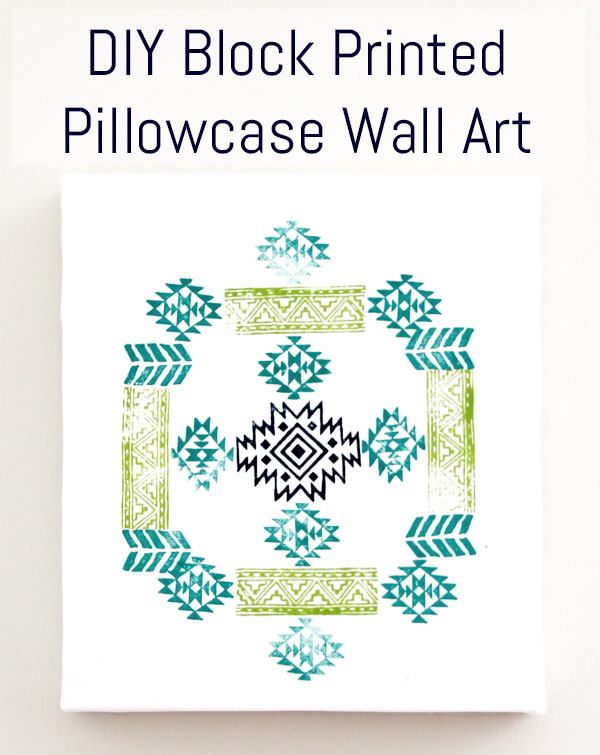
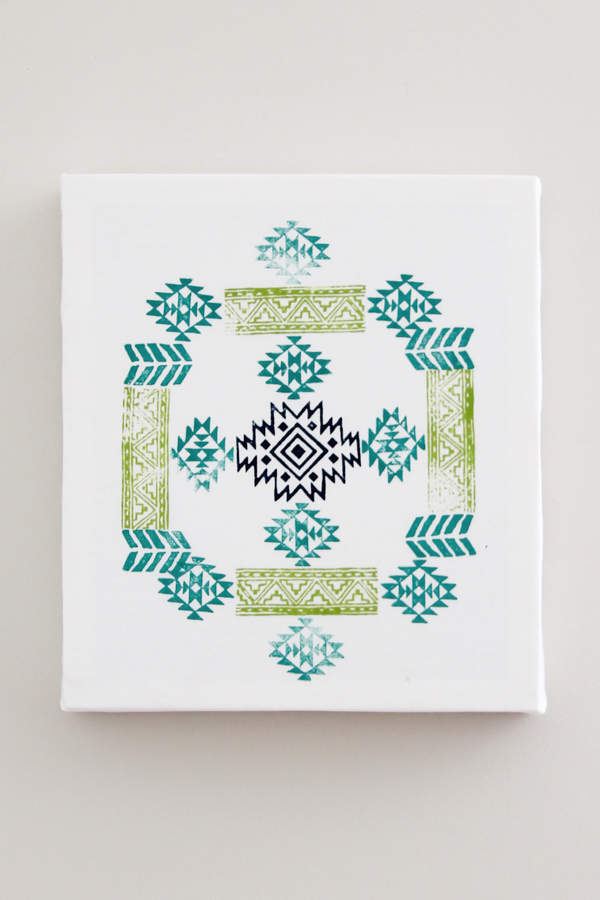
Have you ever heard of block printing? I recently gave it a try for the first time, and I’m hooked! Today I’m going to show you how to do it, plus share a tutorial for this DIY Block Printed Pillowcase Wall Art. I was challenged to revamp something old and give it a new life with Fabric Creations™ Block Stamps and Ink, so I snagged a white pillowcase from the thrift store for a dollar, and transformed it into a wrapped “canvas” piece of art!
What you’ll need for this project:
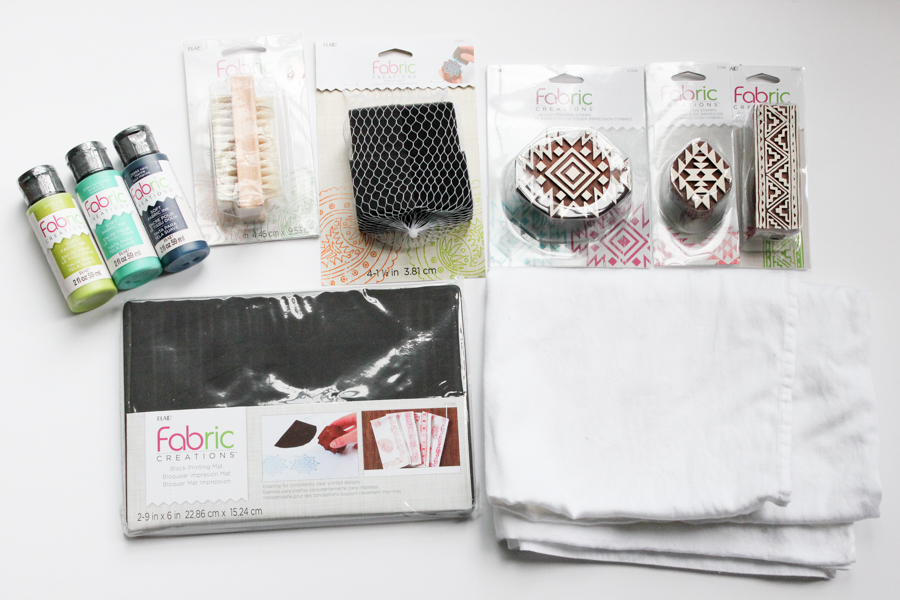
- Fabric Creations™ Block Stamps (I used the Medium Aztec Tile, Border Tribal 1, Small Aztec Tile, and Small Tribal Chevron) These, as well as the Soft Fabric Ink, are available at Hobby Lobby and Plaid Online.
- Fabric Creations™ Soft Fabric Ink (I used Navy, Turquoise and Lime.)
- Fabric Creations™ Foam Printing Mats
- Painter’s Tape (to tape 2 mats together)
- Fabric Creations™ Sponge Cubes
- Plain White Pillow Case
- Dropcloth or brown craft paper
- Paper plate or palette
- Staple Gun
You can buy a pre-made wooden box frame, or build your own using the following tools:
- 1×4 wooden board cut into (4) 12″ long pieces
- Saw
- Nailer and 1 1/4″ brad nails (or hammer and nails)
- Wood glue
- Sanding block
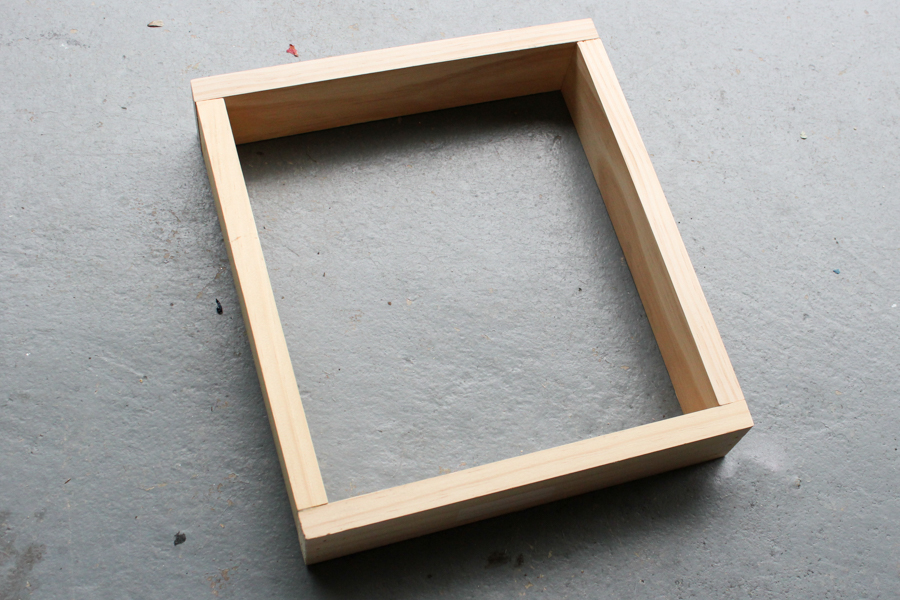
Step 1
Build your frame. (Or you can buy a pre-made frame.)
Cut your 1×4 into 4 pieces at 12″ each. Sand any rough edges, and then form a box by positioning the side pieces inside the top and bottom pieces, creating a rectangle, and attach with wood glue and brad nails.
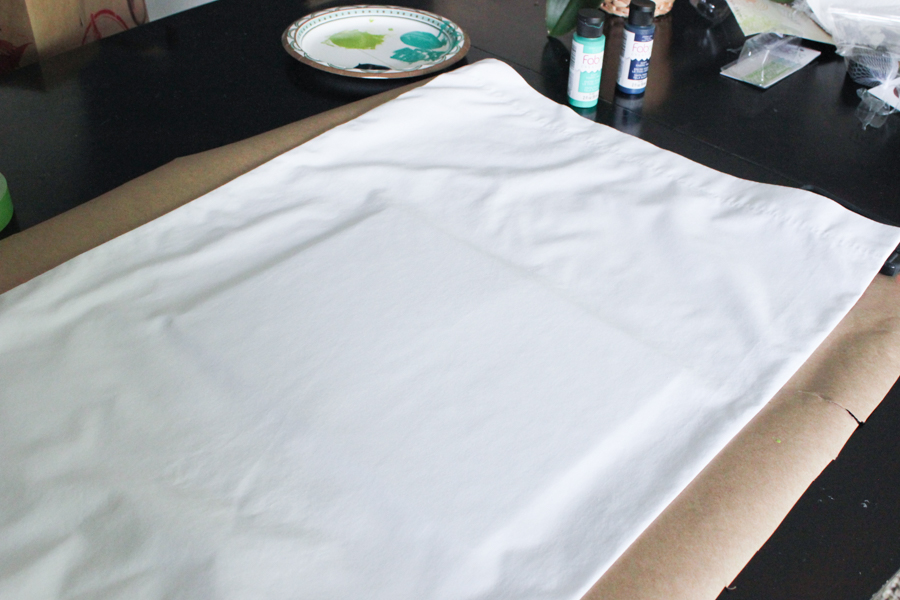
Step 2
Prepare your pillowcase by washing and ironing it. Spread it out flat on your work surface, on top of a drop cloth or brown craft paper. Tape two foam mats together using painter’s tape, and slide it underneath your pillowcase. (Two foam mats are almost exactly the same size as the inside of your wooden frame.)

Step 3
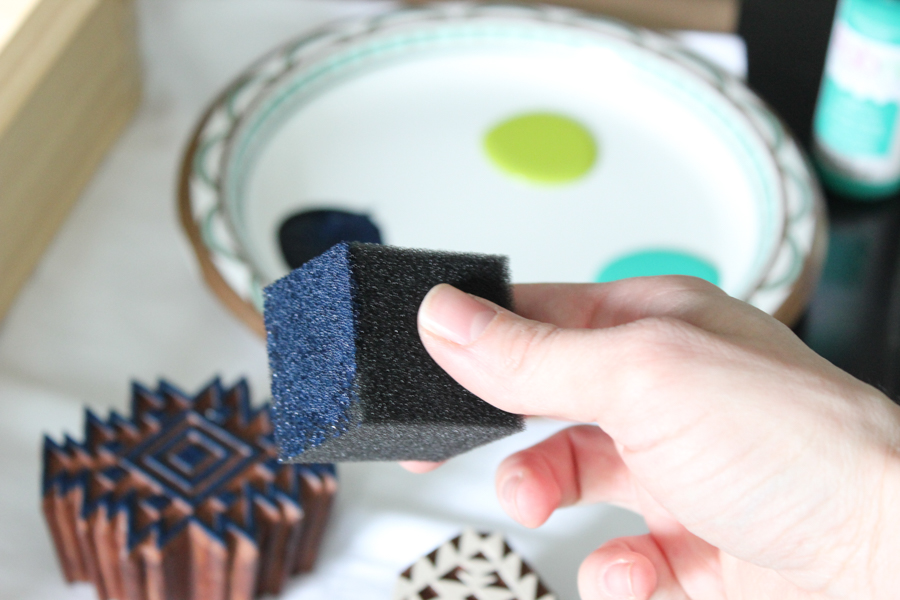
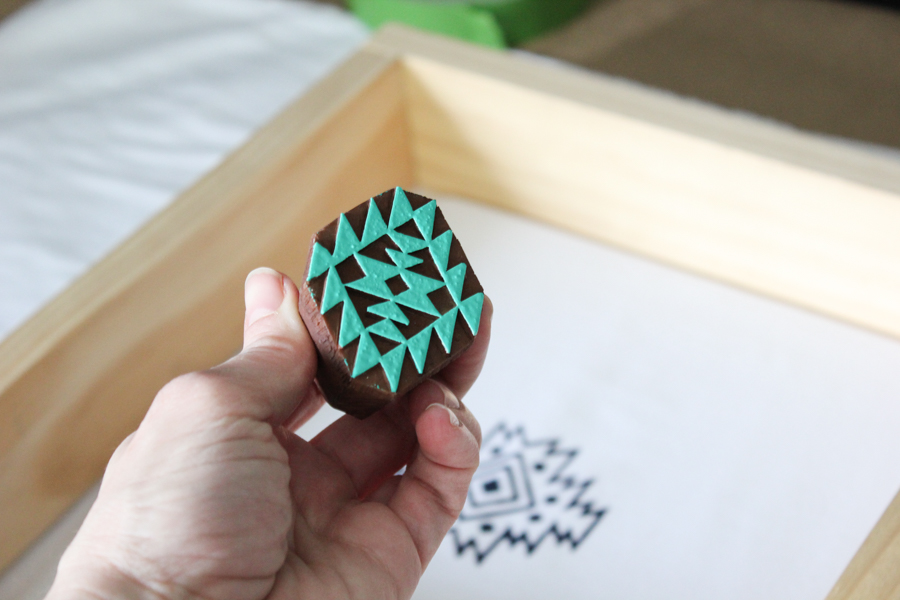
Create a palette using a paper plate and Soft Fabric Ink colors of your choice. Soft Fabric Ink is the perfect formulation for stamping, stenciling and brushing on fabric. It is machine washable, water-based and non-toxic. Dab your sponge cube into your soft fabric ink and blot it onto your block stamp. (I used the Medium Aztec Tile stamp for the center.) Stamp it onto your fabric, creating the pattern of your choice and using a different sponge cube for each Soft Fabric Ink color. Blot the ink onto your block stamp each time you stamp. The color saturation will be faded in some spots, creating the unique color variations that block printing is known for.
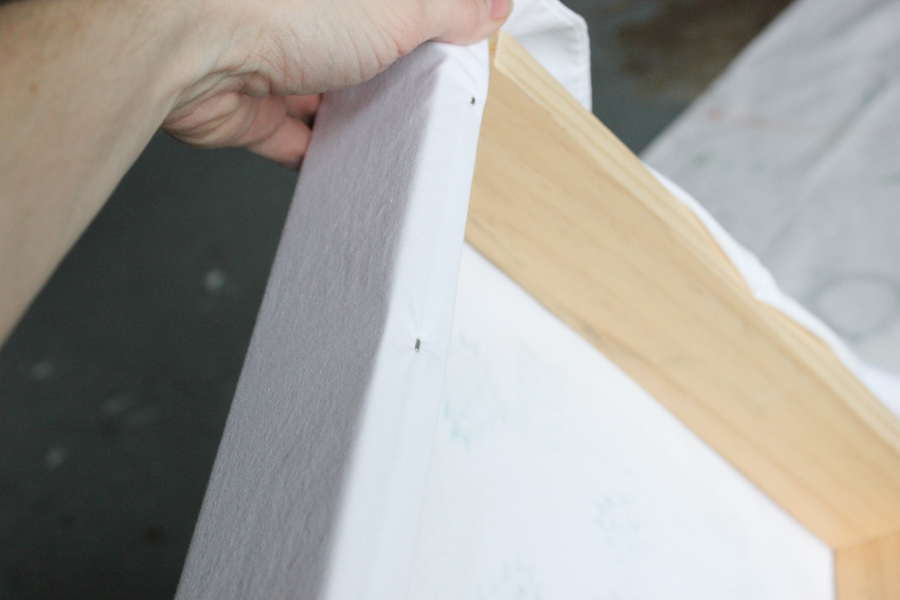
Step 4
After your fabric has dried, center it on your frame, wrap it and staple it in place with a staple gun.
Step 5
Hang your art and enjoy!
FABRIC CREATIONS BLOCK STAMPING KIT GIVEAWAY!
For more Fabric Creations™ information, special offers and project inspiration, be sure to connect with Plaid on Instagram, Facebook, and Pinterest. What would you create with these products?
For more blog posts, visit my project gallery here.
Connect with me here:
![]()
![]()
![]()
![]()
![]()
![]()

Leave a Reply