I paint a lot. Seriously, a lot. So I’m always on the lookout for ways to make the process quicker and/or easier. I thought it might be helpful if I compiled some of my favorite painting tips and tricks into a blog post for you in case you are ever looking for the least painstaking way to paint a room or a piece of furniture.
First of all, let’s start with my must-have supplies. These are things I always make sure to have on hand before I dive into any painting project.
- Painters Tape

- Drop Cloth
- Painting Tray and Liners
- Angled Paintbrush
- Plastic wrap
- Baby Wipes
- Garbage Bags
- HomeRight PaintStick (for walls)
- Small Foam Roller (for furniture)
- KILZ Primer
- Hammer or mallet (to reattach the paint can lid)
- Paper towels
- Fine Sanding Block (for furniture or paint drips)
- Plastic Cup (To hold paint while I’m on a ladder painting high walls or trim.)
- Paint Edger and Pole (To paint wall edges in a room with high ceilings.)
- Step ladder
And here are some of my tips. These are things I swear by when painting.
Tip #1: Wrap your brush or roller in plastic wrap.
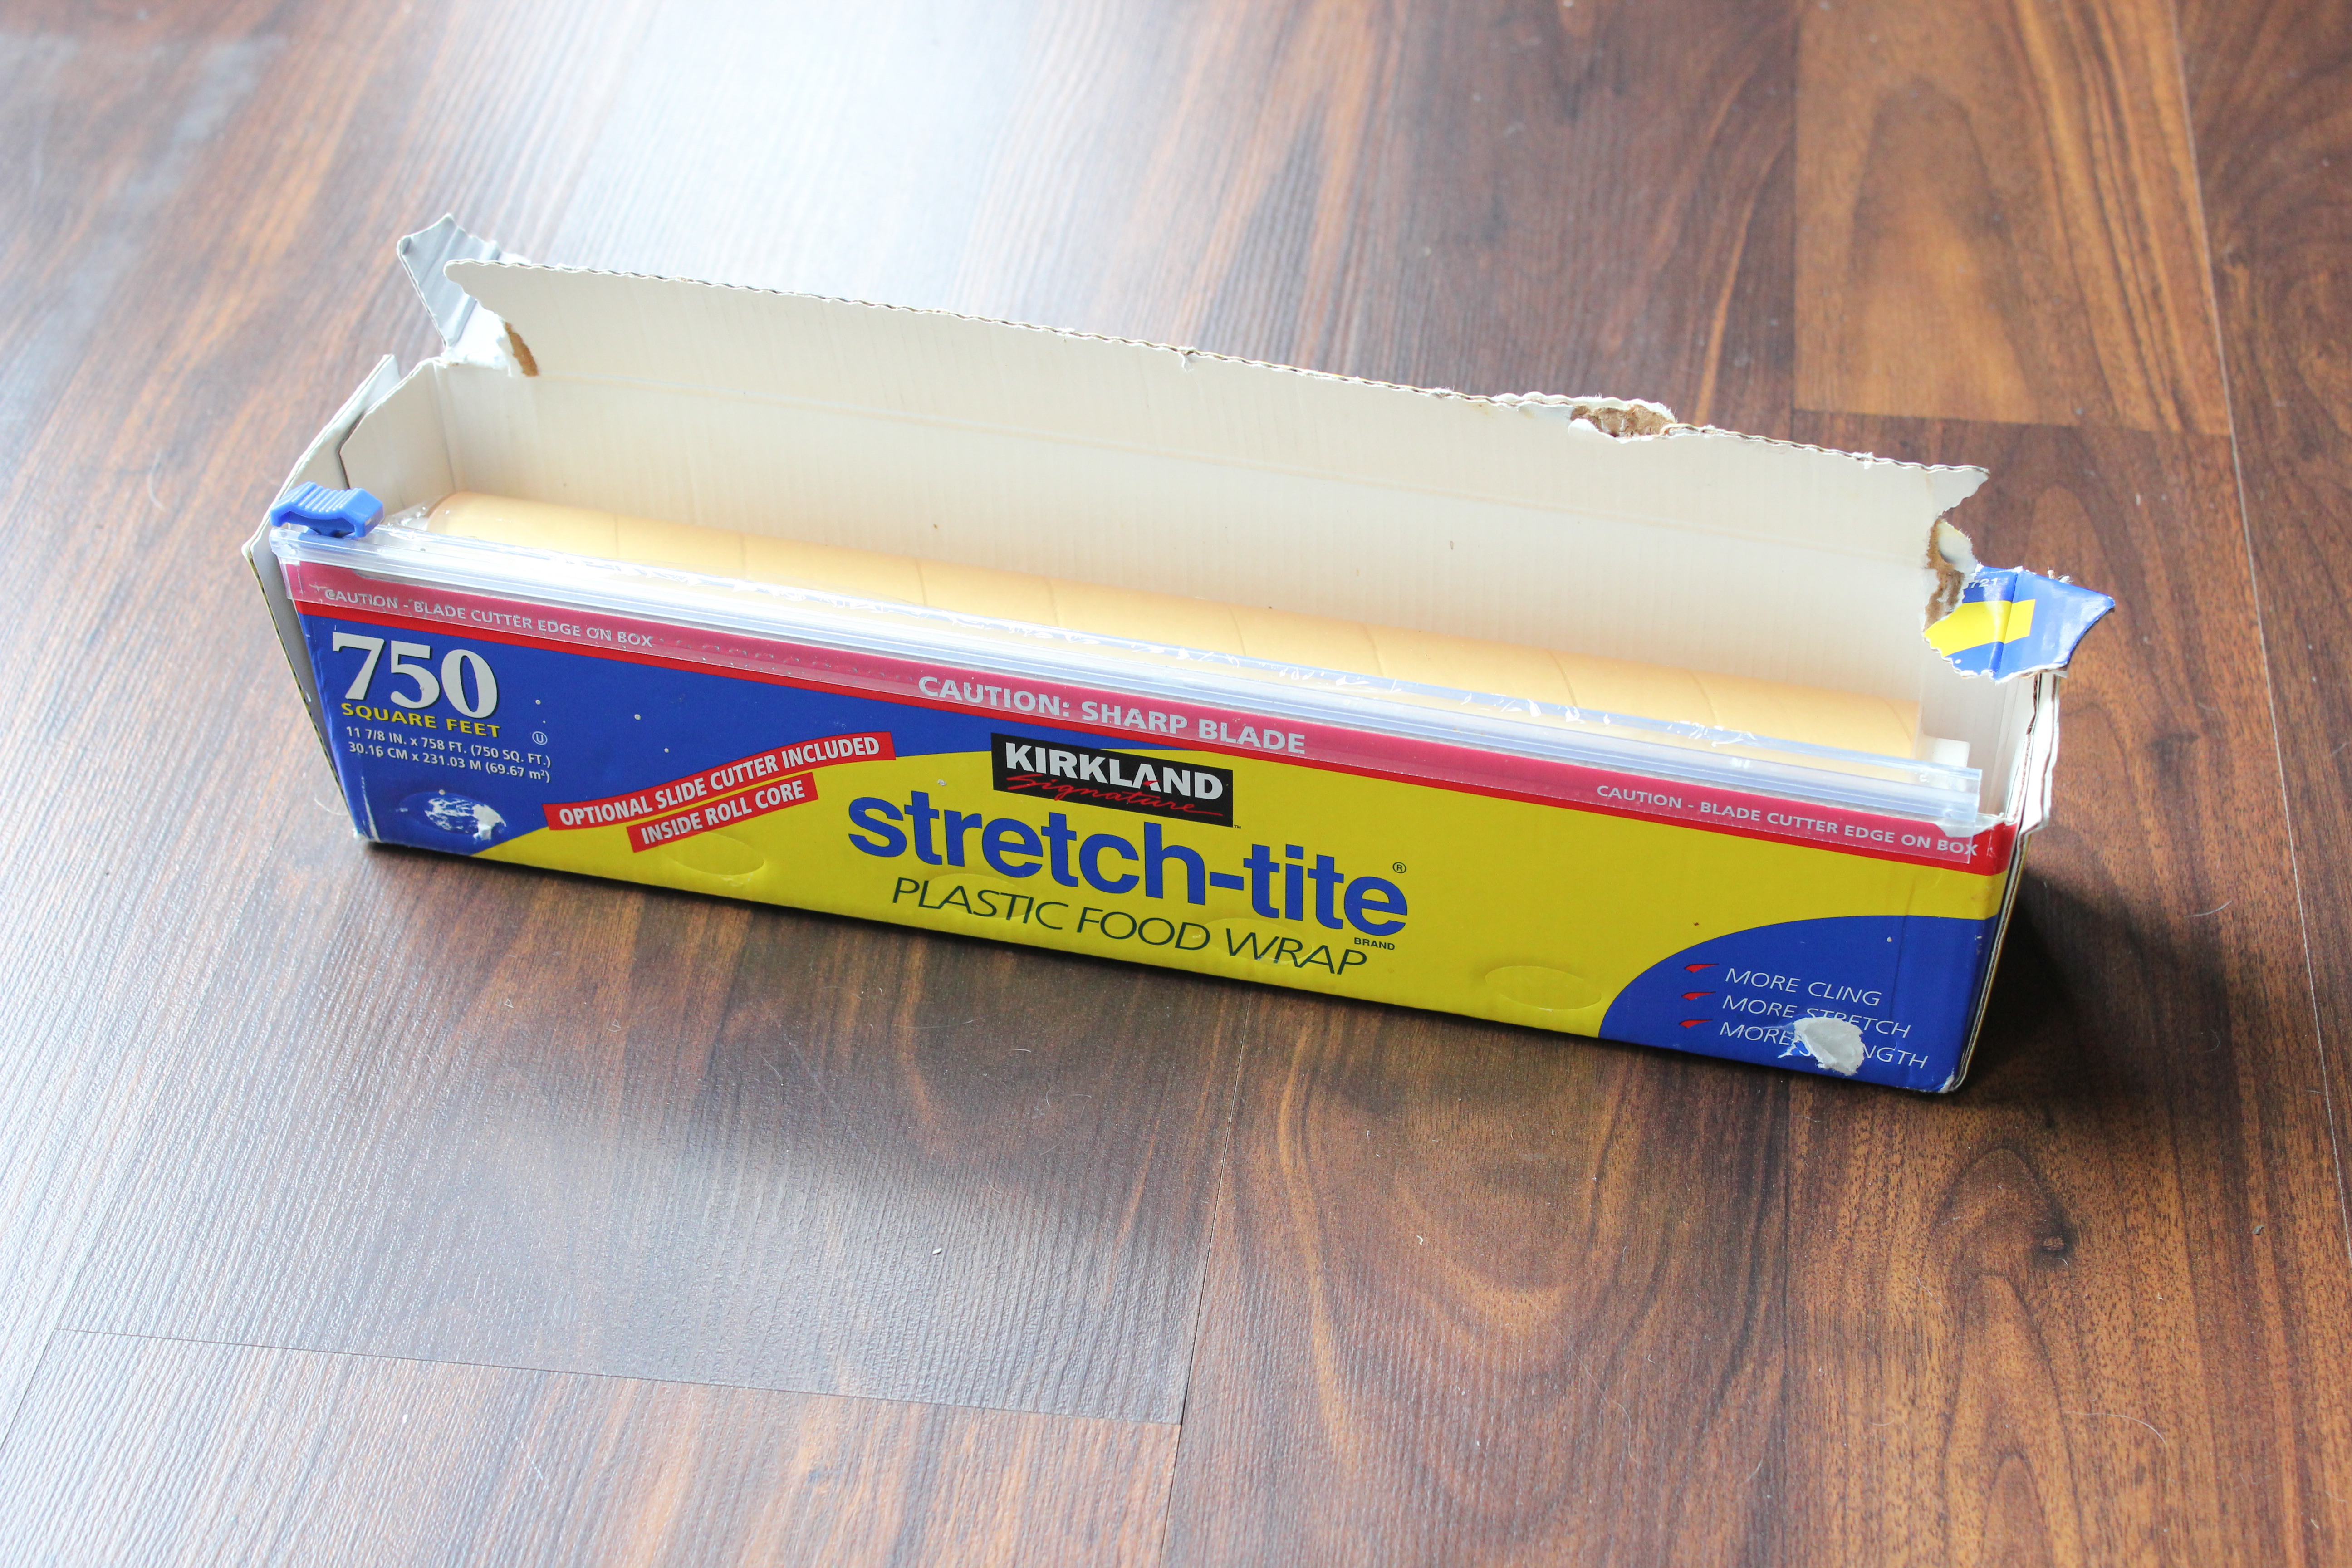
This eliminates the need to wash your brush between coats and will keep it from drying out. I’ve heard that sticking it in the refrigerator after wrapping it will help, but I’ve always just left it wrapped at room temperature and it’s been fine. Just unwrap it when you’re ready for your second coat and the brush is good to go. I also cover my paint tray in plastic wrap to save that paint for later. (P.S. My absolute favorite plastic wrap is this Kirklands brand![]() from Costco and it lasts forever and has a handy zipper thing that cuts it instead of a blade.)
from Costco and it lasts forever and has a handy zipper thing that cuts it instead of a blade.)
Tip #2: Keep baby wipes![]() nearby.
nearby.
These come in handy for so many things! From wiping paint off of your fingers to cleaning up drips or wiping stray paint globs off of baseboards. I always end up using them.
Tip #3: Use an angled brush to cut in around edges.

Most of the time I am too lazy to tape off the edges of the entire room, but I have always been terrible at “cutting in” without smearing paint all over the ceiling or baseboards — until I started using an angled brush. This is one of my favorites![]() , and I love this one
, and I love this one![]() too. Get a good grip on the brush near the base, make contact with the wall a few inches below the ceiling, then drag your brush up to the edge where the ceiling meets the wall and slowly continue dragging it along. This is the perfect technique for a good “cut-in.”
too. Get a good grip on the brush near the base, make contact with the wall a few inches below the ceiling, then drag your brush up to the edge where the ceiling meets the wall and slowly continue dragging it along. This is the perfect technique for a good “cut-in.”
Tip #4: Remove painter’s tape while paint is still damp.
If you do tape off any edges, be sure to peel it off while your last coat of paint is still damp. This prevents the tape from peeling paint off with it, and allows you to get a crisp edge.
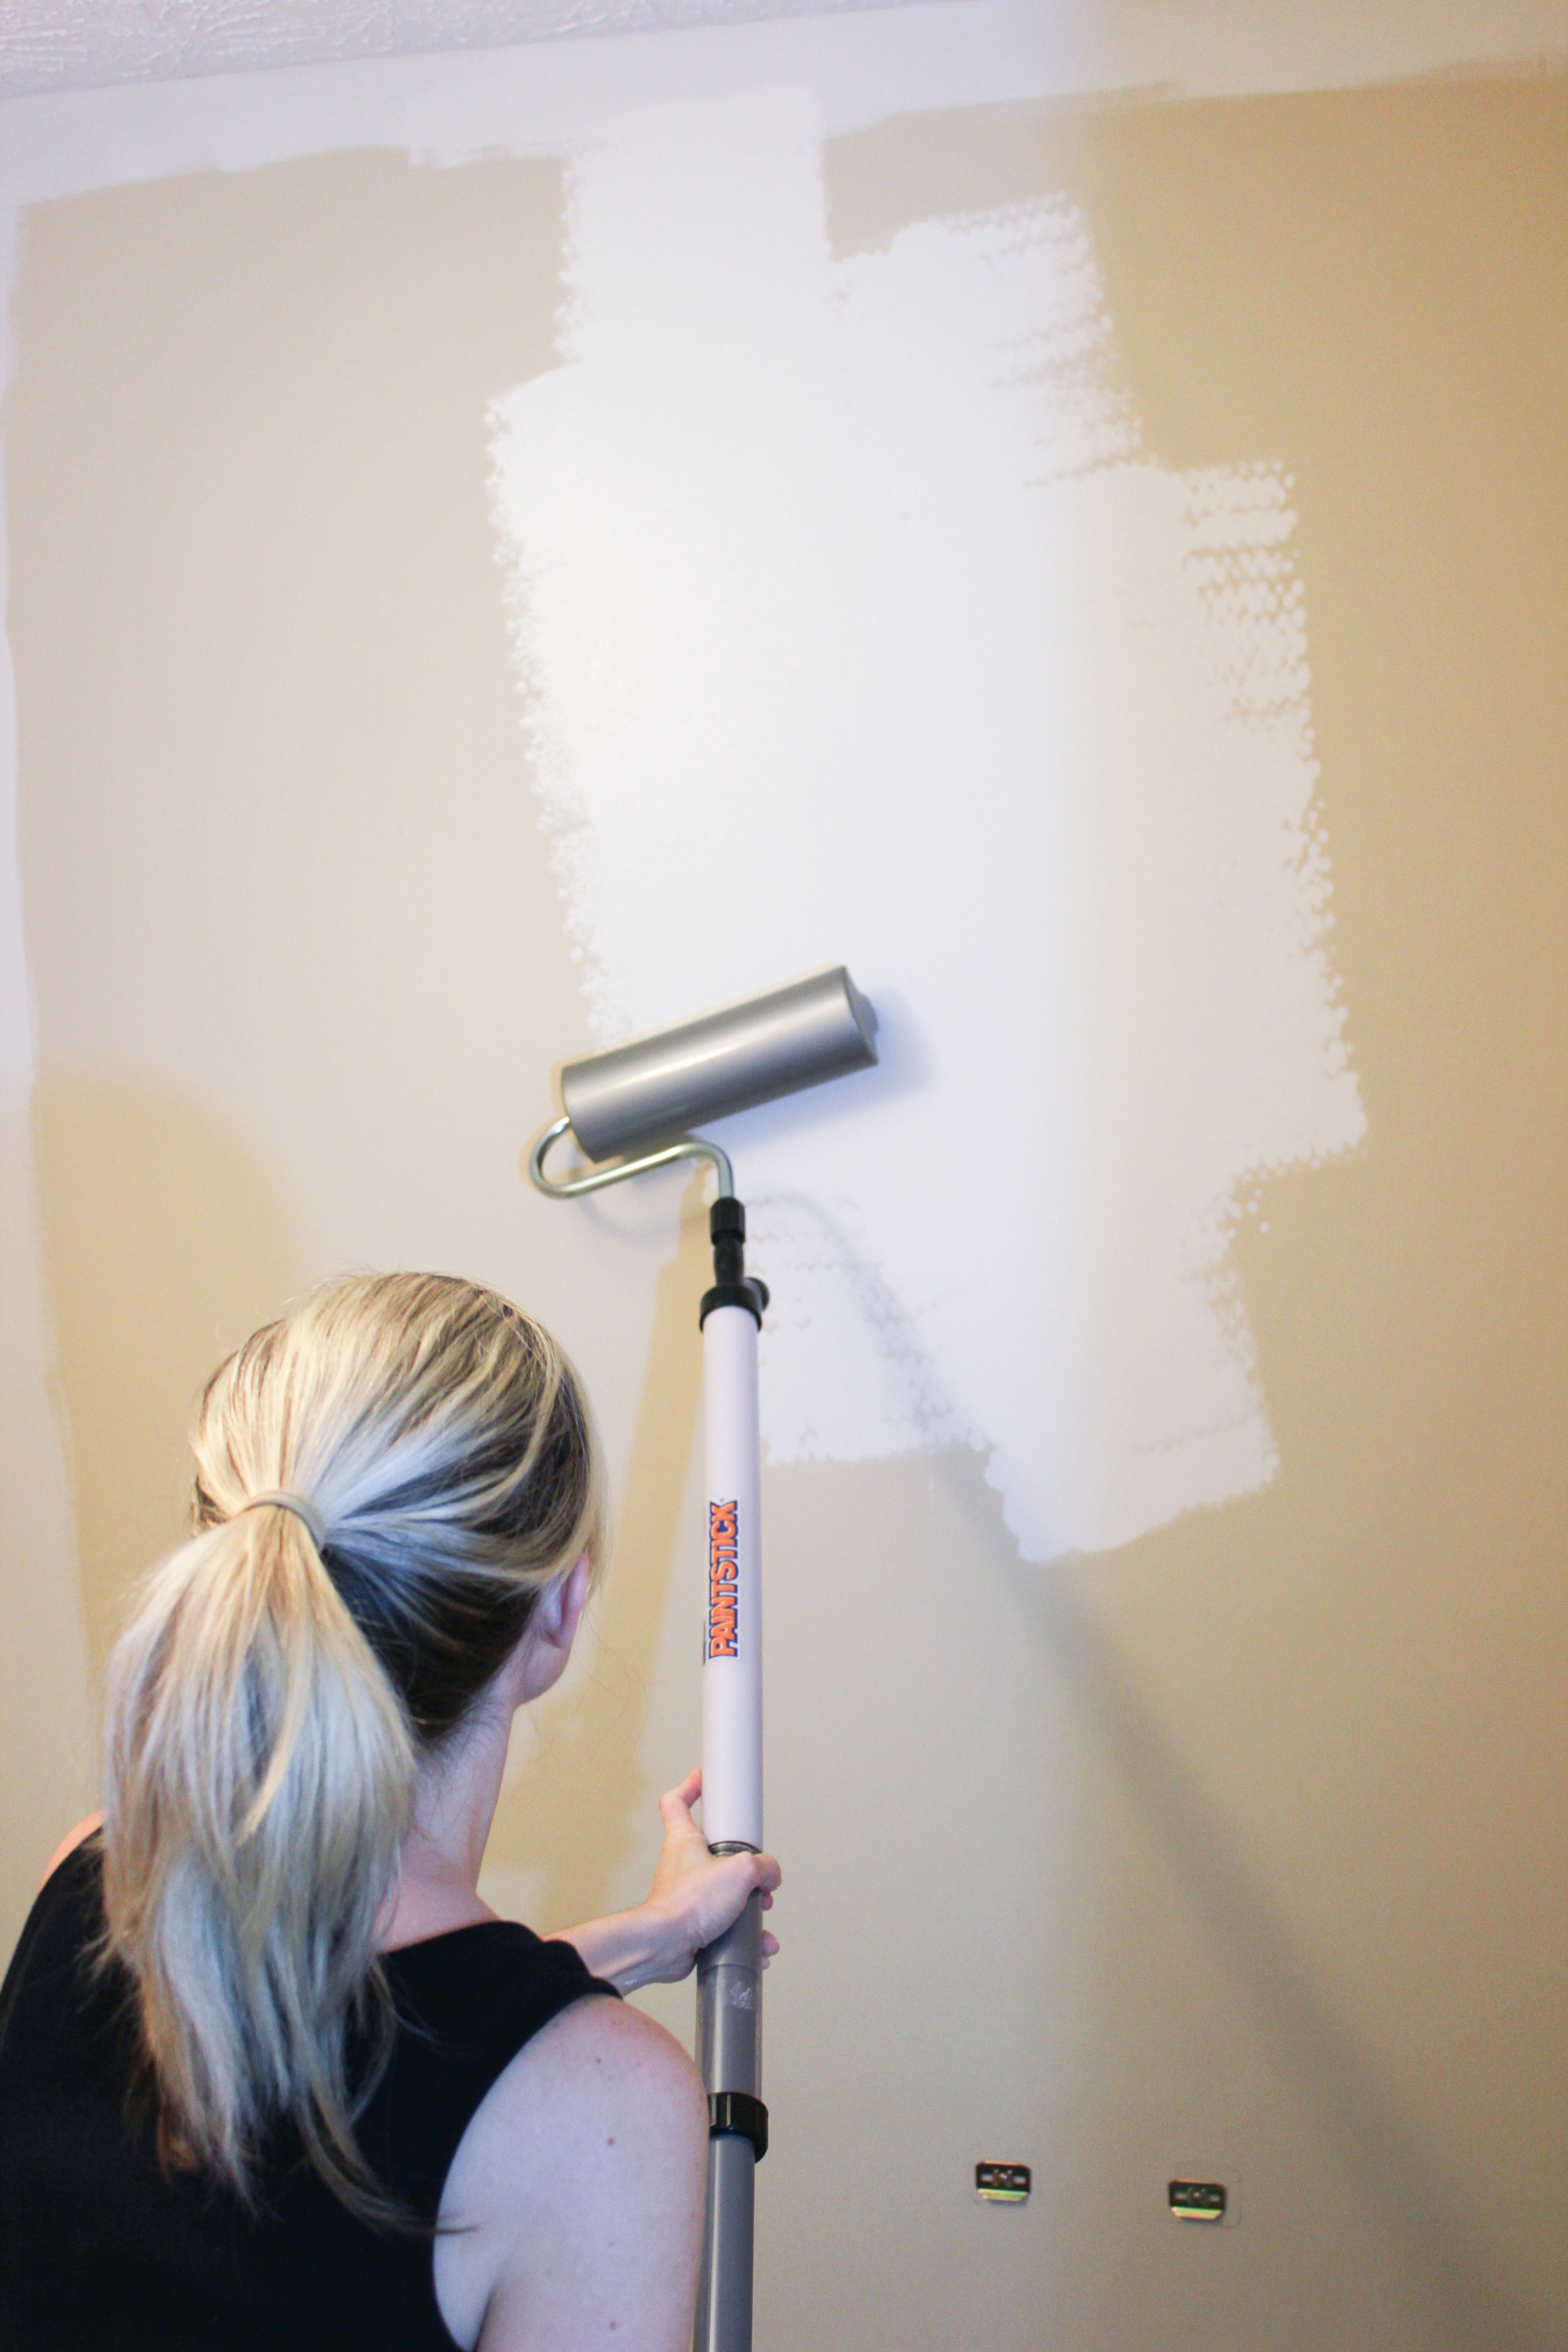
Tip #5: The HomeRight PaintStick![]() is a Lifesaver.
is a Lifesaver.
Ok, maybe not a lifesaver, but definitely a time saver. If you’re painting an entire room, you’re going to want this tool. It makes your job a billion times easier, and I’m not just saying that because I’m a brand ambassador for the company. I absolutely love this tool and it literally cuts painting time in half, if not more. (Check out the rooms I painted with it here and here.)
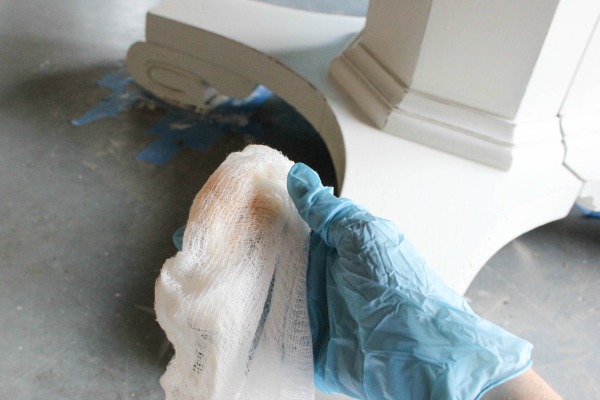
Tip #6: Sand Furniture Between Coats
If you’re painting a piece of furniture, always prime first and then sand between each coat of paint with fine sandpaper. (But not after the last coat!) This allows you to get a perfectly smooth, professional looking finish. You can check out my full furniture painting tutorial here.
Tip #7: Use a topcoat for painted furniture or let it fully cure.
Some people spend a lot of time painting a piece of furniture, only to skip the last step and end up ruining their paint job by using the piece too soon. I’m guilty of this! I can’t stress enough how important a protective topcoat is, and if you choose not to use one, then paint takes about a month to fully cure, so be sure to wait that long before placing items on top of it or using it much. My favorite topcoats for painted furniture are Minwax Finishing Paste![]() and Minwax Polycrylic
and Minwax Polycrylic![]() .
.
What are some of your favorite painting tips? Do tell!
For more blog posts, check out my project gallery here.
![]()
![]()
![]()
![]()
![]()
![]()
