Disclosure: This post is sponsored by FloraCraft®. All opinions are my own.
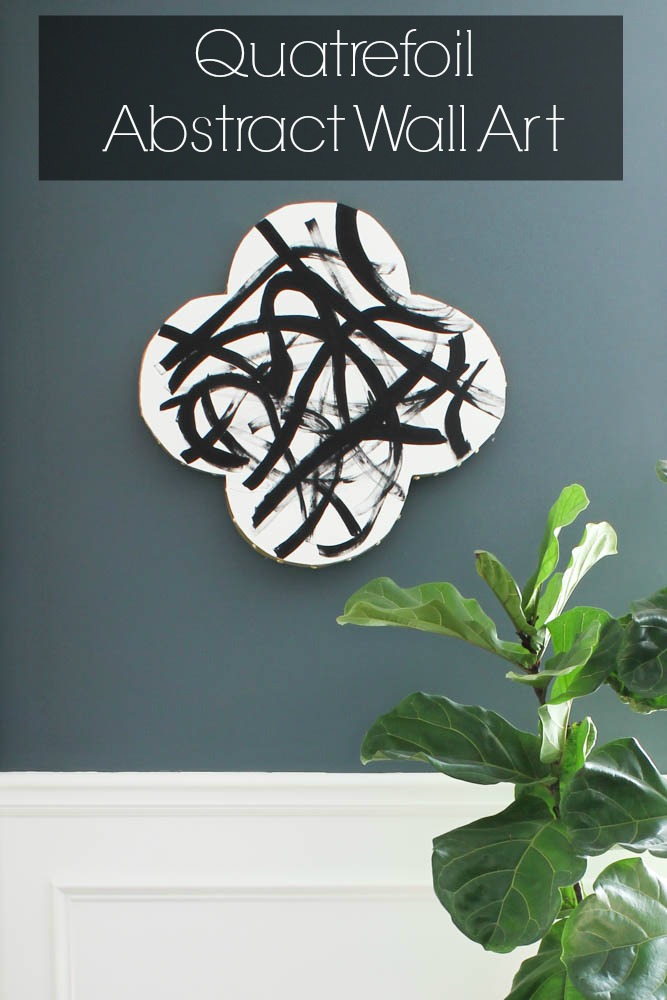
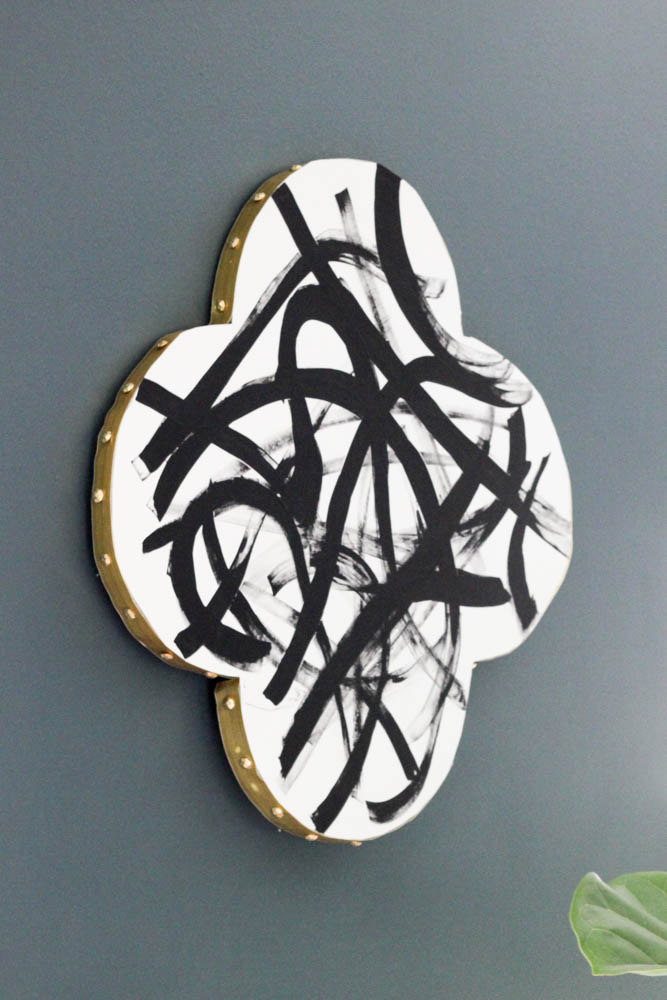
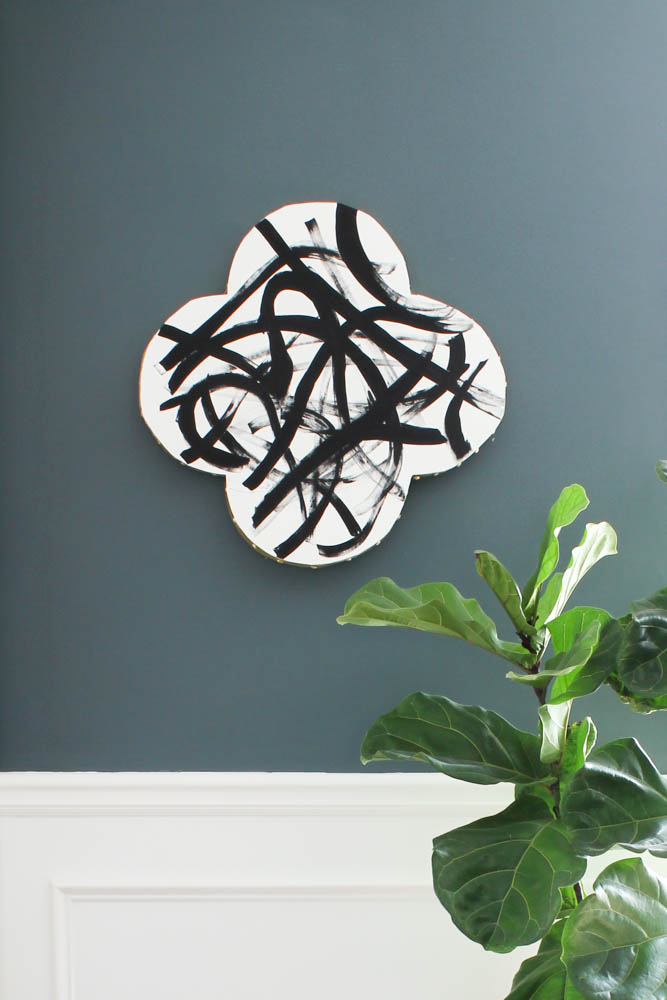
You may remember the quatrefoil photo wall art I made for my boys’ room a long time ago. Well, this is a little bit of a different spin on that. Today I’m sharing quatrefoil abstract wall art, and it was really easy and fun to make. In fact, I wish I had known about these tools and materials when I made the photo art because this would have made that project 10 times easier! This is more of a traditional quatrefoil shape whereas the photo art was something called a “barbed quatrefoil.” (That’s when it has the square shape inside the clover shape.)

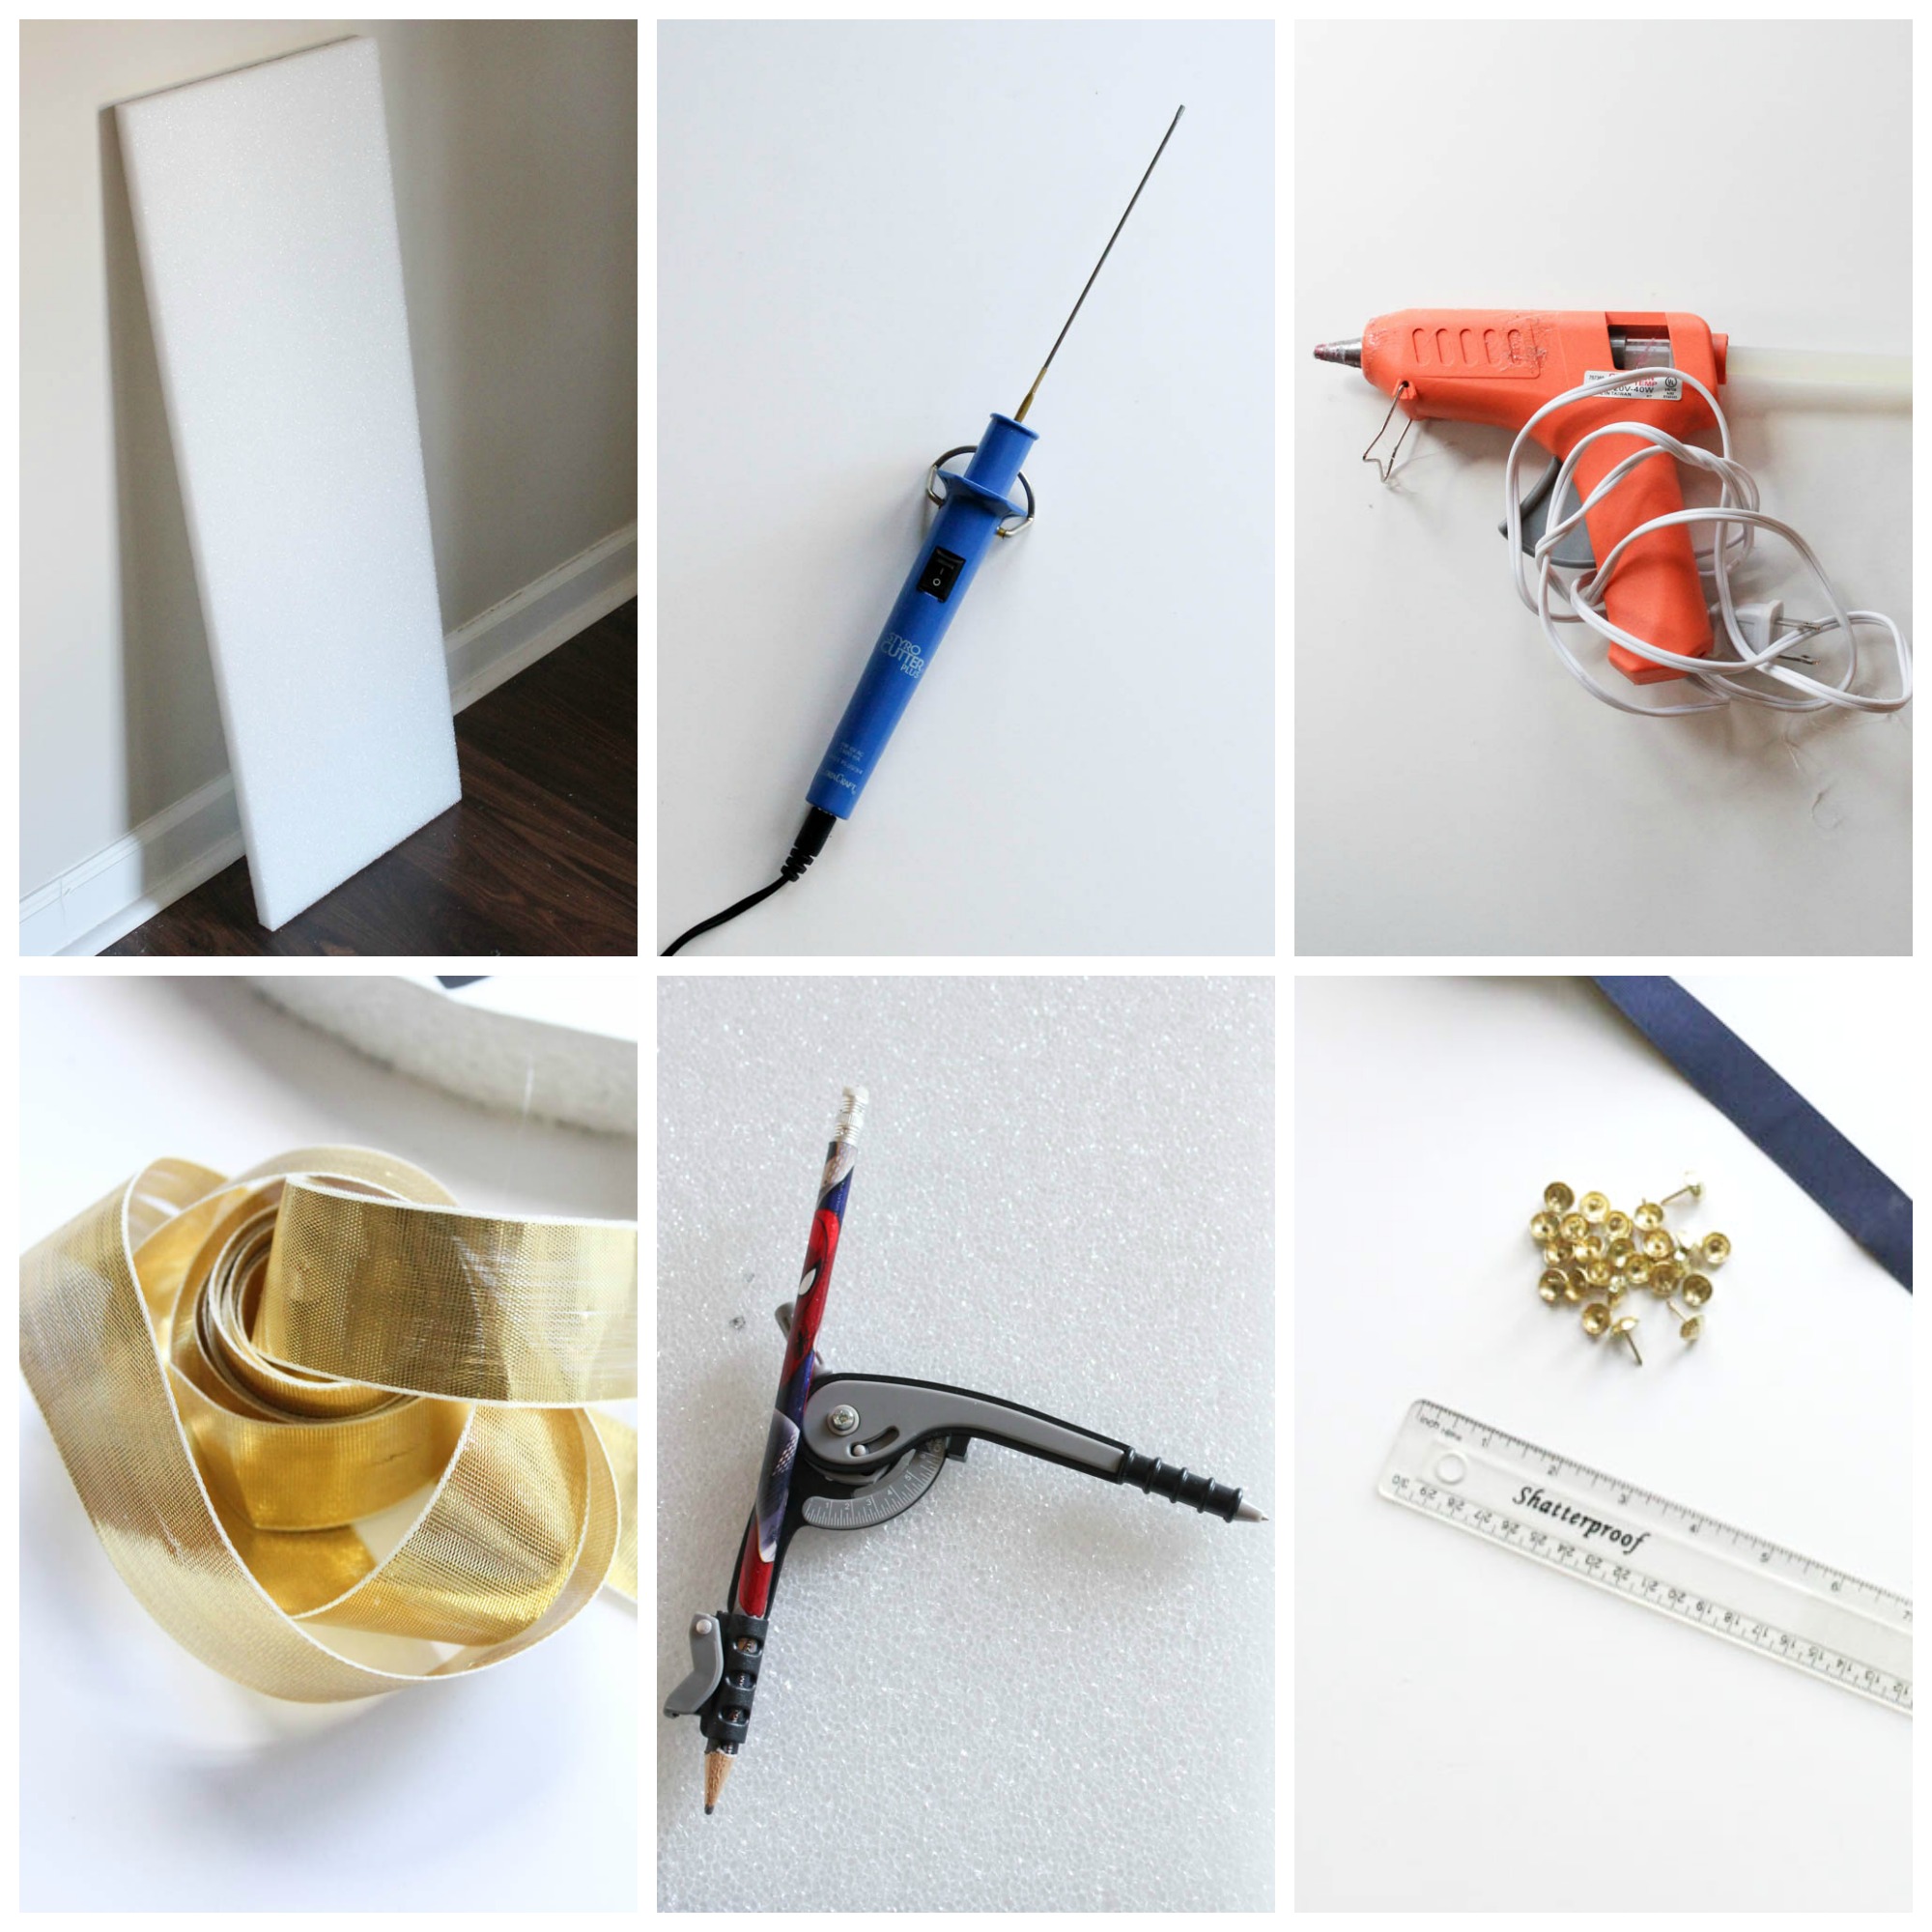
Here’s what I used for this project:
- FloraCraft® Make It: Fun® Foam Sheet (1 inch thick)
- FloraCraft® StyroCutter® Plus
- Plain white poster board
- Duct Tape
- Ruler
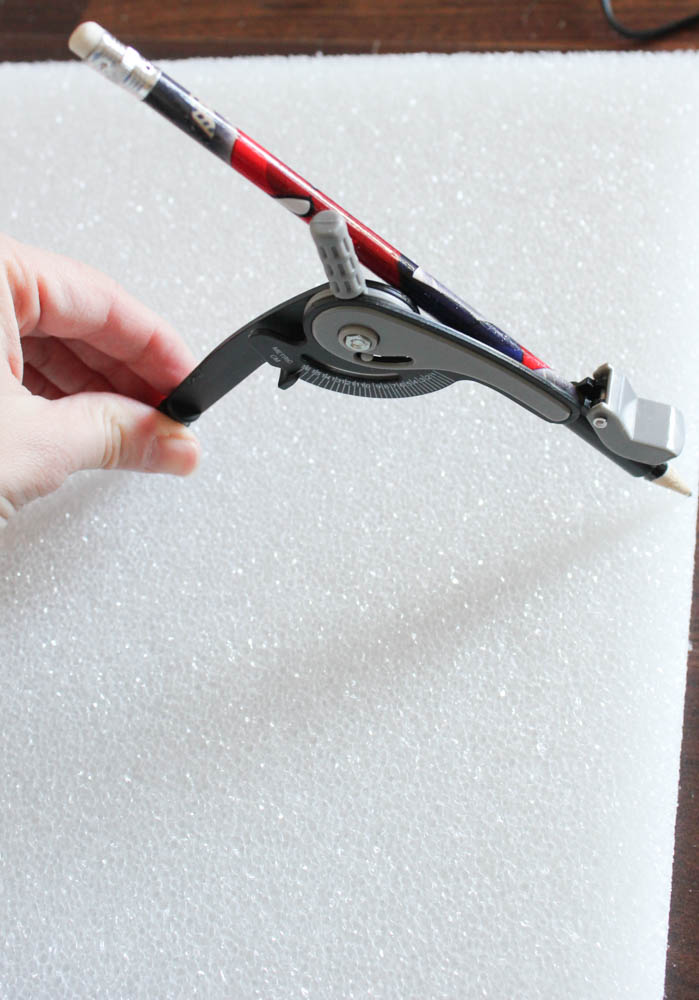
- Compass (Think Geometry class.)
- Sharpie
- Glue Gun
- Paint Brush
- Black Acrylic Paint
- Metallic Gold Ribbon
- Brass Furniture Nailheads
- Scissors
Step 1:
Measure a square with your ruler and mark a line indicating where to cut. Mine ended up being about 11 1/2 inches.

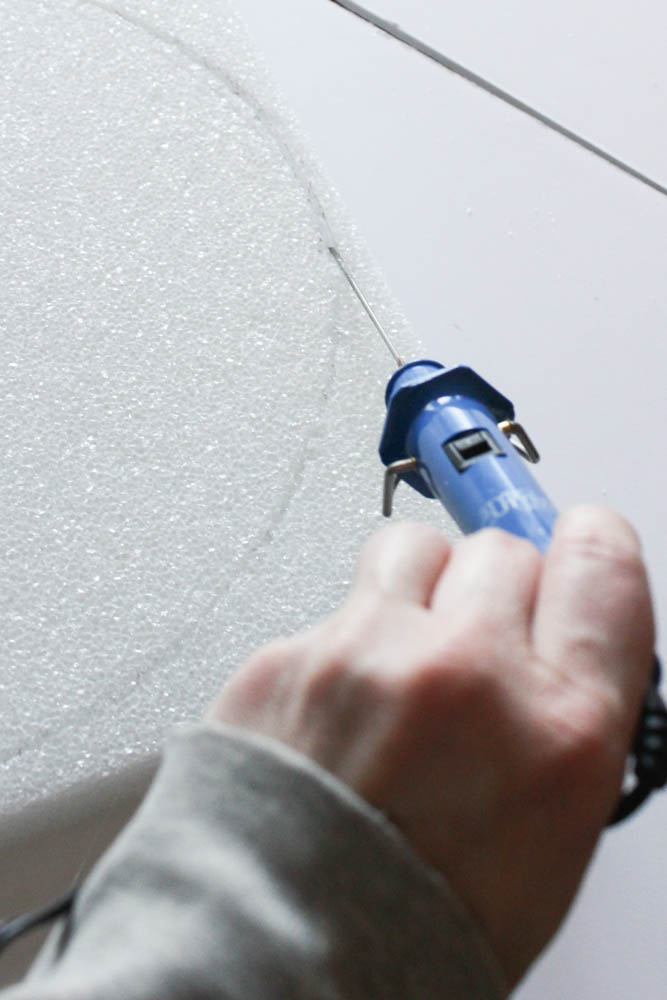
Step 2:
Use the FloraCraft® StyroCutter® Plus to cut along your line. Do not force it! Simply guide it and let it do the cutting for you. It will melt through the foam like butter, but if you force it then it can break. This tool is amazing!

(Sidenote: I love that my husband was completely unfazed by the sight of me melting foam with a cutting tool in our living room, as if this is perfectly normal.)
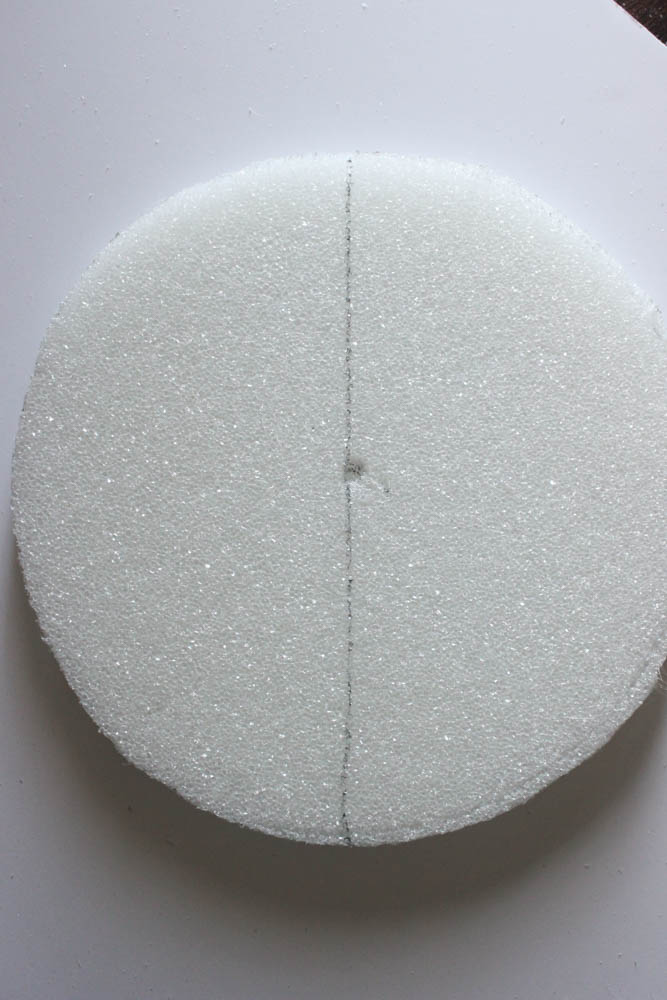
Step 3:
Use your compass to create two circles, each with the same diameter as the length of your square, then cut them out.
Step 4:
Cut each circle in half.
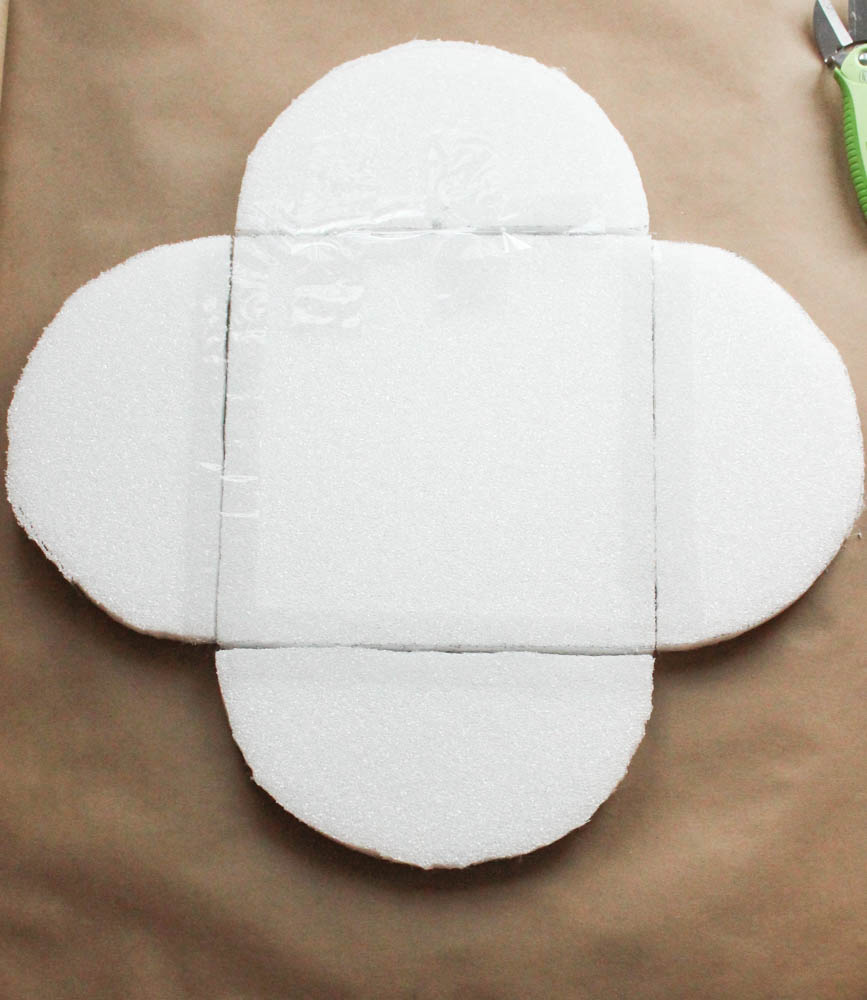
Step 5:
Attach all of your foam parts to form the shape of a quatrefoil. (Basically a clover shape.)
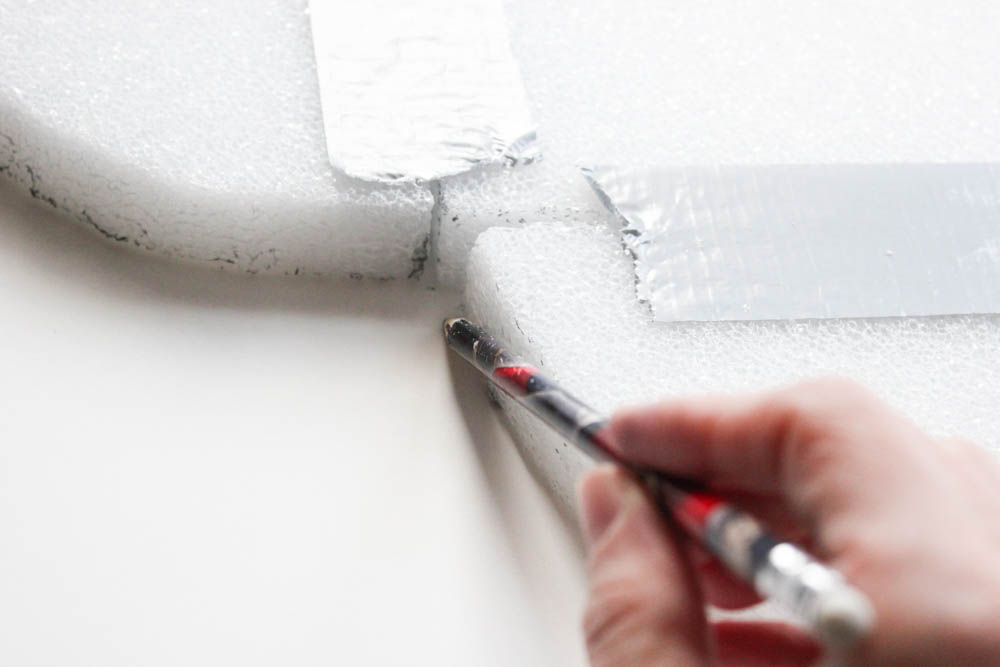
Step 6:
Tape all of your parts together with packing tape or duct tape. I started with packing tape, but found that duct tape held it together best.
Step 7:
Trace your quatrefoil shape onto the poster board and cut it out with scissors.
Step 8:
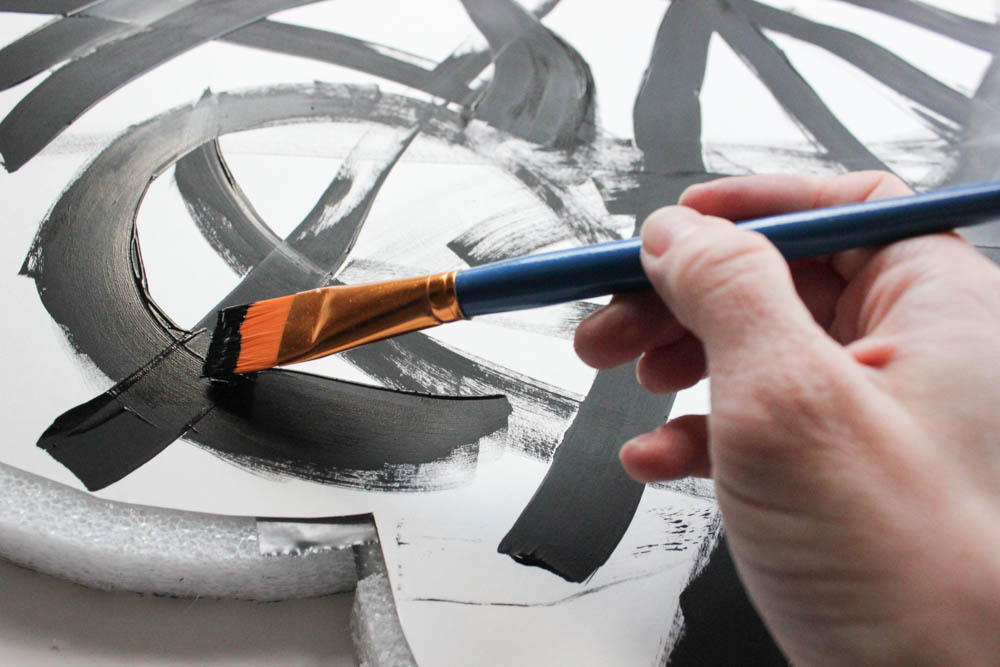
Create your abstract artwork on the poster board, or let your kids do it! That’s the fun part about abstract art. Anyone can create it. I just made long brush strokes with black acrylic paint. These pillows were my inspiration.
Step 9:
Attach your poster board art to your foam using hot glue or spray adhesive.
Step 10:
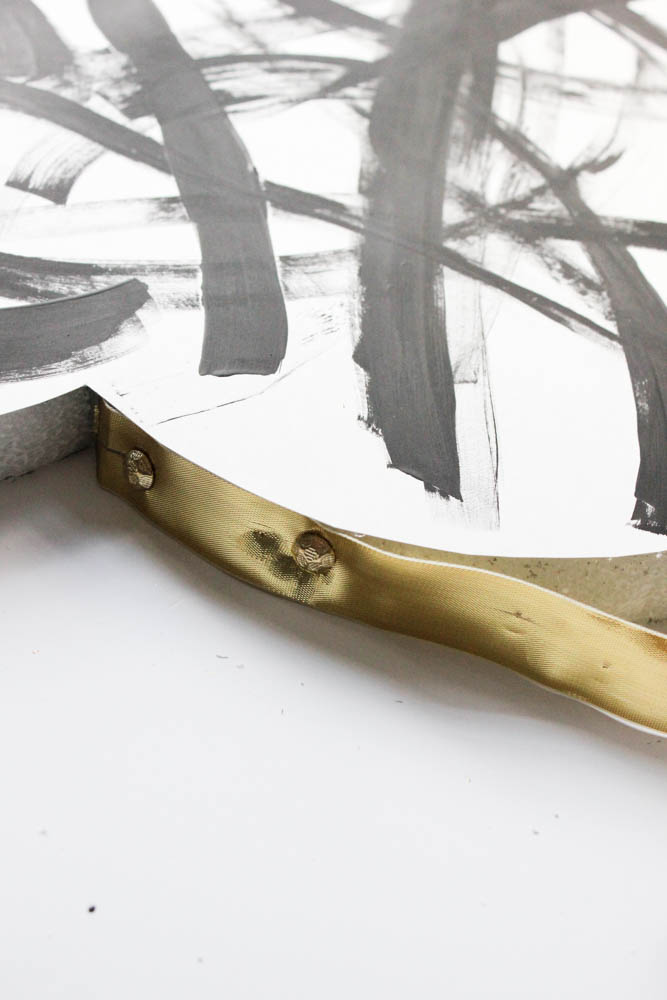
Cover up the raw edge by attaching ribbon with the nailheads. I used metallic gold.
Step 11:
Use a velcro picture hanging strip to attach your art to the wall. It’s super lightweight which is why I used foam for this instead of wood. (Plus it’s way easier to make.)
Be sure to checkout FloraCraft® and follow the hashtag #MakeitFunCrafts for lots of other project ideas and inspiration!
For more blog posts, visit my project gallery here.
Connect with me here:
![]()
![]()
![]()
![]()
![]()
![]()

