Erin Spain

Home, DIY, & Photography

  • Home
  • About
    • Press
    • Advertise
    • Podcast
    • Disclosure & Policies
  • Project Gallery
  • YouTube
  • Photography
  • TRAVEL
  • Contact

Seriously, Toilet Paper Roll Art? Yes!

February 6, 2012 By Erin Spain 5 Comments

When I first came across the idea of creating art using paper towel and toilet paper rolls, I’ll admit, I was a little weirded out by it.  I don’t know why, but I guess the idea of hanging them on my wall just seemed kind of strange and wrong.  But then disgust gave way to curiosity, and then fascination, and now, my current status is TOTALLY on board!  Why not?!  Not only are they cheap, they’re practically FREE!  And believe it or not, some really cool things can be made out of them.  And I’m willing to bet that if I hadn’t told you what I used to make this, you probably wouldn’t have guessed it. Today I’m going to show you how to make this toilet paper roll art mirror.

For my first TP Roll “experiment,” I decided to make a Paper Towel/Toilet Paper Roll Mirror:

Materials I used: Paper towel and toilet paper rolls, scissors, glue gun, spray paint, small mirror (I purchased mine at Michaels.  Most craft stores have them near the candle section.)

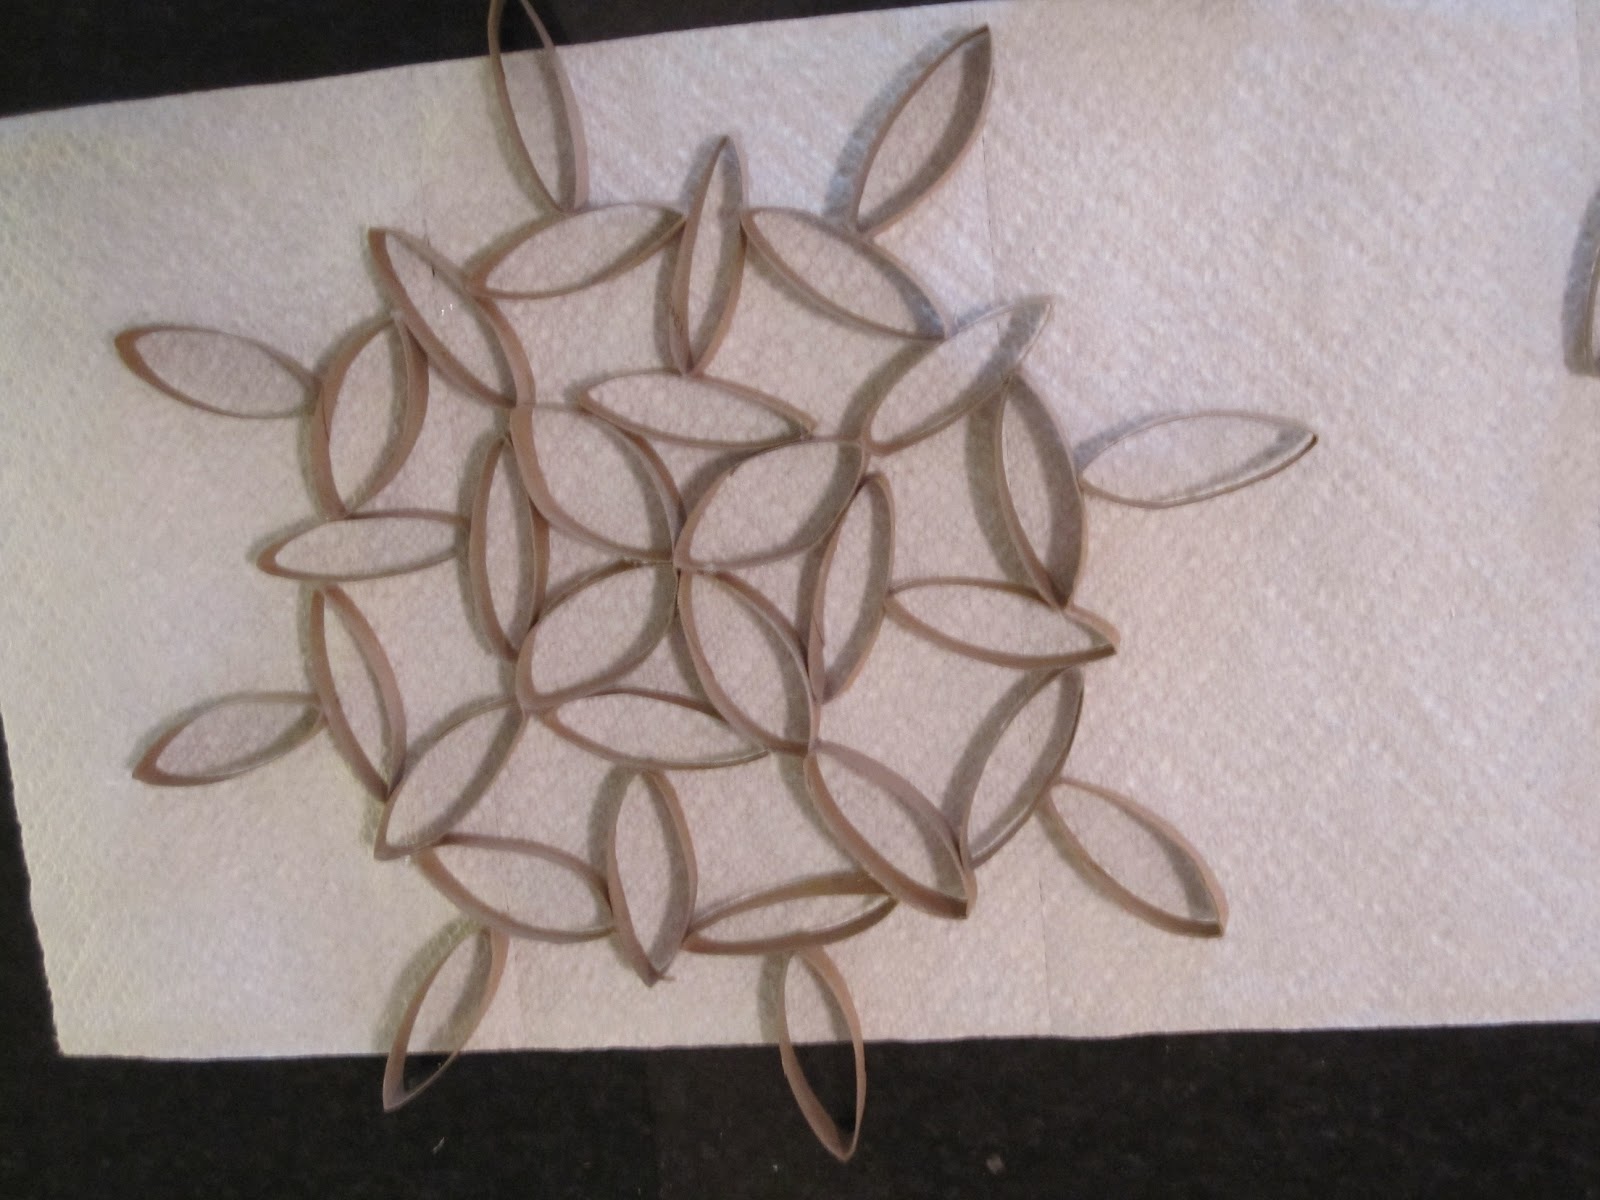
Here’s what I did:  First, I pressed down and flattened the rolls so they would be easier to cut.  I then cut them into approximately 1/2 inch wide circles/strips.  The easiest way to do this is to cut each roll in half, then keep cutting each section in half until they are about 1/2 inch wide.


Then, I played around with different designs until I had an idea of what I might want it to look like.  In the end, I kind of decided to just wing it.  Then I hot glued the pieces together.

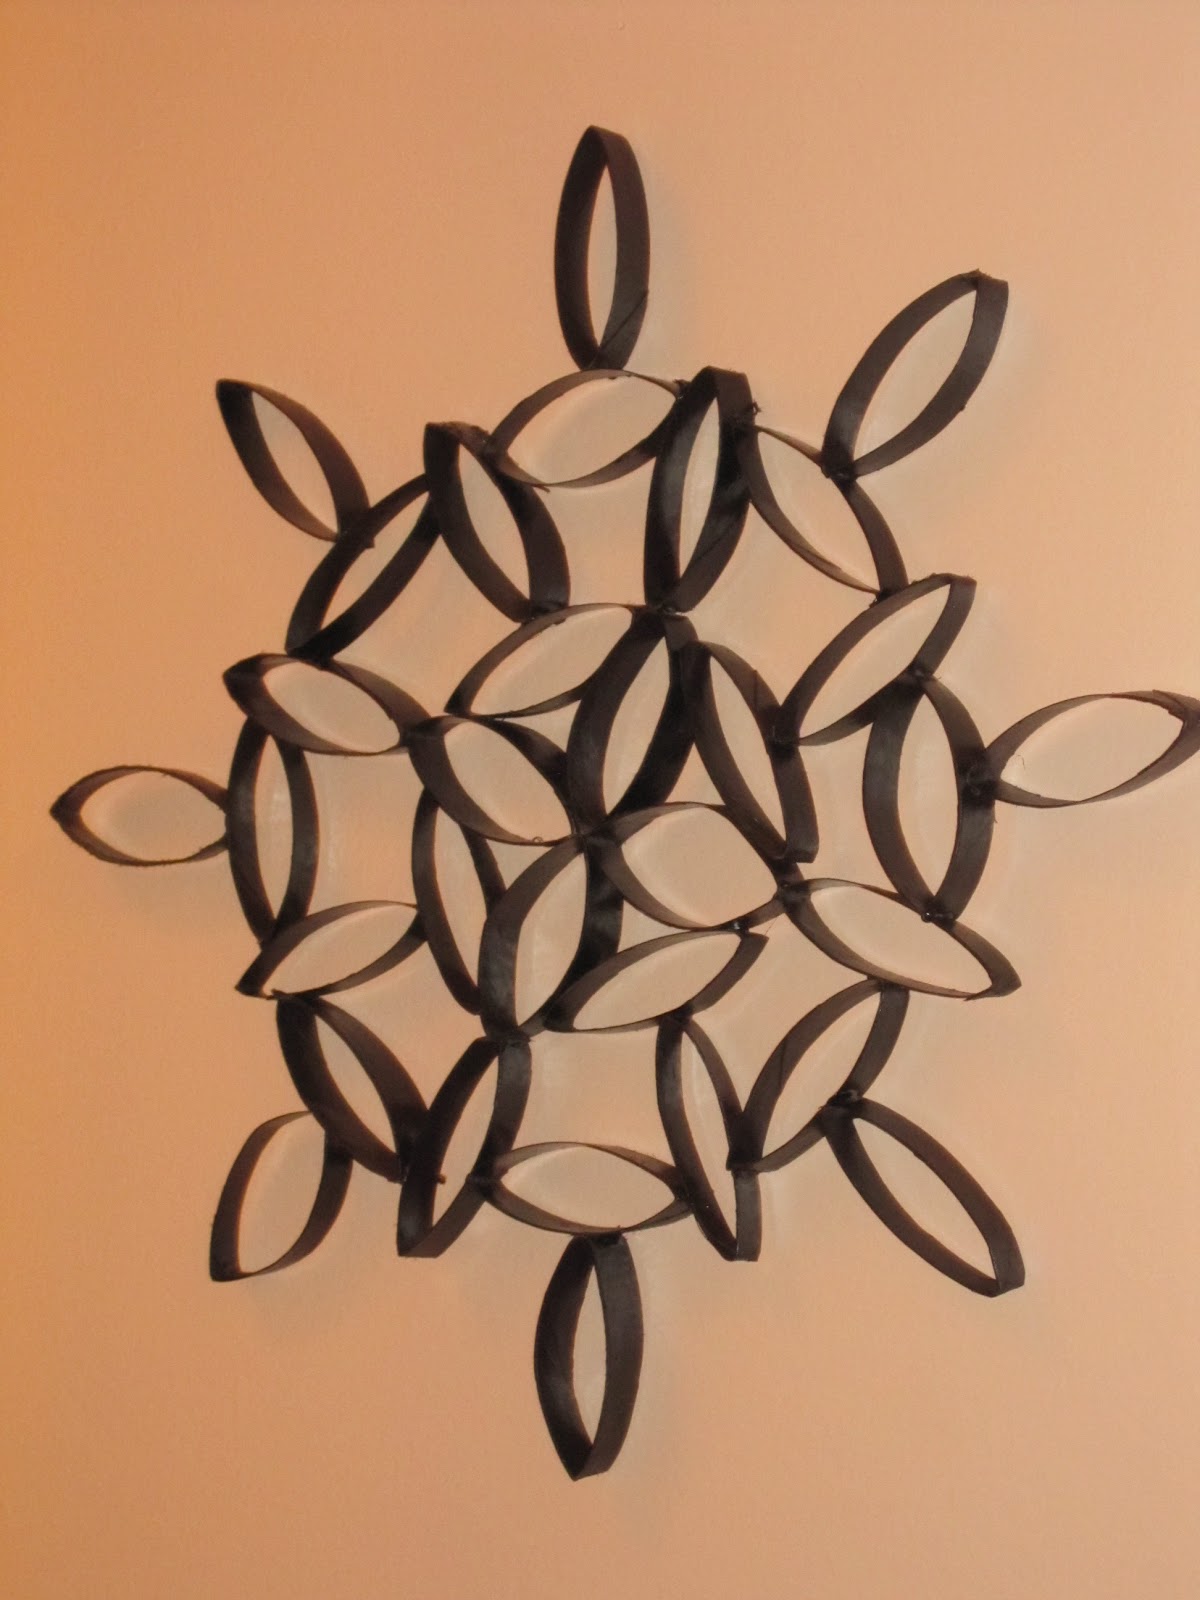
After I had it all assembled and glued, I spray painted it.  I used a satin oil-rubbed bronze because it’s what I had on-hand, but any color will do.  I probably wouldn’t go for a glossy finish though just because flaws will be more visible, and since we’re working with cardboard, it might not be your best bet.

(Optional: You could skip the mirror part and just leave it as a wall sculpture.)
After the paint dried, I hot-glued my little mirror to the center, and I was done!


What are your thoughts? Creative? Awesome? Horrible? Weird?  Let me know!

Filed Under: Crafts, Home & DIY Blog

« Weekend Update
A Wreath for Any Season »

Comments

  1. kylee says

    February 7, 2012 at 12:19 am

    Love it!

    Reply
  2. kylee says

    February 7, 2012 at 12:20 am

    I may try the canvas one

    Reply
  3. Atir Inspired Decor~AID says

    March 27, 2012 at 2:08 am

    I love it~ also, want to try one myself for our den. I too, just started a blog, stop on by & let me know what you think. Will you also follow me as I will you.

    Thank you & Many Blessings

    Reply
  4. Amanda says

    February 4, 2014 at 3:54 pm

    I love this idea! My oldest daughter and her friends would have a blast with this project on a sleepover weekend. Love your website and recently decided our furniture needs a fresh start. I’ve been reading your articles and can’t thank you enough for such valuable information. I’m a stay at home mom and love crafting as a break from laundry, cleaning and budgeting. Your diy projects are easy on my wallet and on the eyes! Thanks a bunch and many blessings to you!

    Reply
    • Erin @ DIY on the Cheap says

      February 4, 2014 at 5:20 pm

      Thank you, Amanda!

      Reply

Leave a Reply Cancel reply

Your email address will not be published. Required fields are marked *

SHOP ERIN’S FAVORITES

SPONSORS & AFFILIATES

CATEGORIES

ARCHIVES

Copyright © 2025 Erin Spain. Log in | Privacy Policy