Hello! I’m spending the week visiting with family, but I have some fabulous guest bloggers lined up for the next few days to keep you entertained and inspired. Today, I’d like to introduce you to Michele from The Scrap Shoppe, a blog with lots of great craft projects and inspiring DIY ideas. Today she is going to share a fun idea for monogram wall art. Enjoy!

Hello there!
I’m Michele, and I create at The Scrap Shoppe.

I’m really excited to be visiting Erin and sharing with you an inexpensive piece of wall art that really makes a statement!
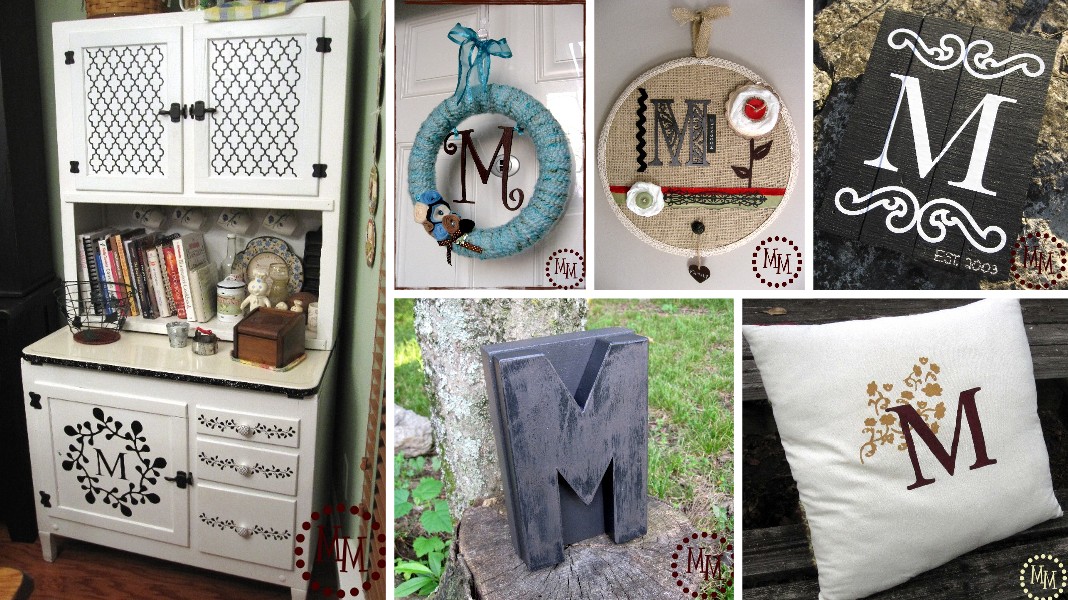
Hutch Makeover with Vinyl – Yarn Wreath – Embroidery Hoop Wall Art – Monogram Sign – DIY Letterpress Stamp – Pottery Barn Knock Off Pillow
Confession time: I’m slightly obsessed with monograms.
I love to incorporate them into my decor as often as I can!
Its amazing how you can dress something up with just a monogram!
Today I want to show you how to use a monogram to make a fun piece of artwork for your walls.
For cheap!
Let’s get started.

This pallet has been living in my backyard for quite a while, and I decided it was high time to put the wood to good use.
Tip: You can usually find unwanted pallets on Craigslist. Just check the free section. I see them there almost daily for my area!
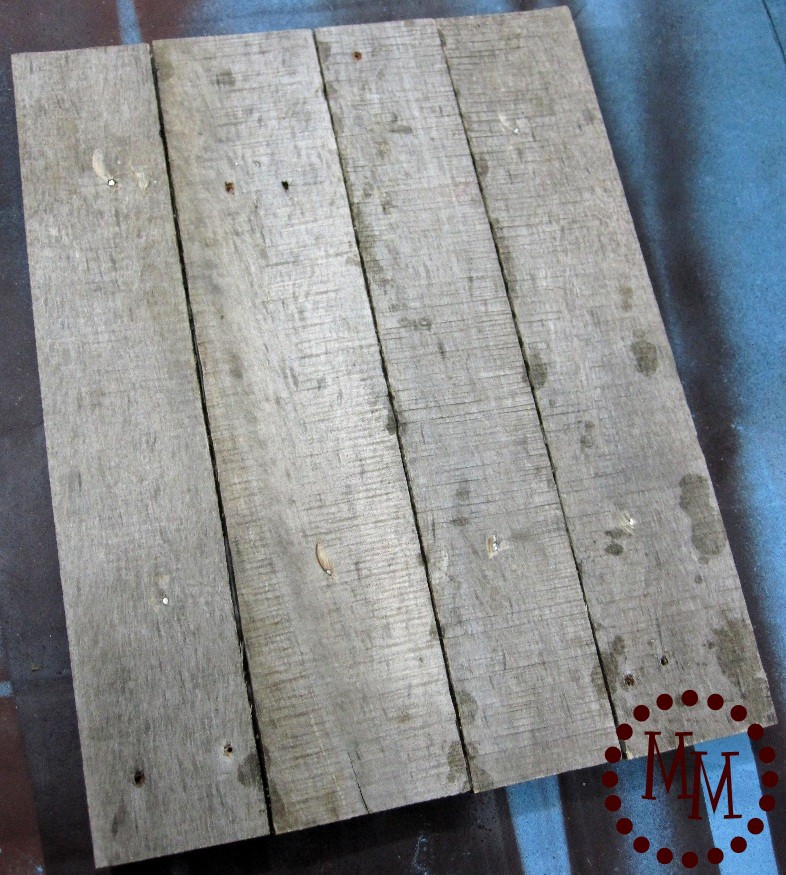
I had my husband pry some strips of wood from the pallet and cut them down to size.
Each strip measures 16″ long.

We used some wood glue to adhere the four strips together, and then my helpful husband attached a couple of more pieces of wood to the back and screwed them on for extra support.
The final dimension of the sign is now 16″ x 12″.
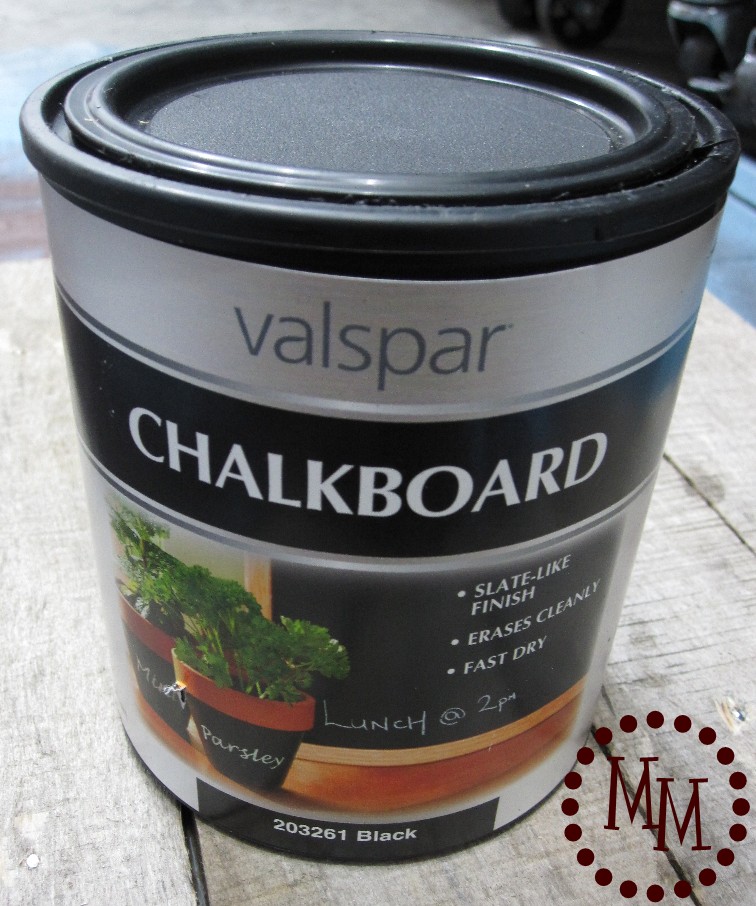
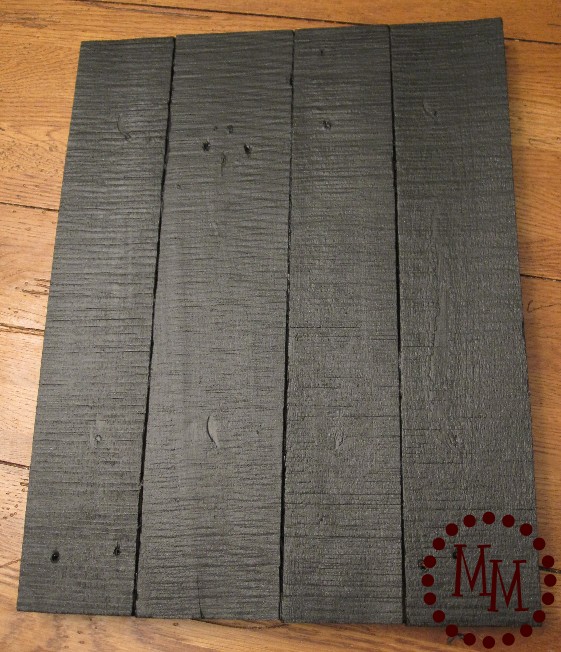
Once the glue was dry, I put on two coats of Valspar chalkboard paint.
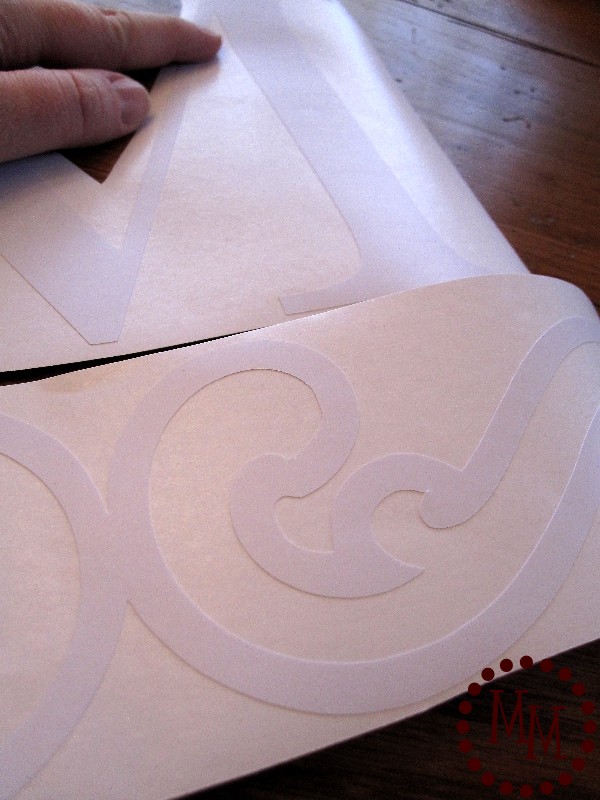
I used my Silhouette machine to cut the mongram onto white vinyl.
Because of the size of my sign I had to separate the monogram into
3 pieces in order for my machine to cut it:
The top scroll, bottom scroll, and the monogram itself.
I was able to easily piece back together the original monogram design and attached the vinyl to the sign.

Since I used chalkboard paint on the sign, I added a little something to the bottom corner with a piece of chalk. My husband and I married in 2003 so I added a simple “EST. 2003” (to be interpreted as Established in 2003).

I love how it turned out! So classic and it will look great anywhere in my house!
Thank you so much for letting me visit, Erin!
I would love for everyone to come visit me at The Scrap Shoppe!

