Disclosure: This post is sponsored by FrogTape. All opinions are my own.
I cannot begin to tell you how relieved I am to mark this project off of my nursery makeover “to do” list. I had planned on painting the nursery several weeks ago, but other projects (and life in general) just kept getting in the way. But guess what? It’s done! Picture me doing a happy dance. Actually don’t. I currently look like Humpty Dumpty and probably shouldn’t do any kind of dancing at all.
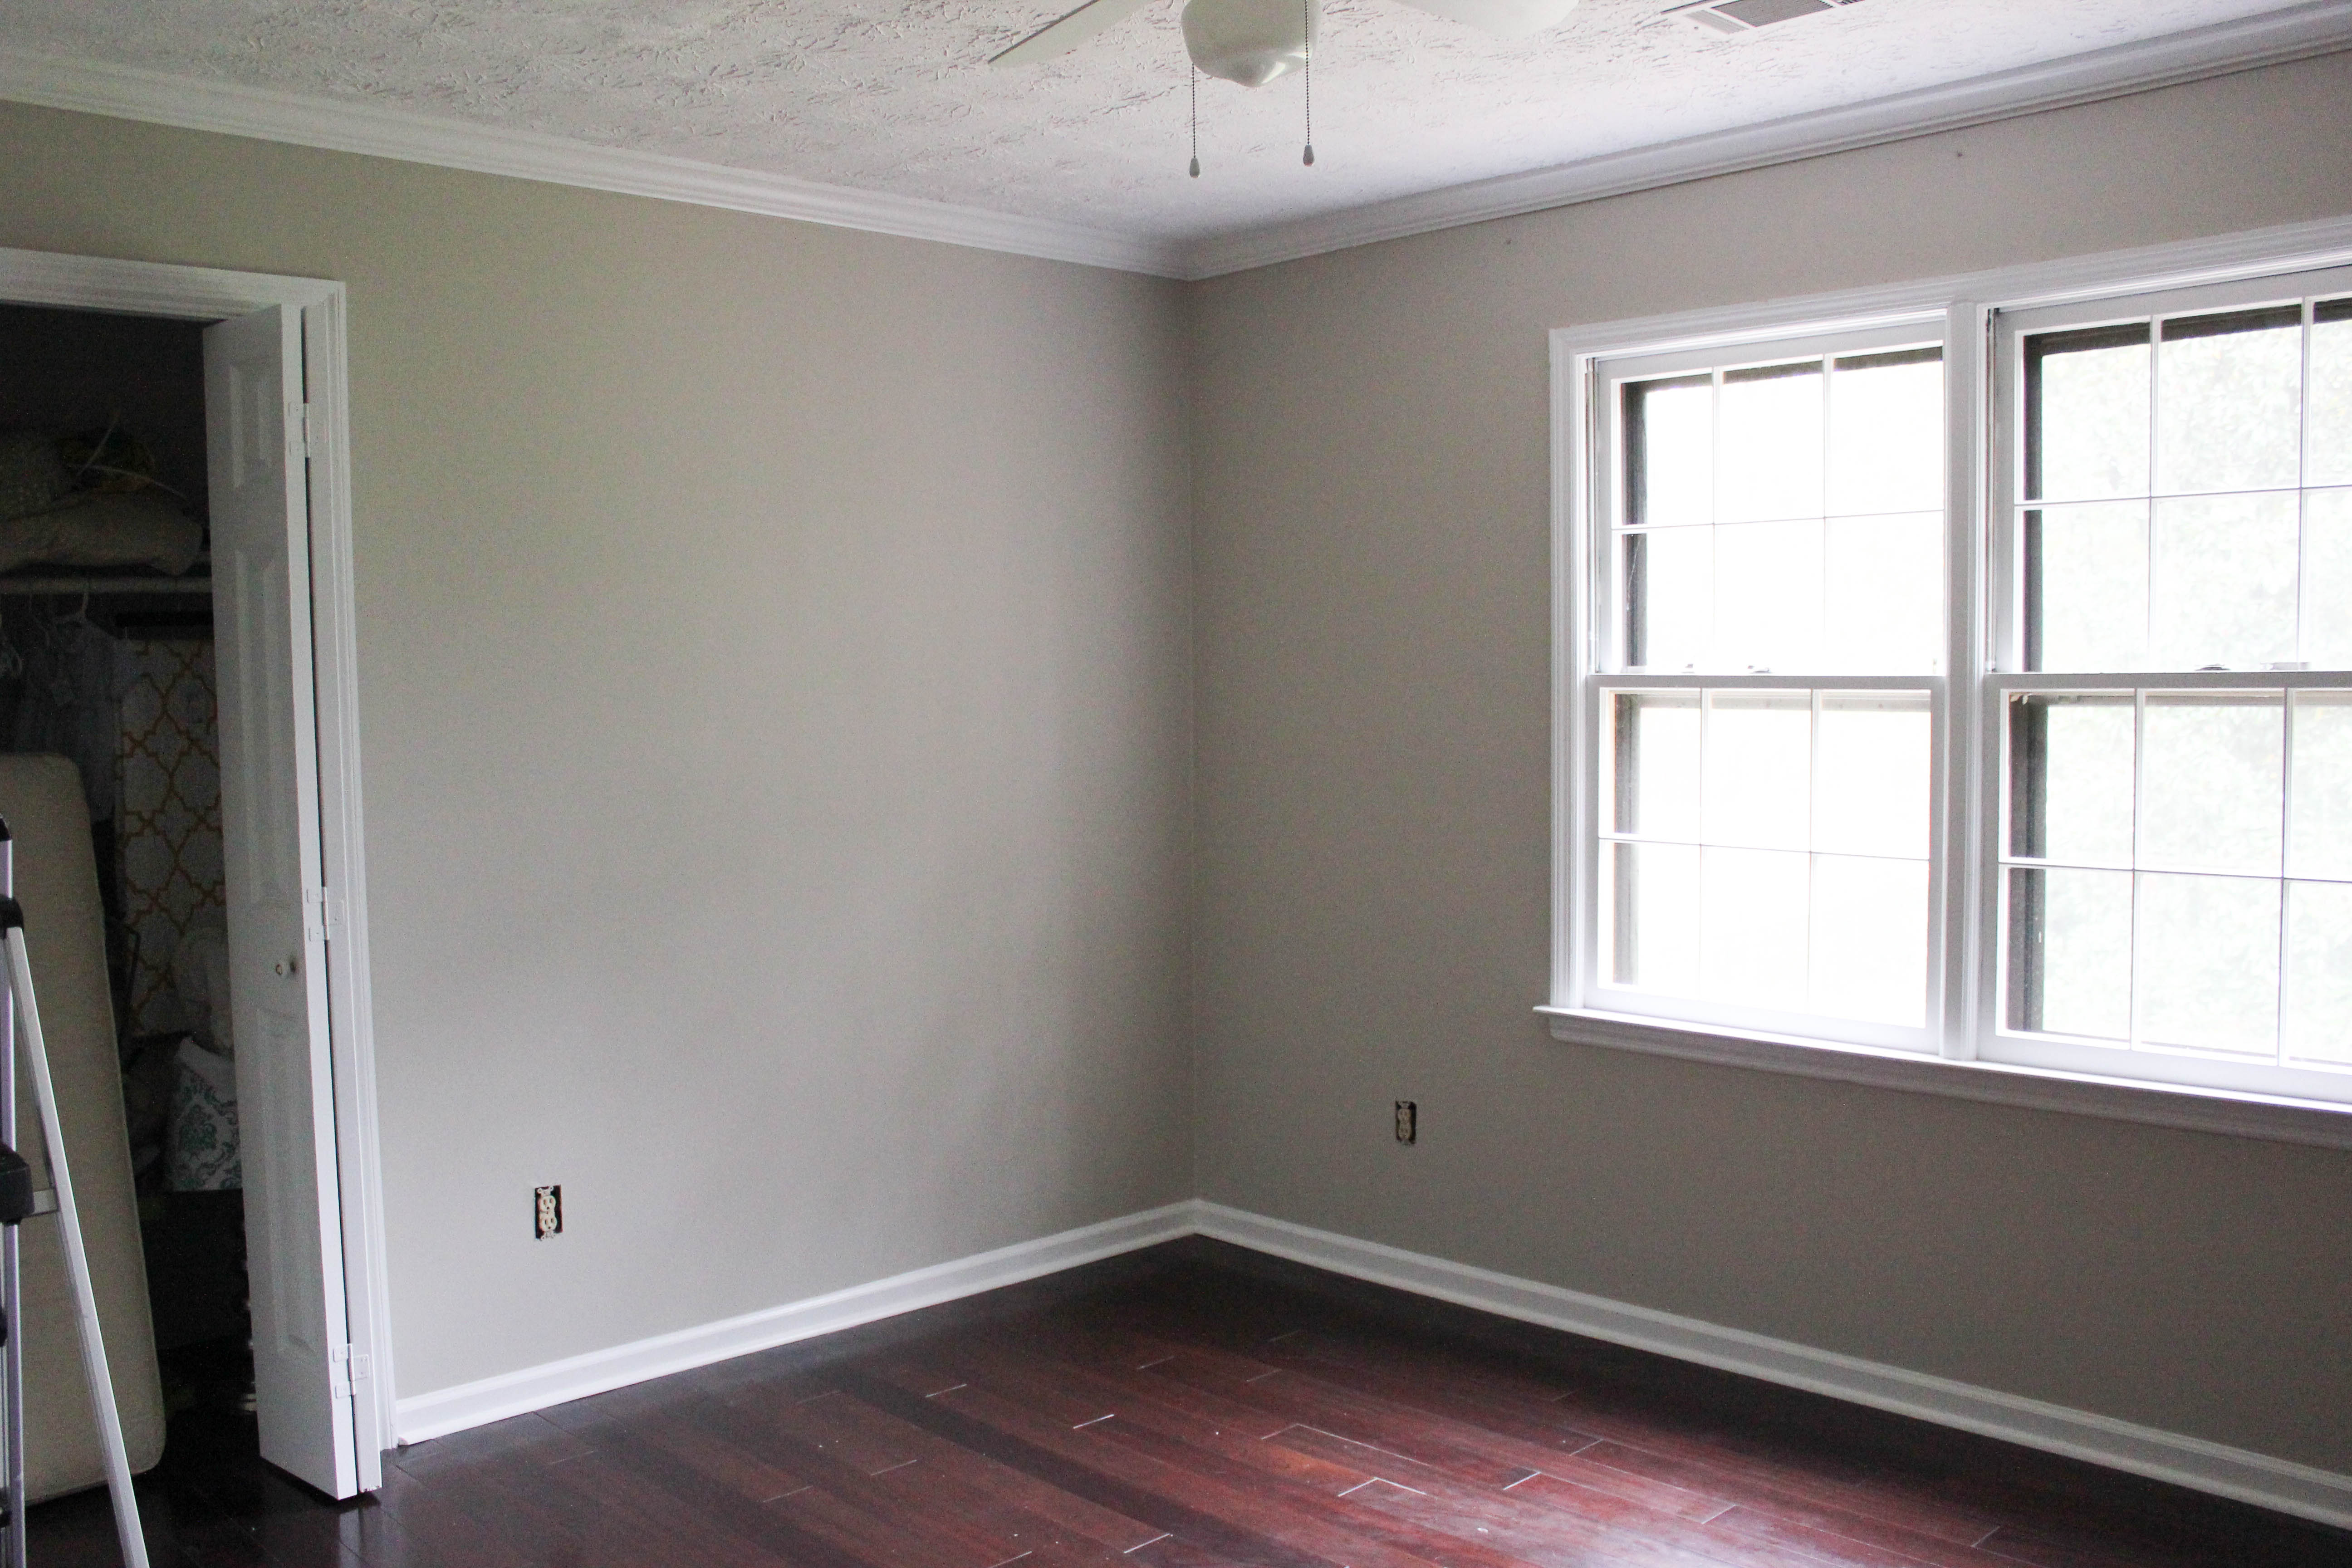
Anyway, here’s where we started — the nursery was previously our very sad looking guest bedroom.
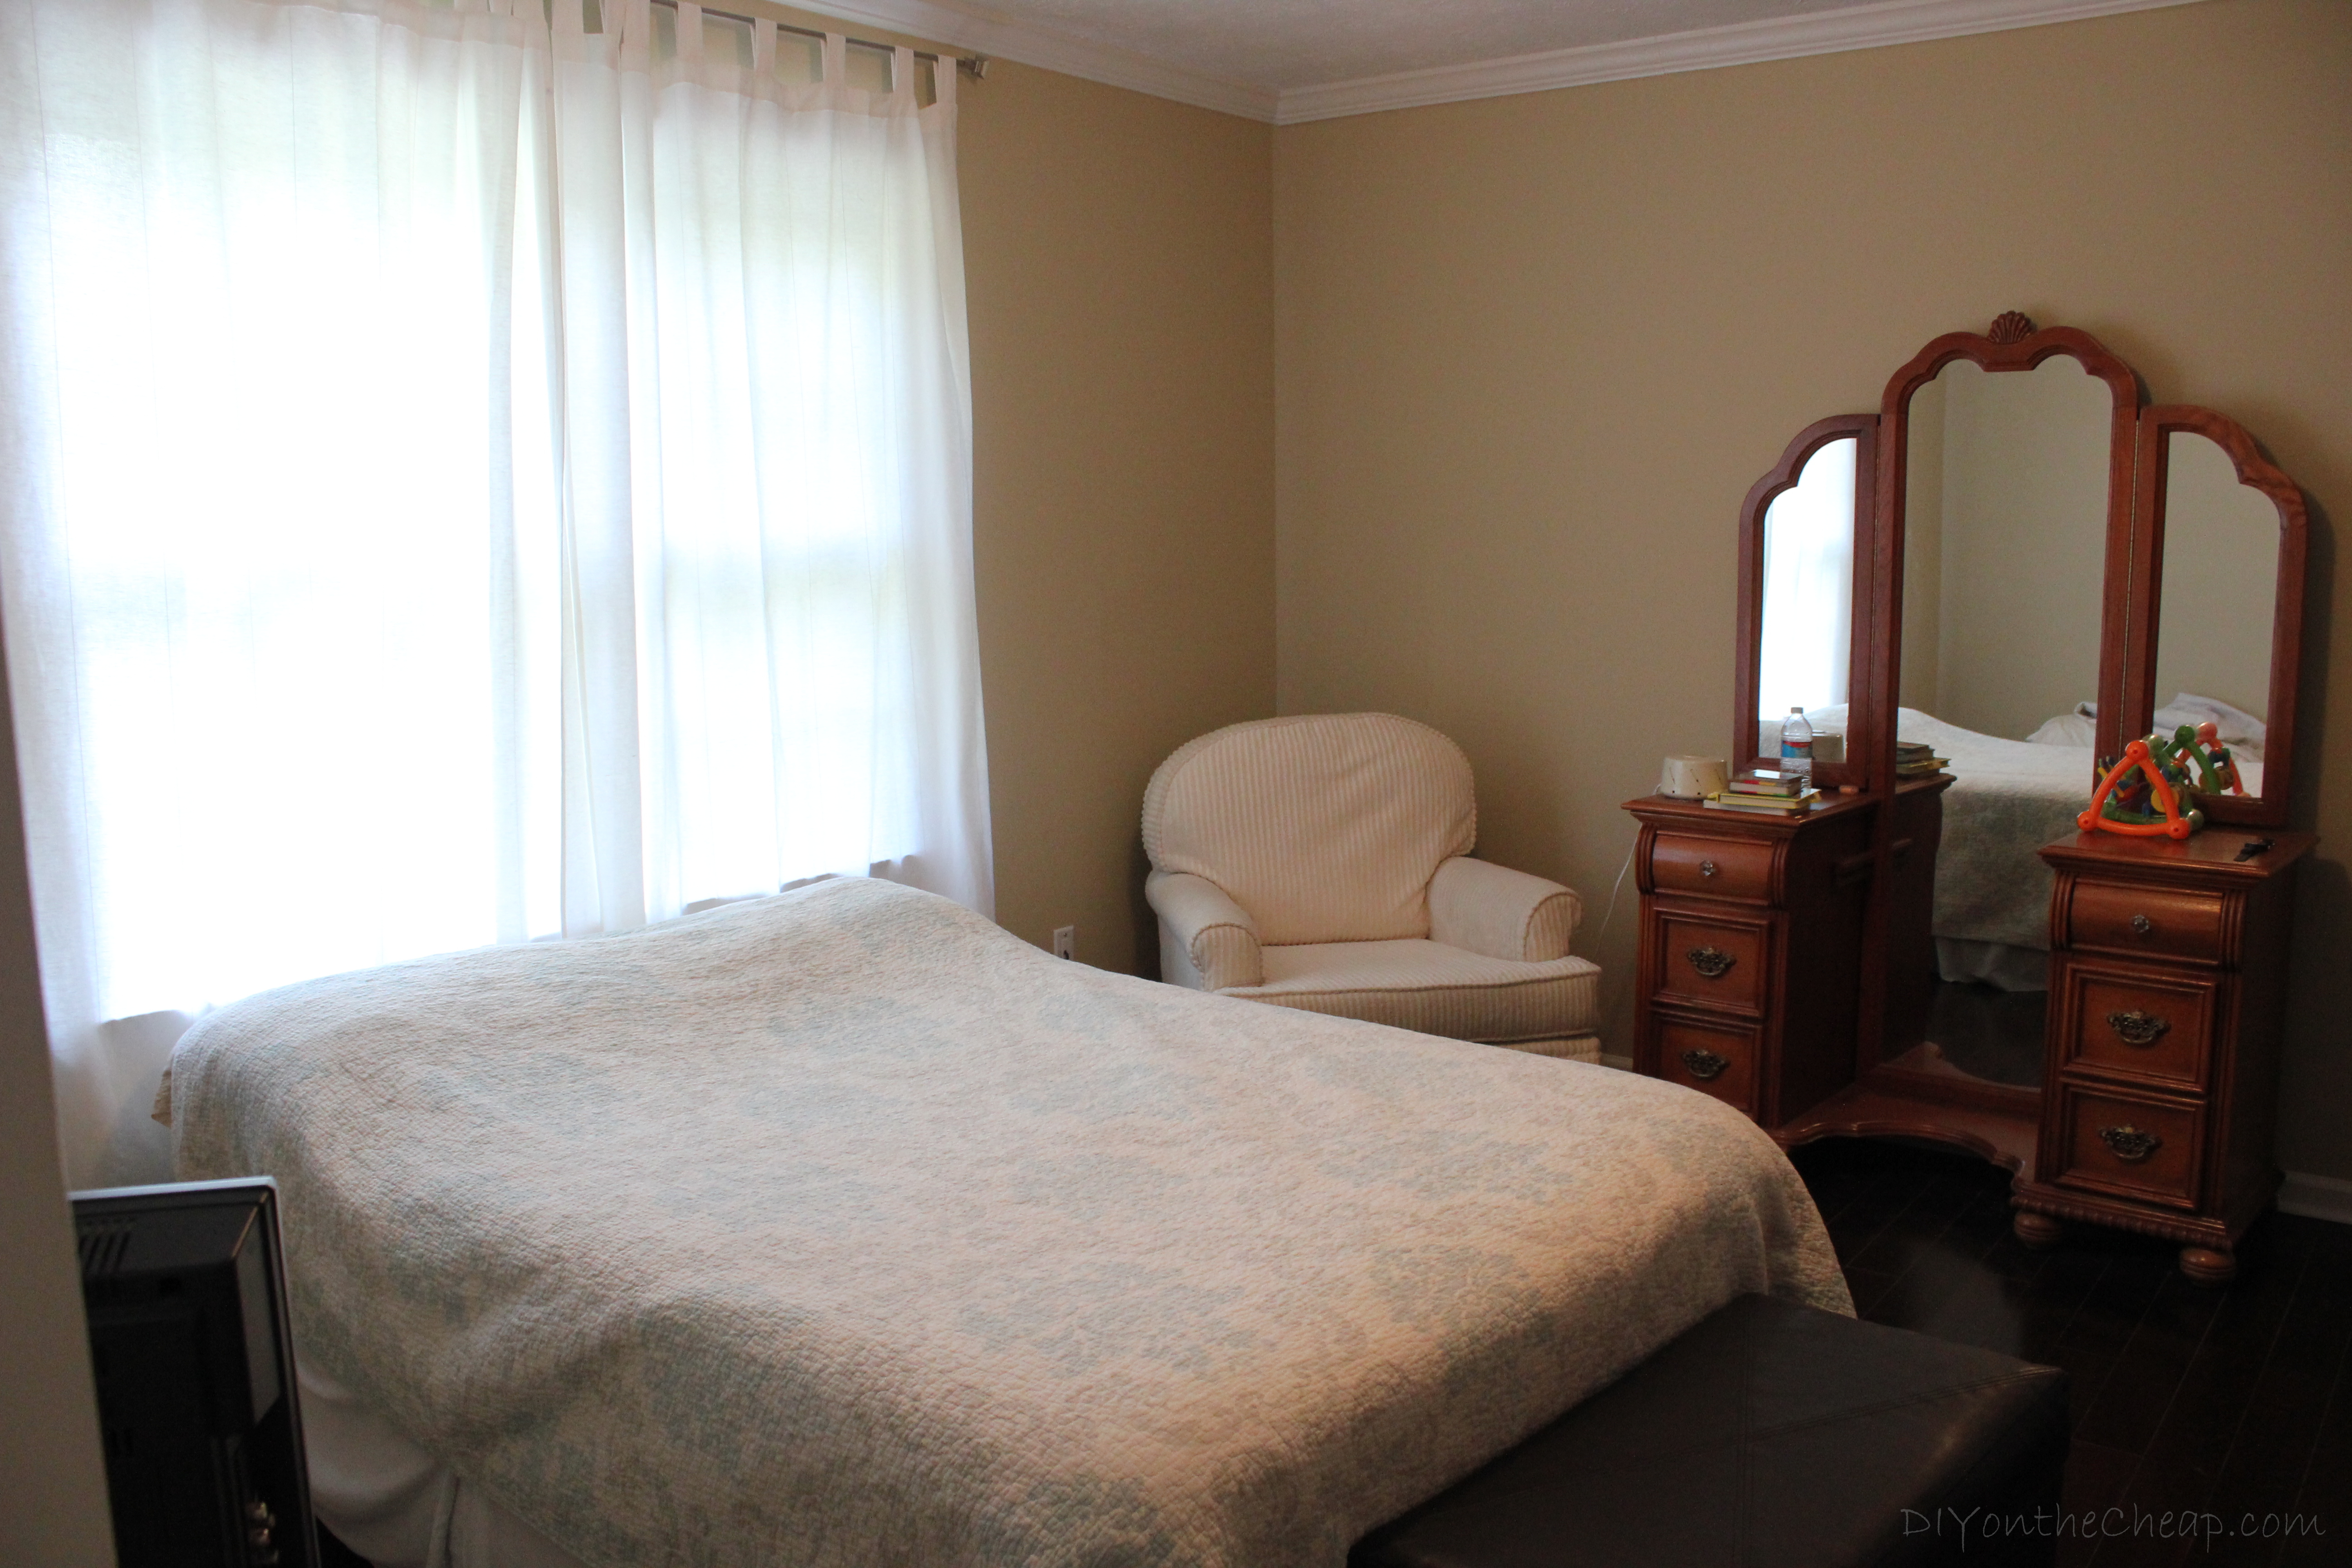

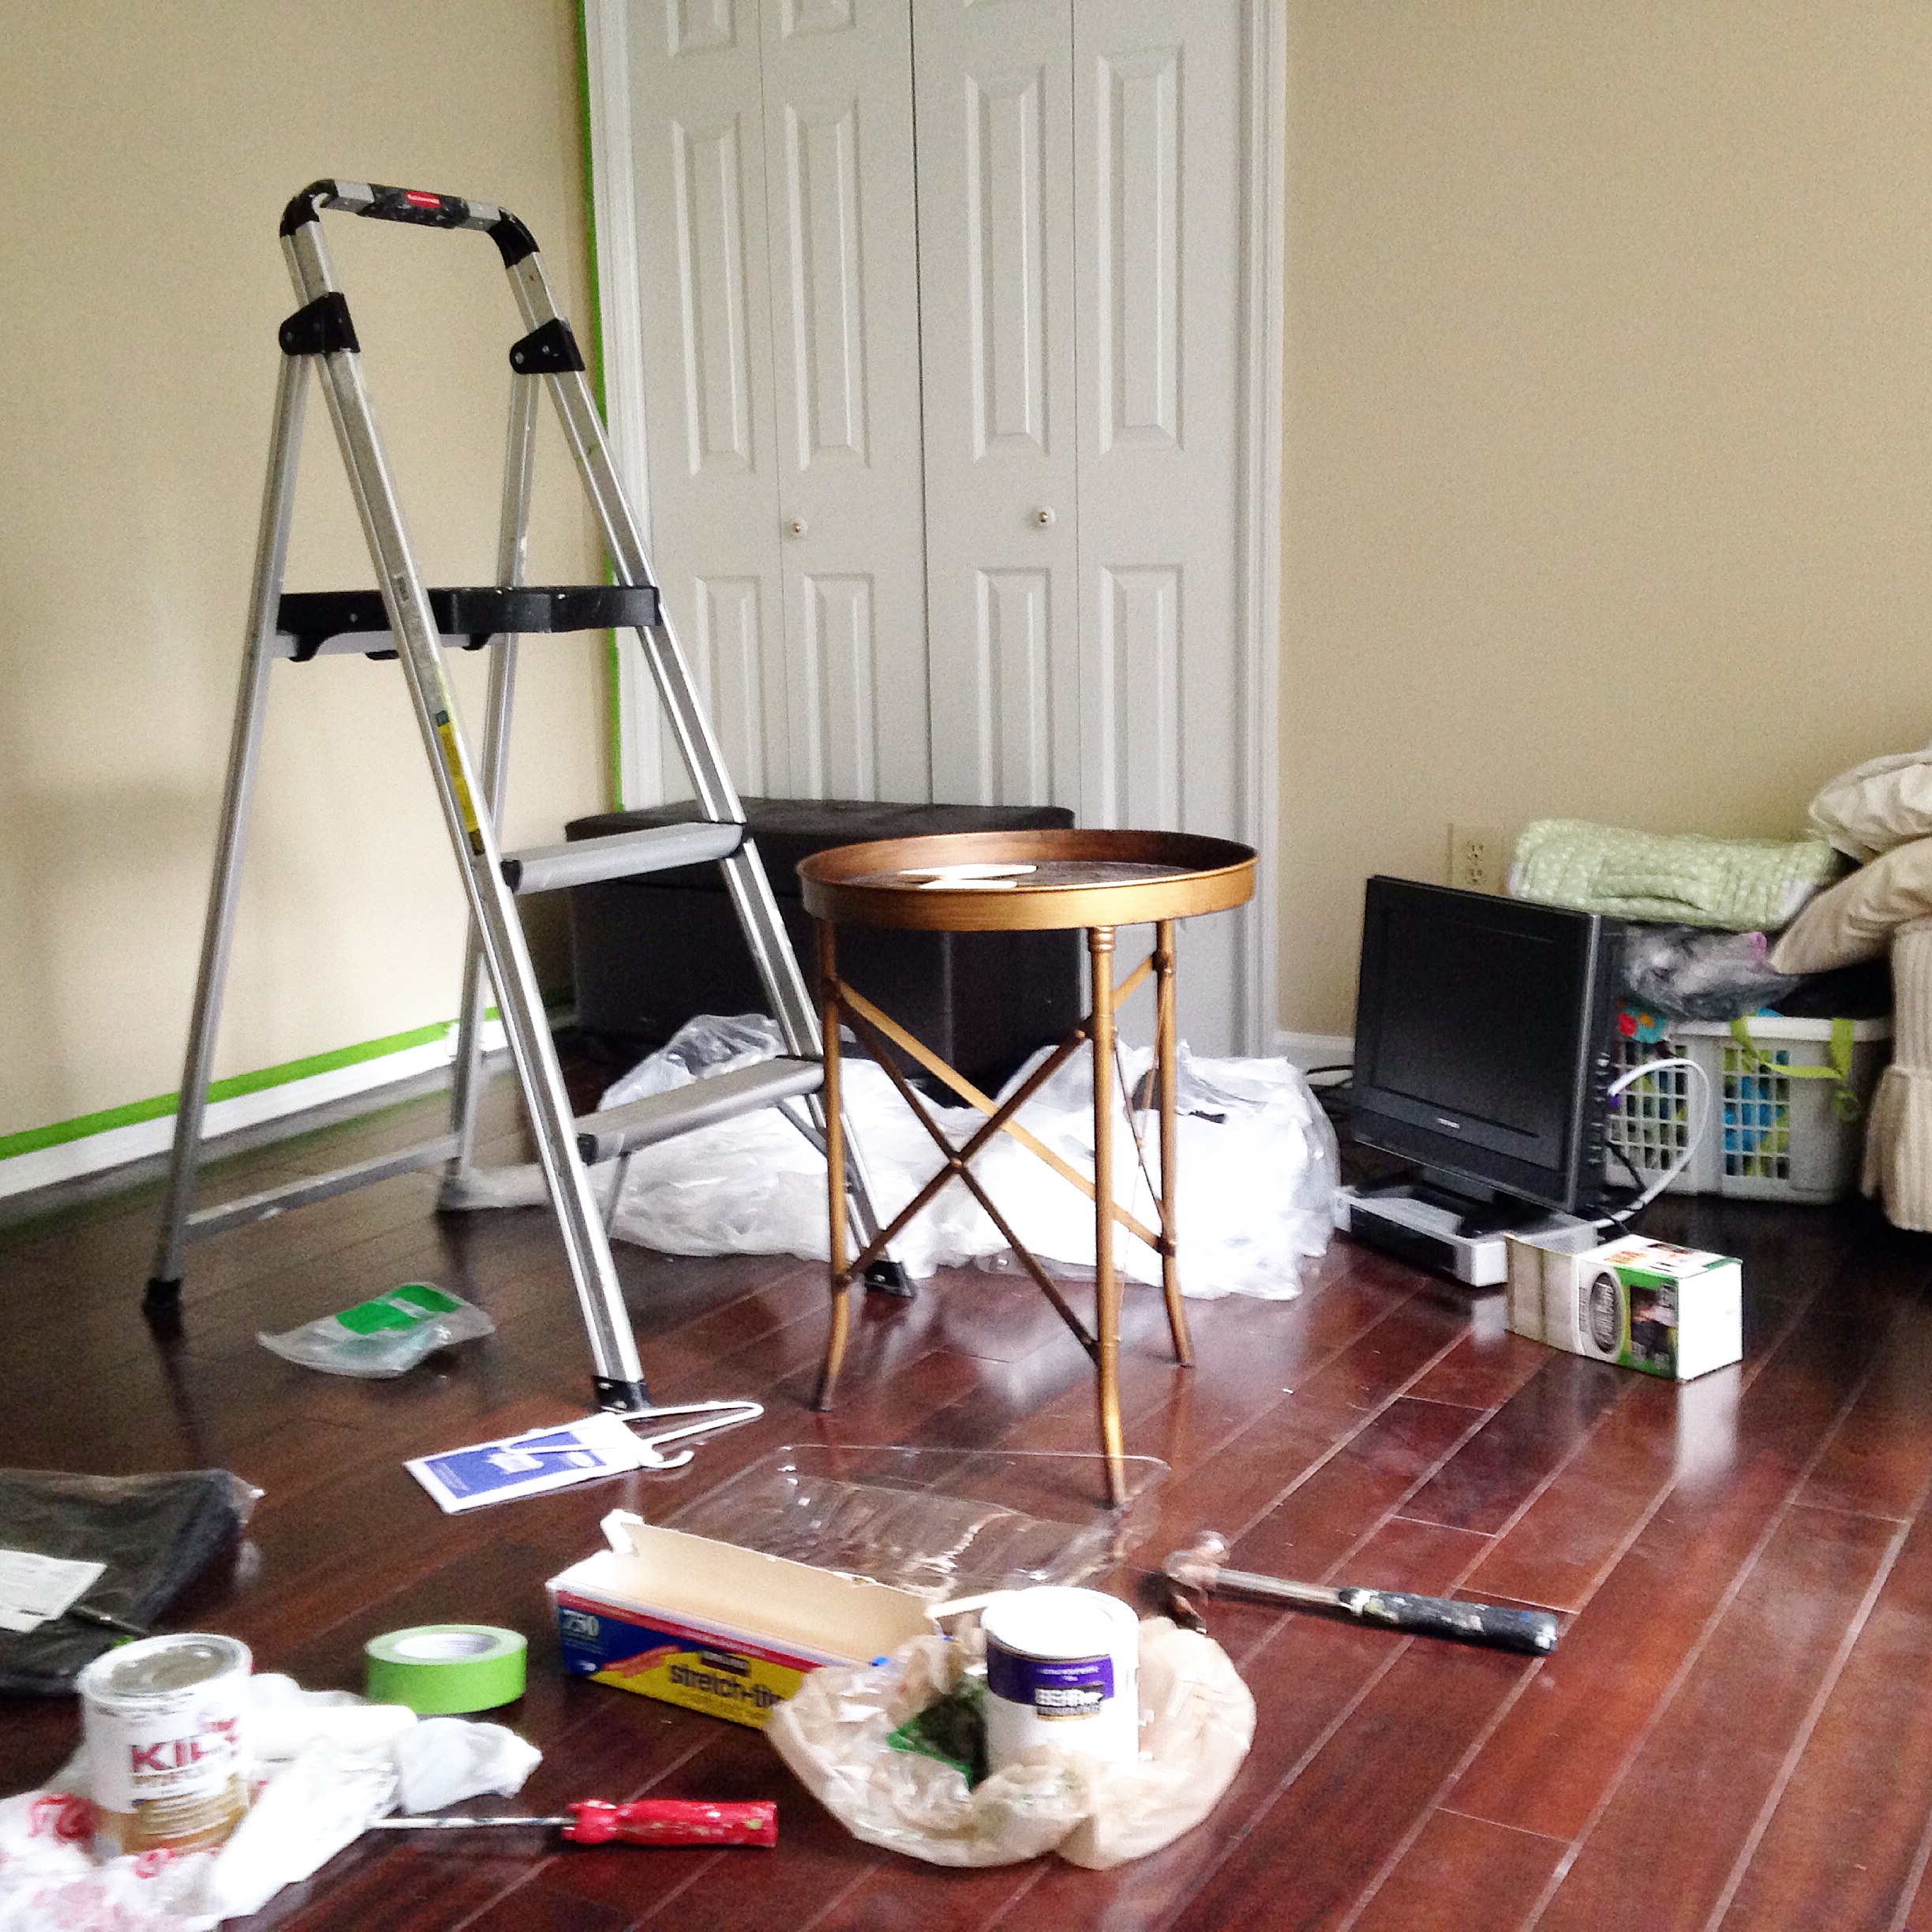
Chris and his brother hauled the heavy pieces of furniture to the basement for storage, and we put the guest bed in Chris’ office (aka our new office/guest room). Then, it became a construction zone.
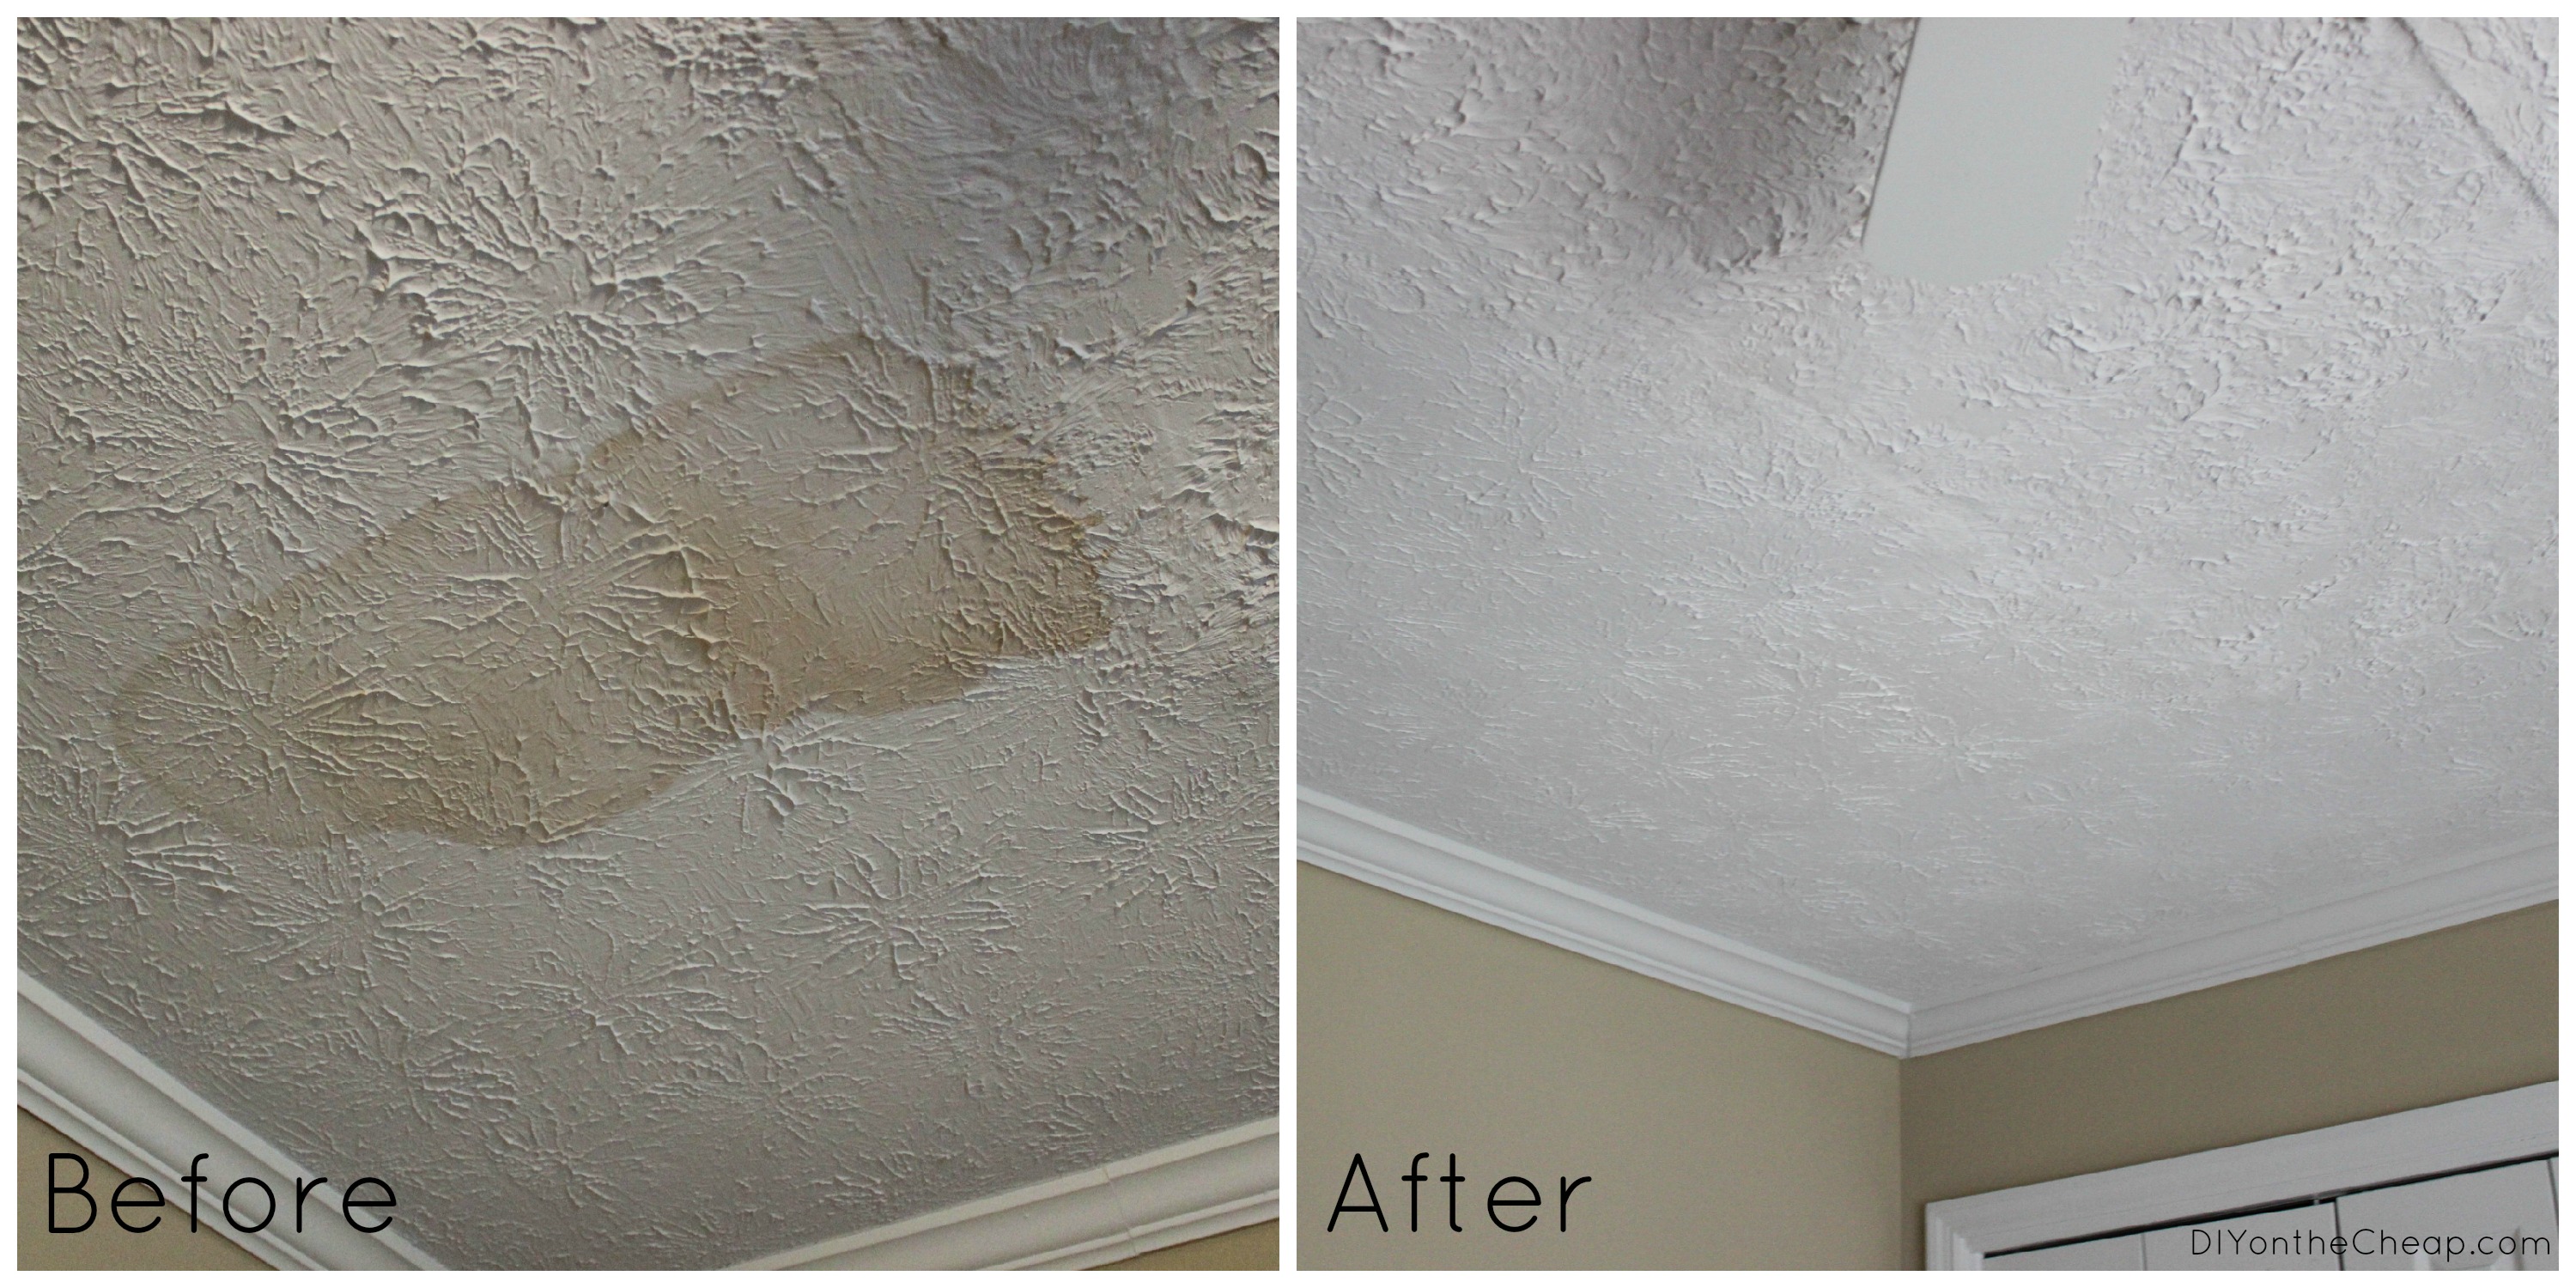
The first step was to deal with the nasty water stain on the ceiling due to the AC unit in the attic leaking earlier this year. Two coats of stain-blocking primer and two coats of flat white ceiling paint did the trick.
Then, it was painting time! Sometimes I skip the tape and just “wing it” by cutting in around the edges of the room, but I’m not always very precise and sometimes it proves to be a mistake. This time, I didn’t want to take any chances so I used FrogTape.

I love FrogTape because it ensures that you get a crisp line every single time. It’s treated with PaintBlock technology which is an absorbent polymer that reacts with latex paint and forms a micro-barrier that seals the edges of the tape and prevents bleeding. For this project, I used FrogTape Multi-Surface, which I also used when I painted stripes in the boys’ closet. They have several different kinds of tape depending on your needs, and they even have cute patterned Shape Tape if you want to create a fun design. (I used this for my chevron planter.) They have a really helpful How-To Gallery which shows you all of the different ways you can use their products.
I taped off the edges of the room, along the baseboard and crown moulding and around door frames and the window.
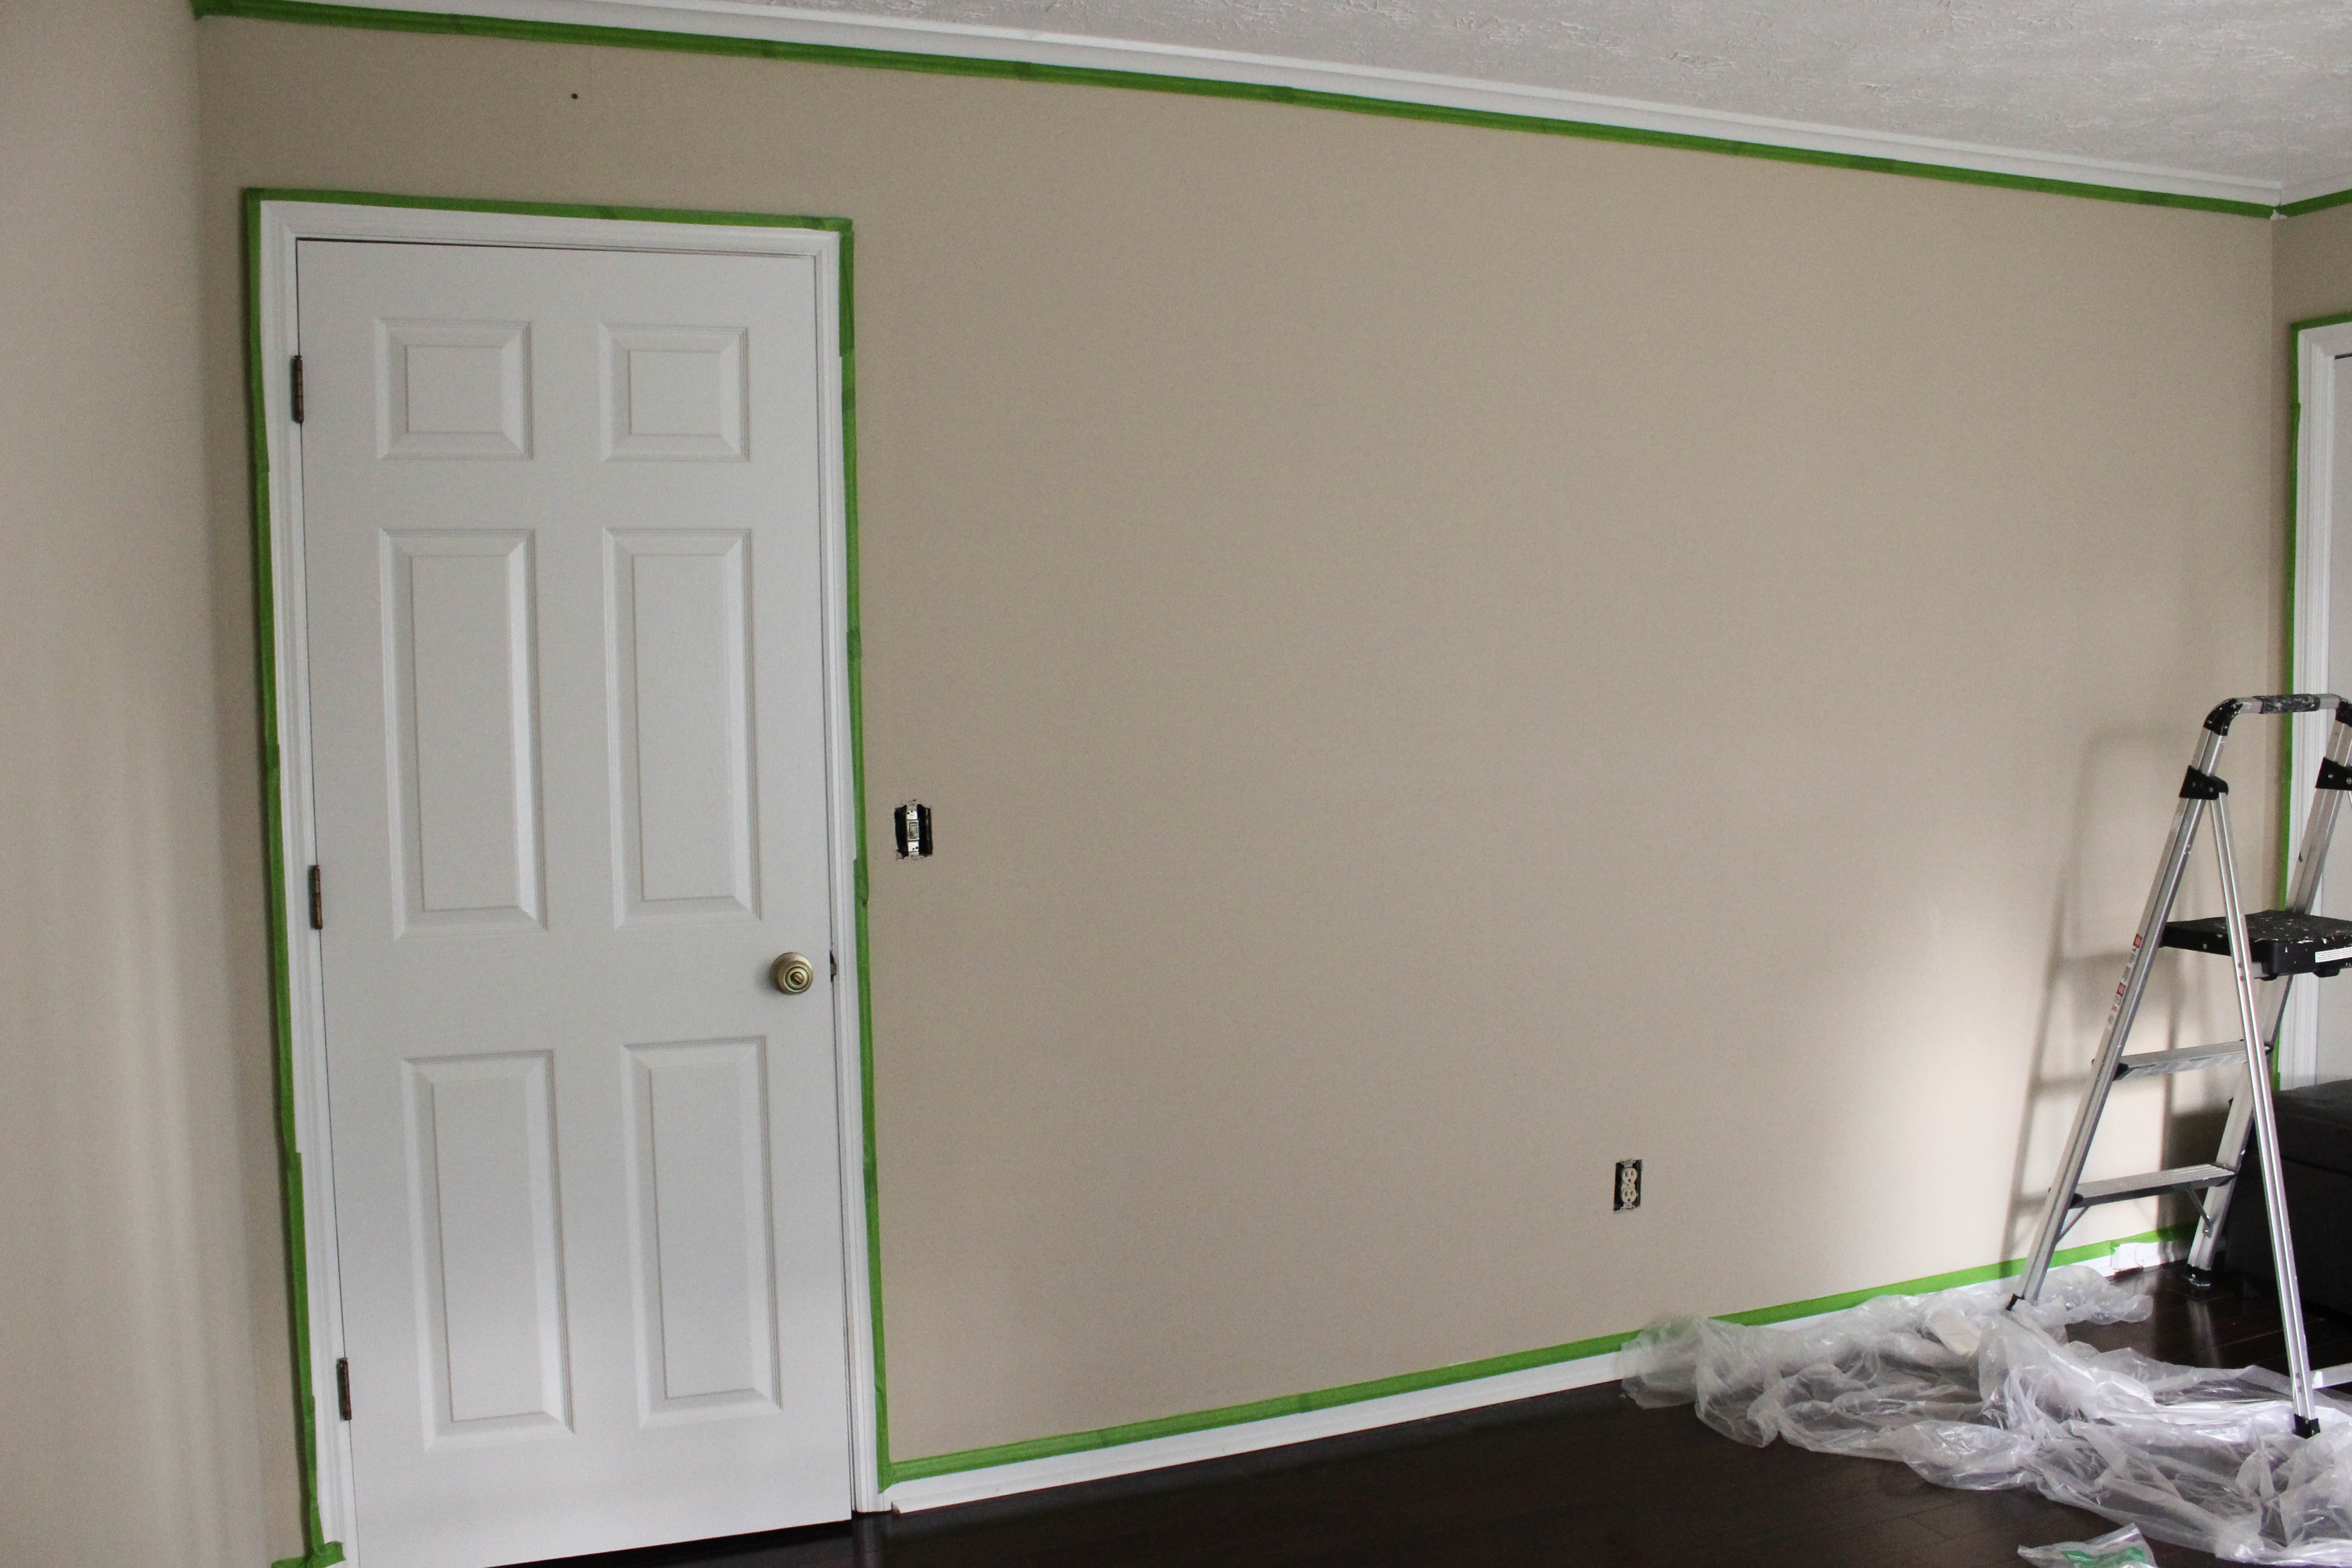
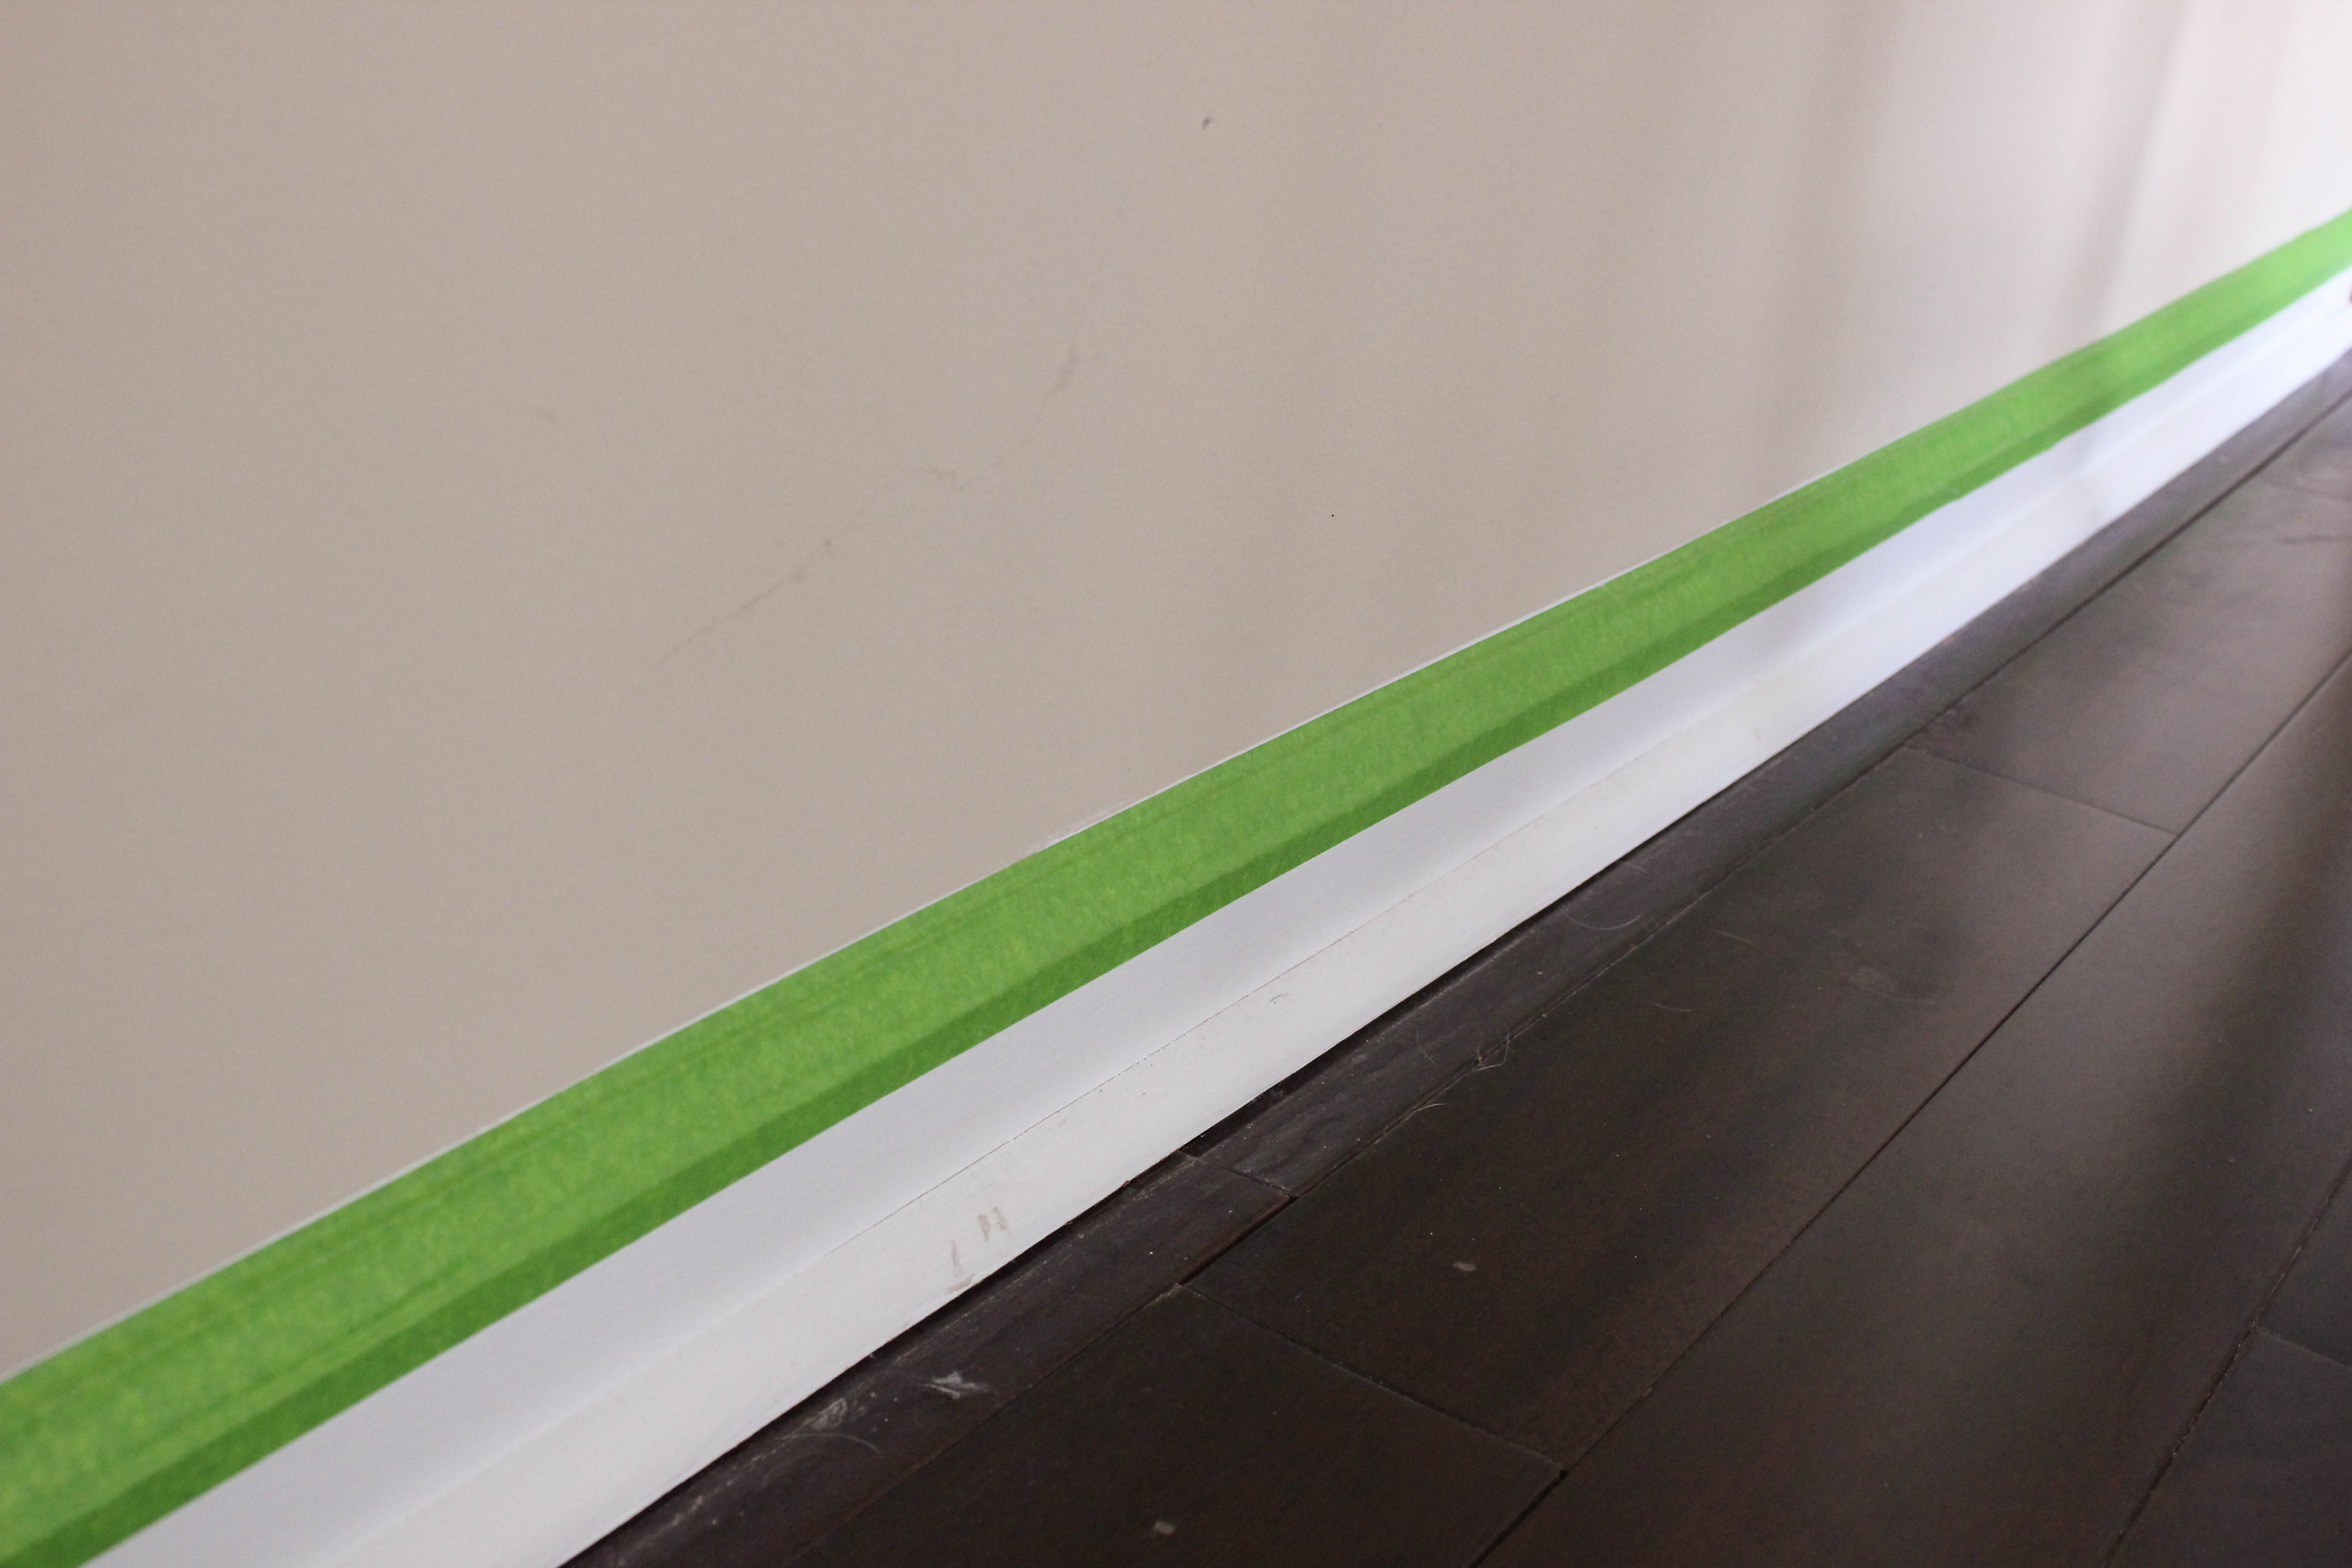
Then I painted! I went with Benjamin Moore Revere Pewter in an eggshell finish. The walls were a flat beige-tan color to start with, and now they are a pretty, neutral gray-beige. The key to really crisp lines is to peel the tape off while the paint is still damp.

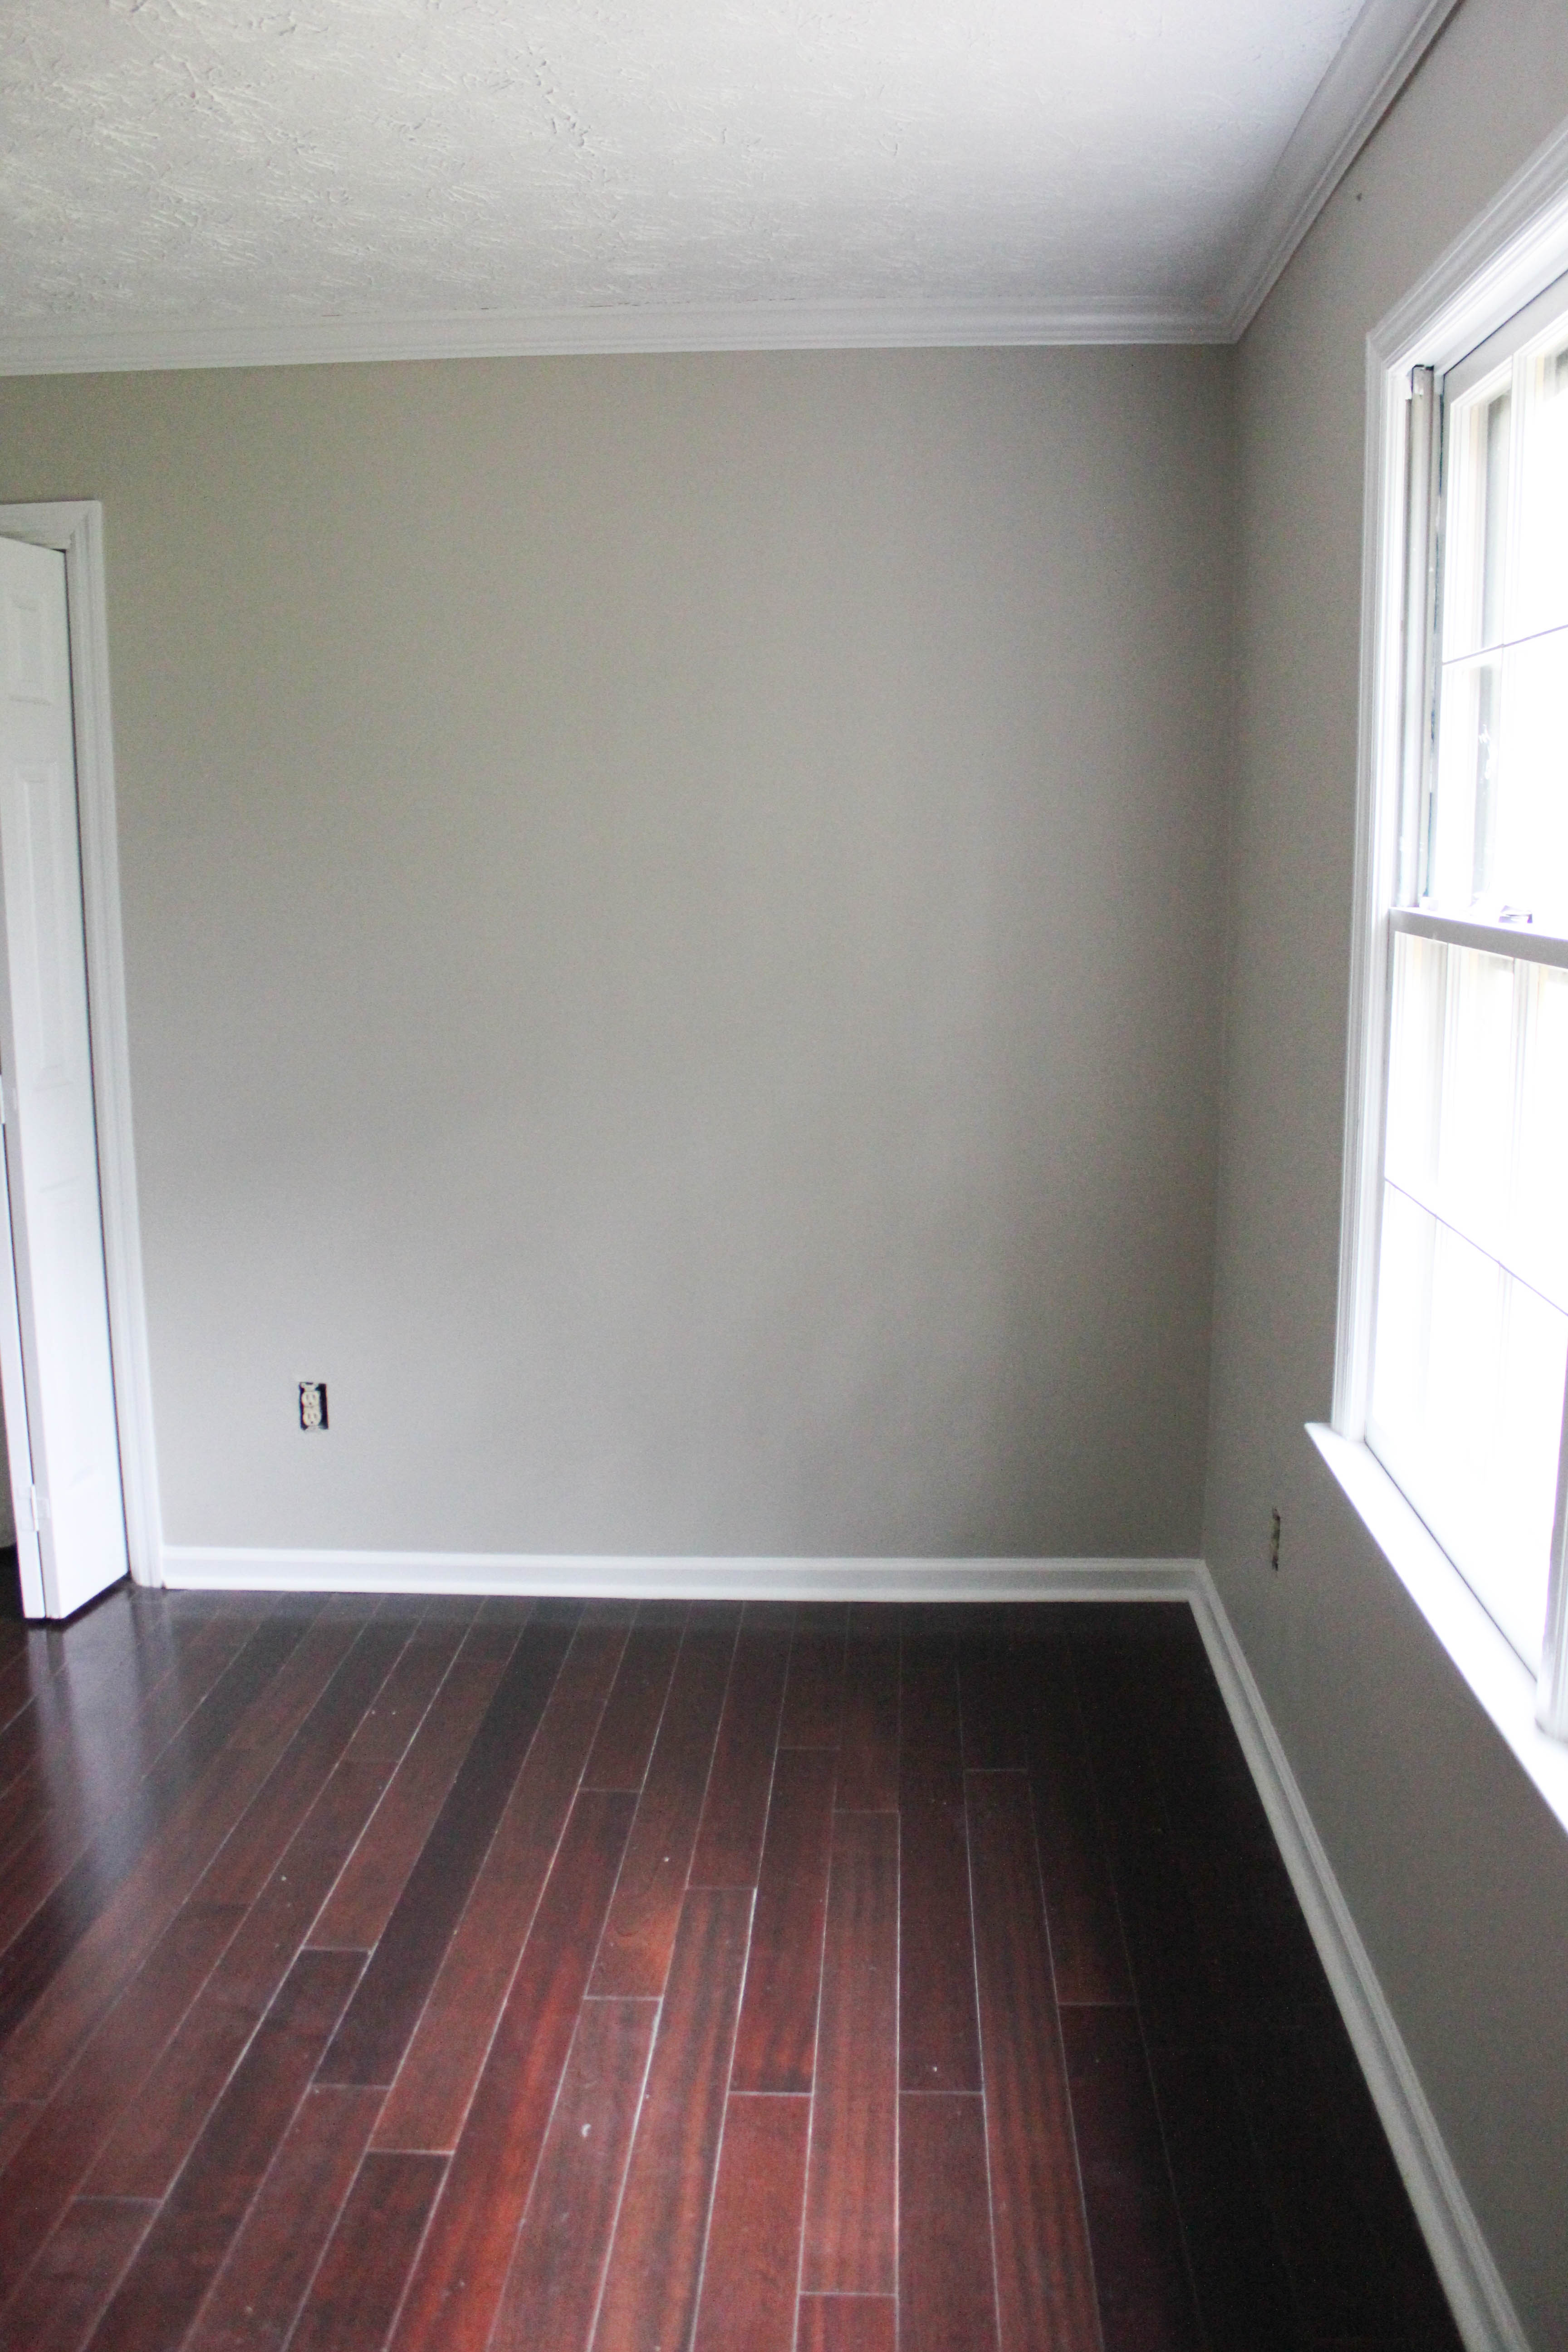
Since we don’t know the baby’s gender I opted to go with a neutral color palette and plan on adding another accent color after the baby is born. For now, it will be gray and yellow with gold accents. You can check out my mood board here. Now that the walls are finally painted, I can dig in and start working on the rest of the room!
Be sure to connect with FrogTape on Pinterest and Facebook for more information and project inspiration!
UPDATE: You can see the finished nursery reveal here.
If you’re new here, please consider subscribing via RSS or by email.
You can also connect with me here:
![]()
![]()
![]()
![]()
![]()
![]()
![]()
