Or I guess I should say “pieces” that started it all, since technically there are two. I love a good furniture makeover!
 |
| After |

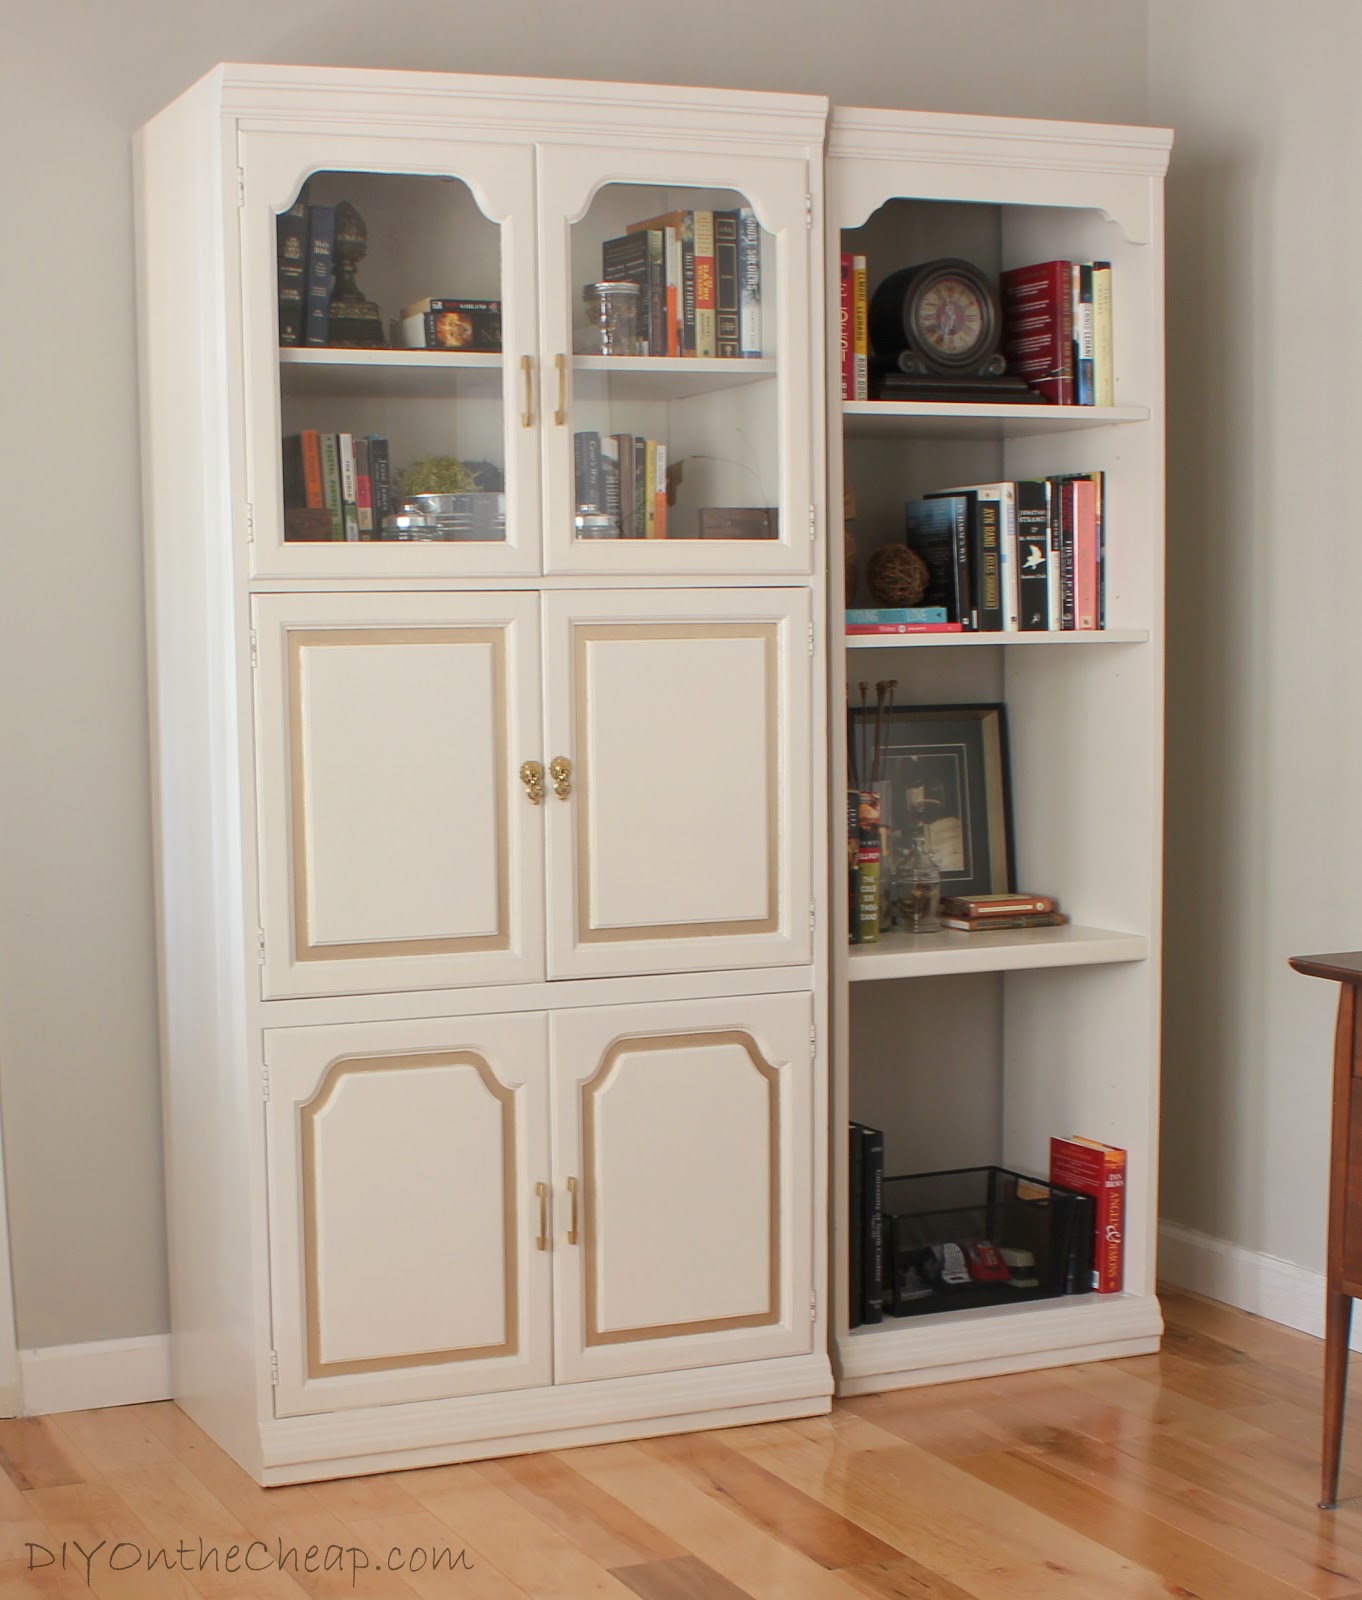
Meet Maude (and her friend). What? Do you not name your furniture? No? Oh. Um, me neither… Anyway, this cabinet/bookshelf set and I go way back. As in, since birth. They belonged to my parents when I was a kid and they used to be stained wood. They probably cost a pretty penny back in the day. I know this because they are back-breakingly heavy. Anyway, my parents divorced when I was a kid and my dad got custody of this furniture. It changed hands a couple of times, and in the process they got ruined. Well, not irreparably ruined, but temporarily ruined. I don’t have a picture of the hot mess they were when I recieved them, but I do have a picture of them before their latest makeover.
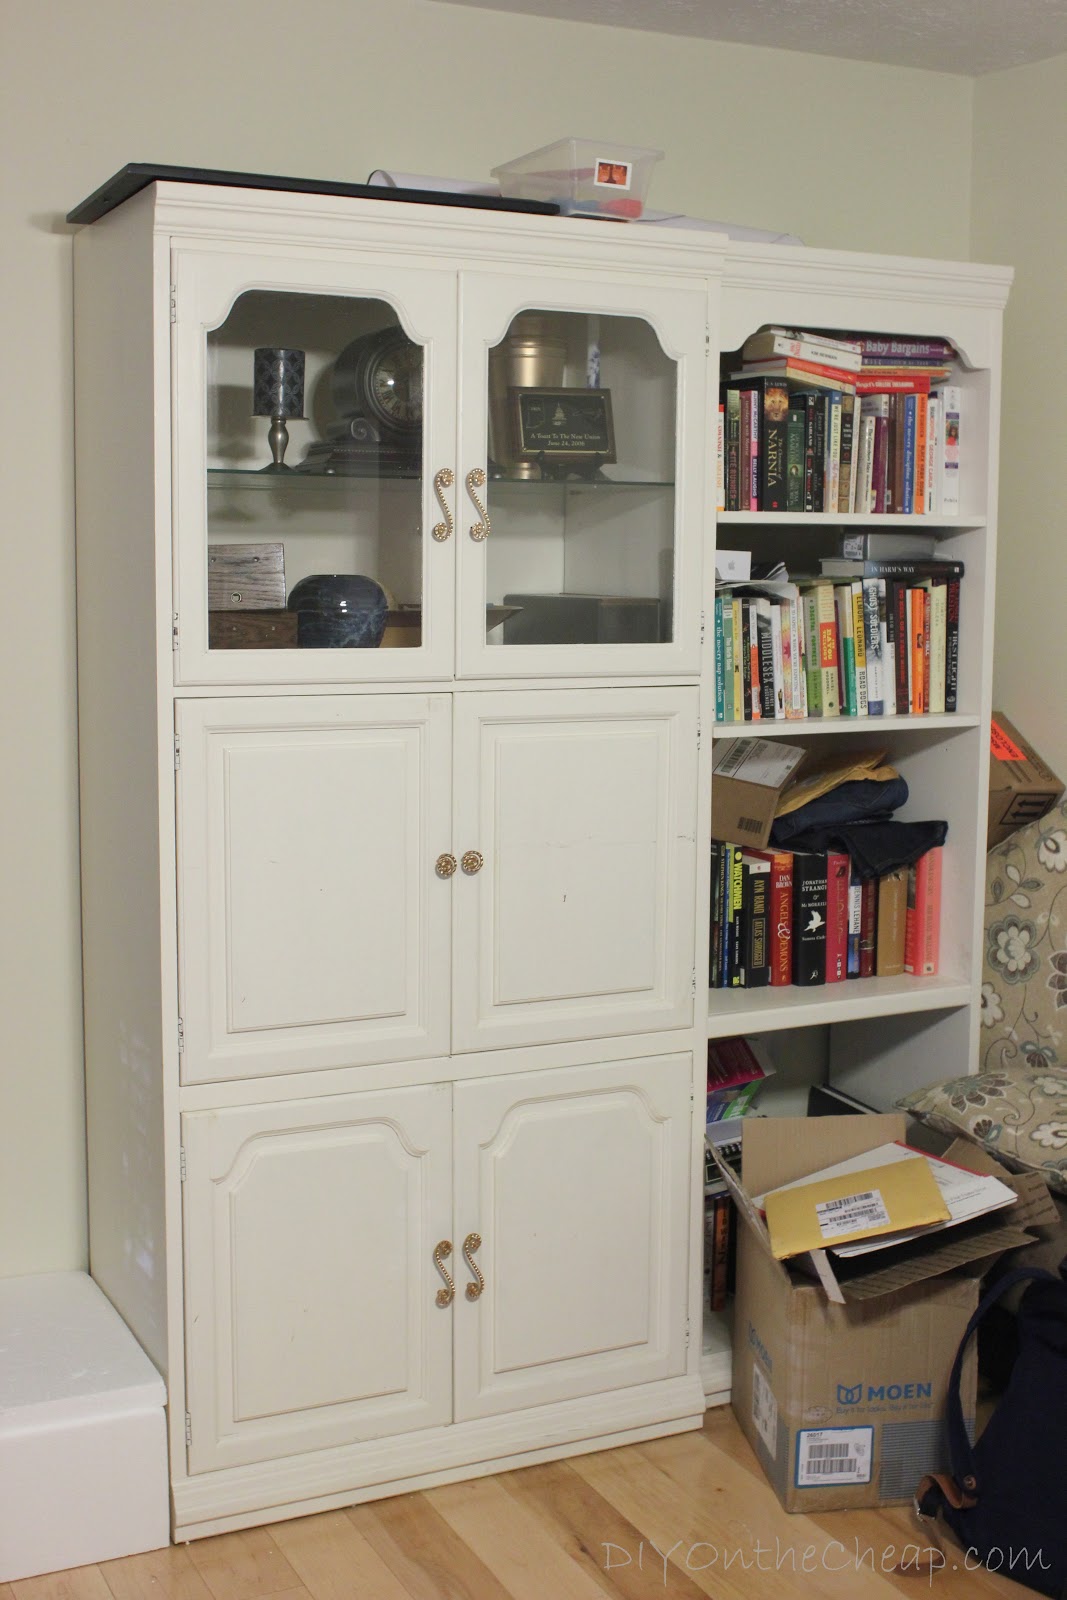 |
| Ignore the horrendous mess, please. This was taken recently, after my first refinishing attempt but before the latest makeover. Unfortunately, I do not have “Before” pics from the first time I painted it several years ago. |
“Someone” (name withheld to protect the guilty) painted them without doing any prep-work whatsoever – and may even have just spray painted them, not sure – with no sanding, priming, etc. So by the time my dad got them back and gave them to me, the paint was literally peeling and hanging all the way off. As in, you could grab a strip of paint in some areas and just peel it from top to bottom. In other areas, it was impossible to remove. At this point (about 7 years ago maybe?) I had never painted a piece of furniture in my life. I knew nothing about the correct process. All I knew was that I was going to have to strip this nasty, peely paint off somehow and re-paint it. Problem was, I had no idea what type of paint was used to begin with and I had no idea how to go about stripping/painting or anything involving furniture refinishing whatsoever.
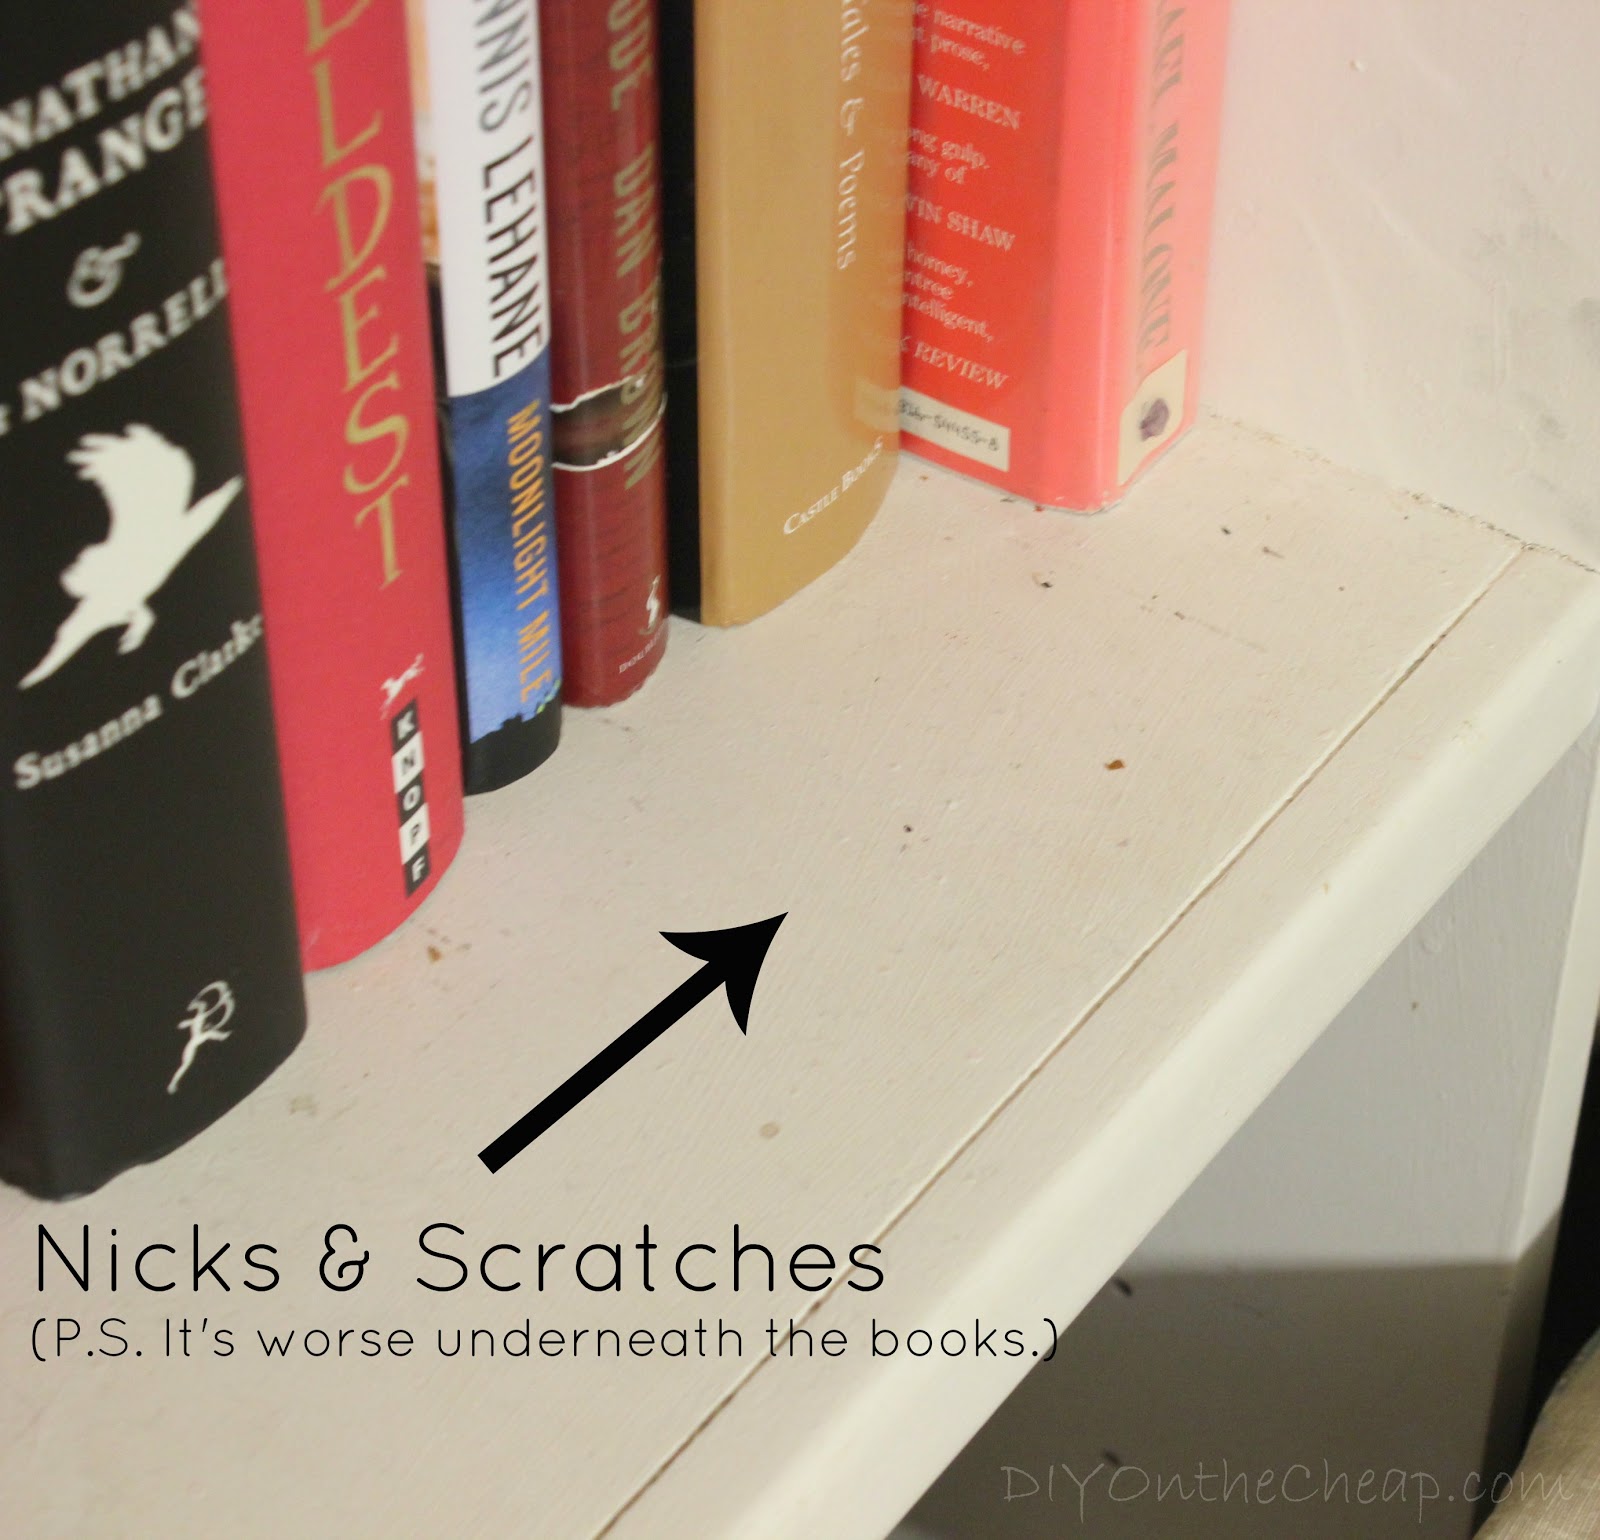 |
| A few weeks ago. |
The first time around, it was not a labor of love. It was a labor of hate. I hated every minute of it. I tried five hundred zillion different paint stripping agents and none of them worked. Some spots had peeled off effortlessly, while other patches were clinging for dear life and refused to come off. I wish I had a “before” picture for you, but sadly I do not. Well, I have “before” pics but not a “before, before” pic when it was in really bad shape. Anyway, after literally months of chipping away little by little and finally finding Citri-Strip which seemed to work, and tons of sanding, etc., I got the paint off (and swore I’d never refinish furniture ever again! Ha.). Now, normally if you are just going to repaint a piece, you could just sand and skip the whole paint-stripping step. But since the paint was peeling completely off in some large areas, and the wood underneath was totally un-prepped and still had glossy varnish of some sort on it, I had no choice but to remove the paint. I sanded, primed and painted it a creamy white color. It was lovely. However, I made a fatal mistake. I did not seal it and I did not let it cure before stashing items inside it and on the shelves. (Rookie mistake!) Now, up until recently, I was left with a chipping mess that needed to be re-painted yet again. It’s been living in our office/living room since we moved into this house, and it’s been an unorganized mess of books and clutter. This time, I knew what I was doing. This time, it was a labor of love. So basically, I should thank this “someone” for ruining this piece of furniture and forcing me to learn how to refinish it, thereby inadvertently setting in motion this whole crazy blogging train that I’ve found myself on.
 |
| A few weeks ago. |
I should also mention that when I inherited the furniture, the backing had been hideously wallpapered. For a while, I covered the bookshelf backing in fabric but it was in such bad shape I finally just removed it and threw it away. I originally painted the backing of the cabinet even though it was that flimsy cardboard stuff.
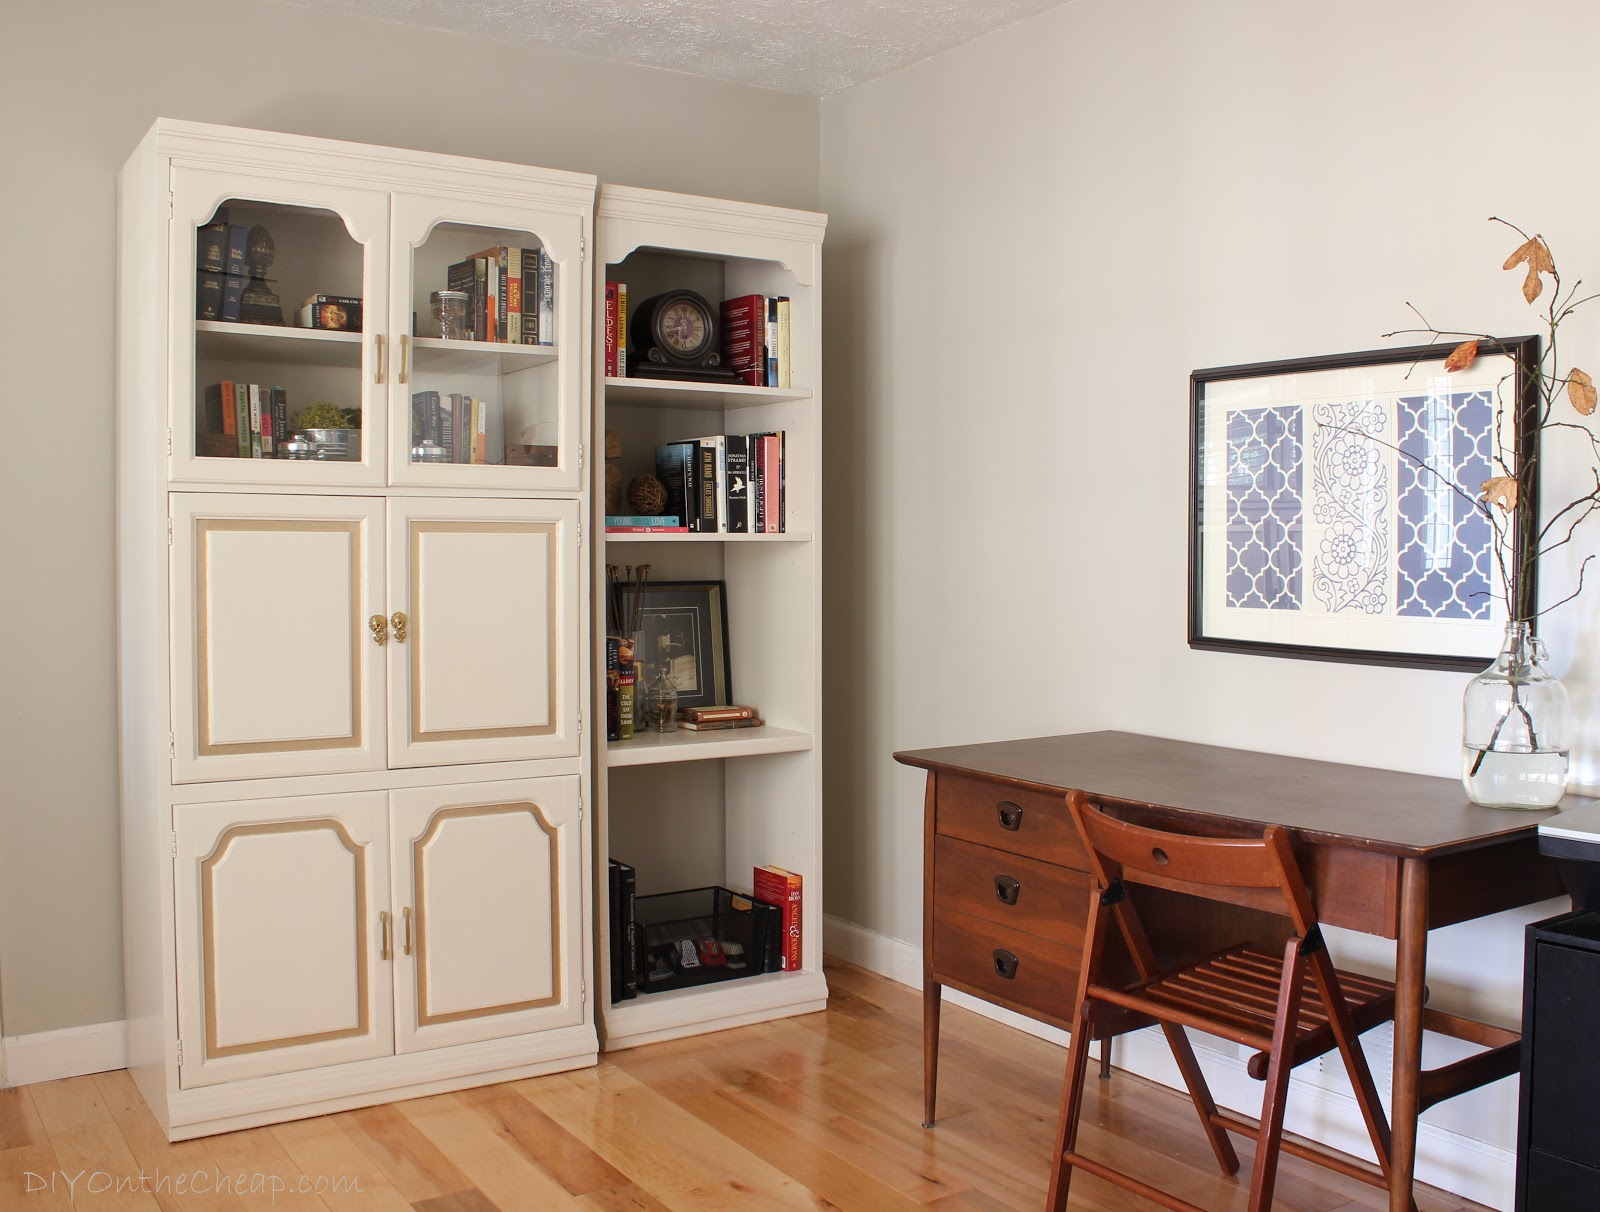
Since this furniture is going to live in our modern office/living room, I wanted to do something a little bit different with it. Modern, but not as bold as this dresser it would be sharing a room with. Subtle but not boring.
Up until I repainted it, this piece was used as a “catch all” for our junk. I hadn’t bothered to decorate it, we just stashed stuff on and inside it and added it to the “to deal with later” list. Well, the situation has now been dealt with, so without further ado, I’d like to introduce you to the new and improved Maude. (And her friend.)
 |
| After |

You got a sneak peek of her in this post, but here is the official reveal. I painted these pieces with Behr semi-gloss paint in “Chocolate Froth,” which is a grayish-beige off-white color. We’ll call it “greige-y white.” The inlay part on the cabinet doors was painstakingly painted with an itsy bitsy artist’s brush using Martha Stewart Living metallic paint in “Golden Pearl.” I spray painted all of the hardware gold. The top and bottom cabinet handles came from Home Depot, and the ornate pulls on the middle cabinets are vintage and I ordered them from an Etsy shop.


I also replaced the glass shelf inside the cabinet with one made of MDF. I simply laid the old shelf on top of a piece of MDF and traced it with a Sharpie (no measuring required!), then used my circular saw to cut it out. I painted it to match, and I like the look of it better than the glass.
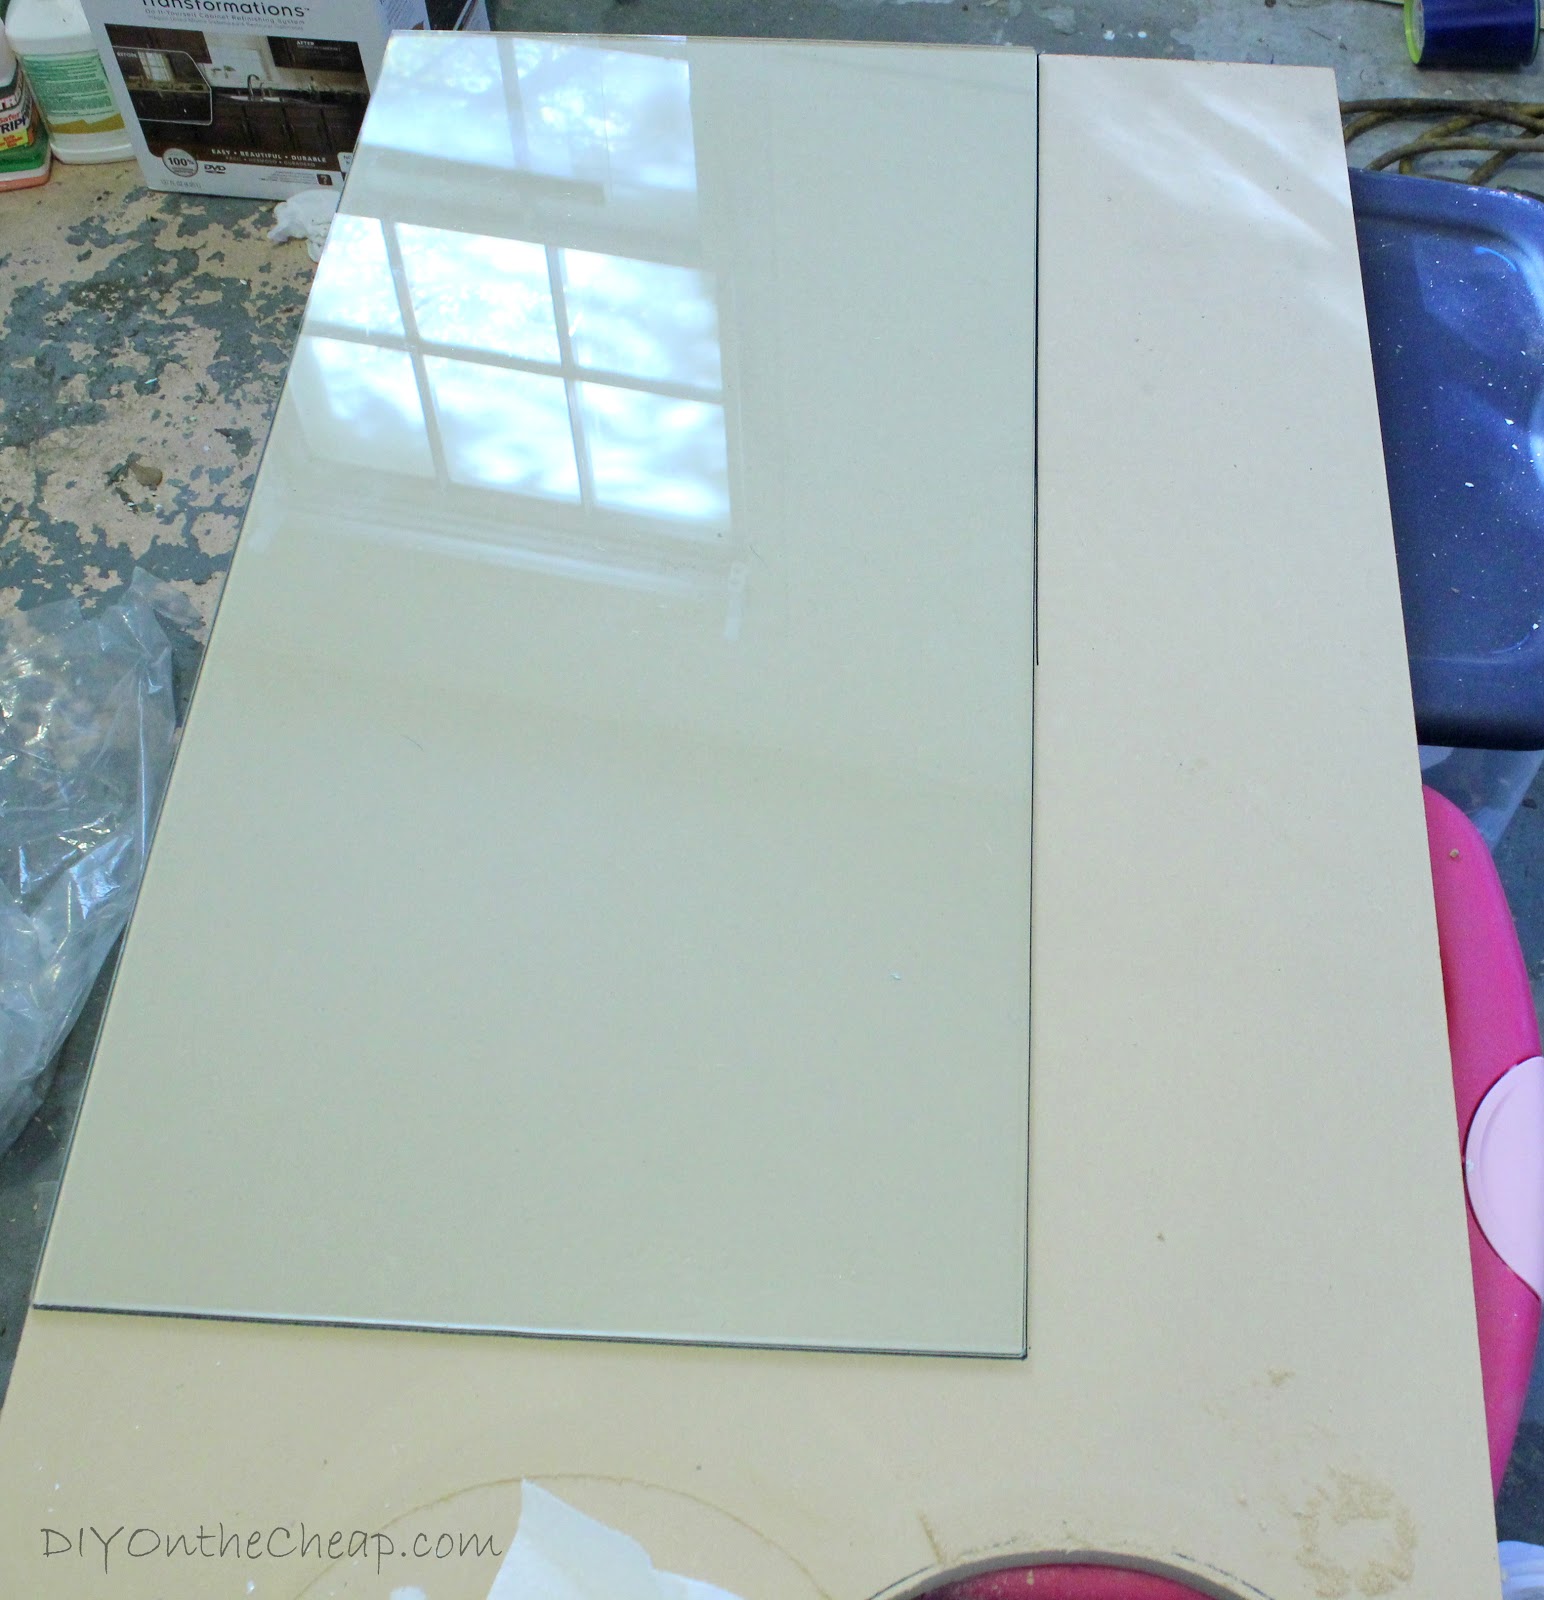 |
| Old glass shelf on top of a sheet of MDF. I just traced and cut. |
I waxed the shelves since I knew I would be putting things there, but I am letting the rest of it cure and trying not to touch or mess with it anytime soon. I just haven’t had the time or energy to wax the whole thing.
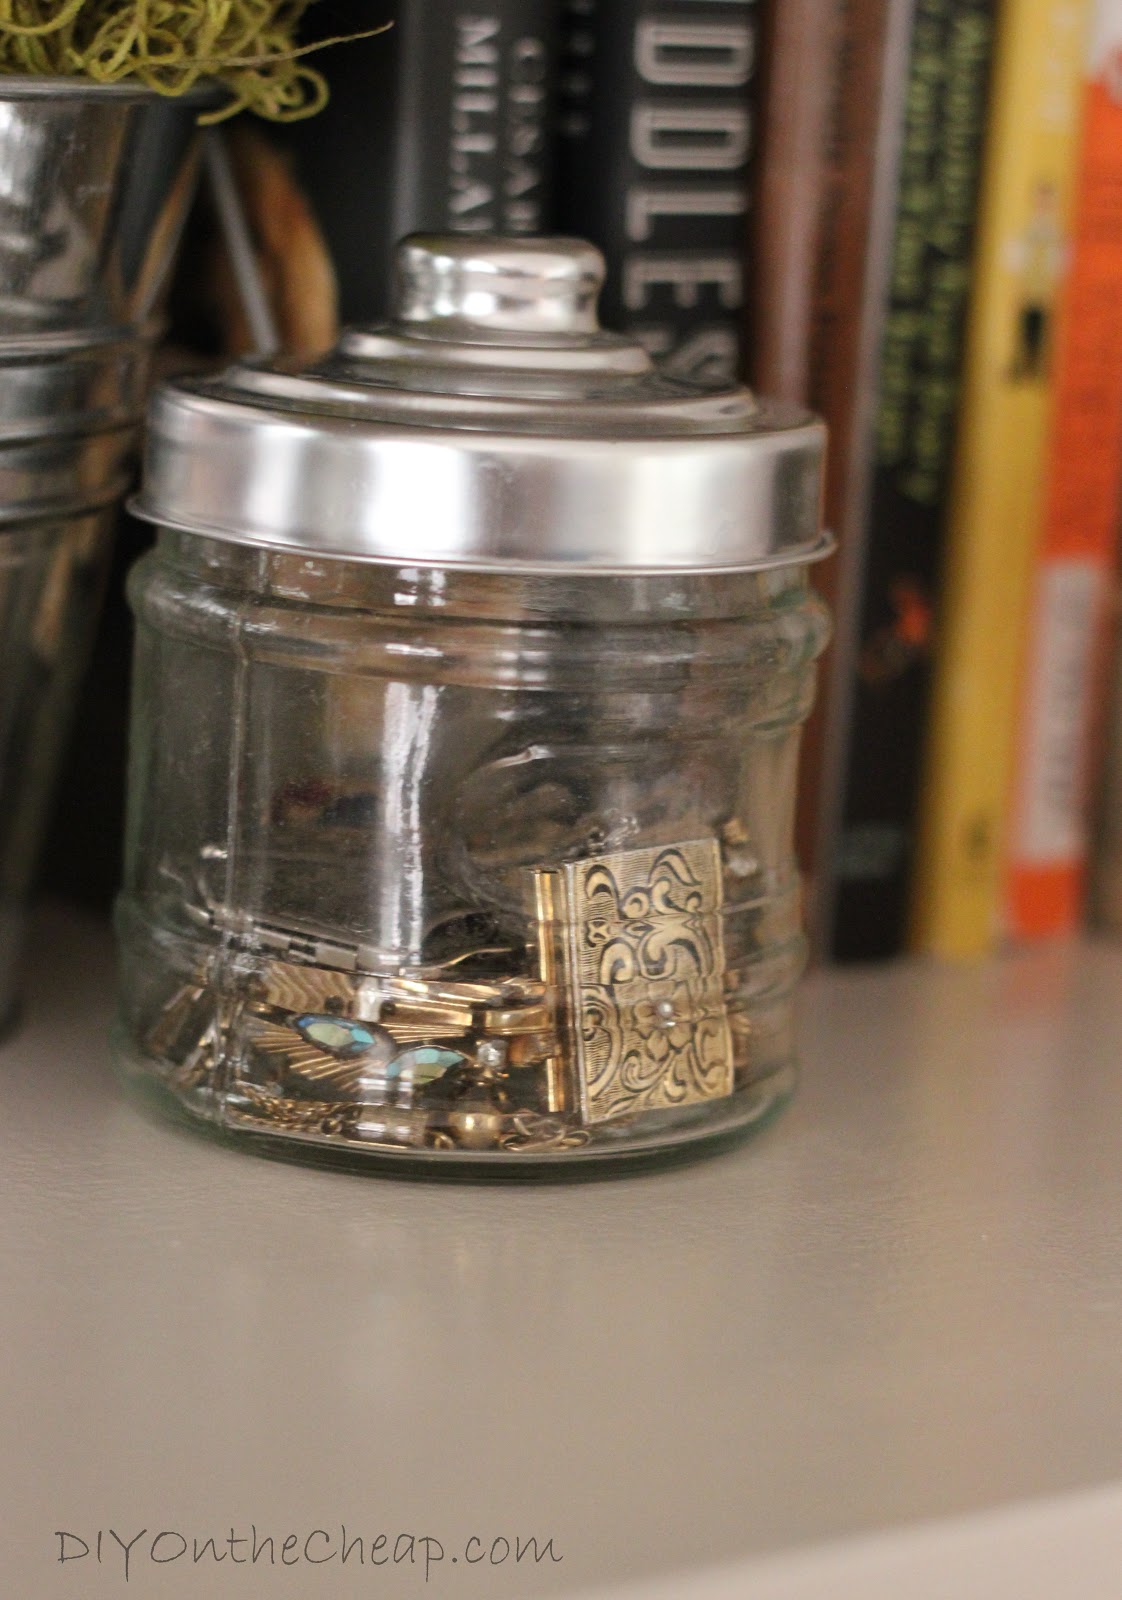
I had a lot of fun decorating the shelves. One of my favorite things is this little jar full of vintage costume jewelry that I inherited from my great-grandmother. It’s been stashed in my jewelry box since I was a little girl, and I’m happy to be able to display it now.

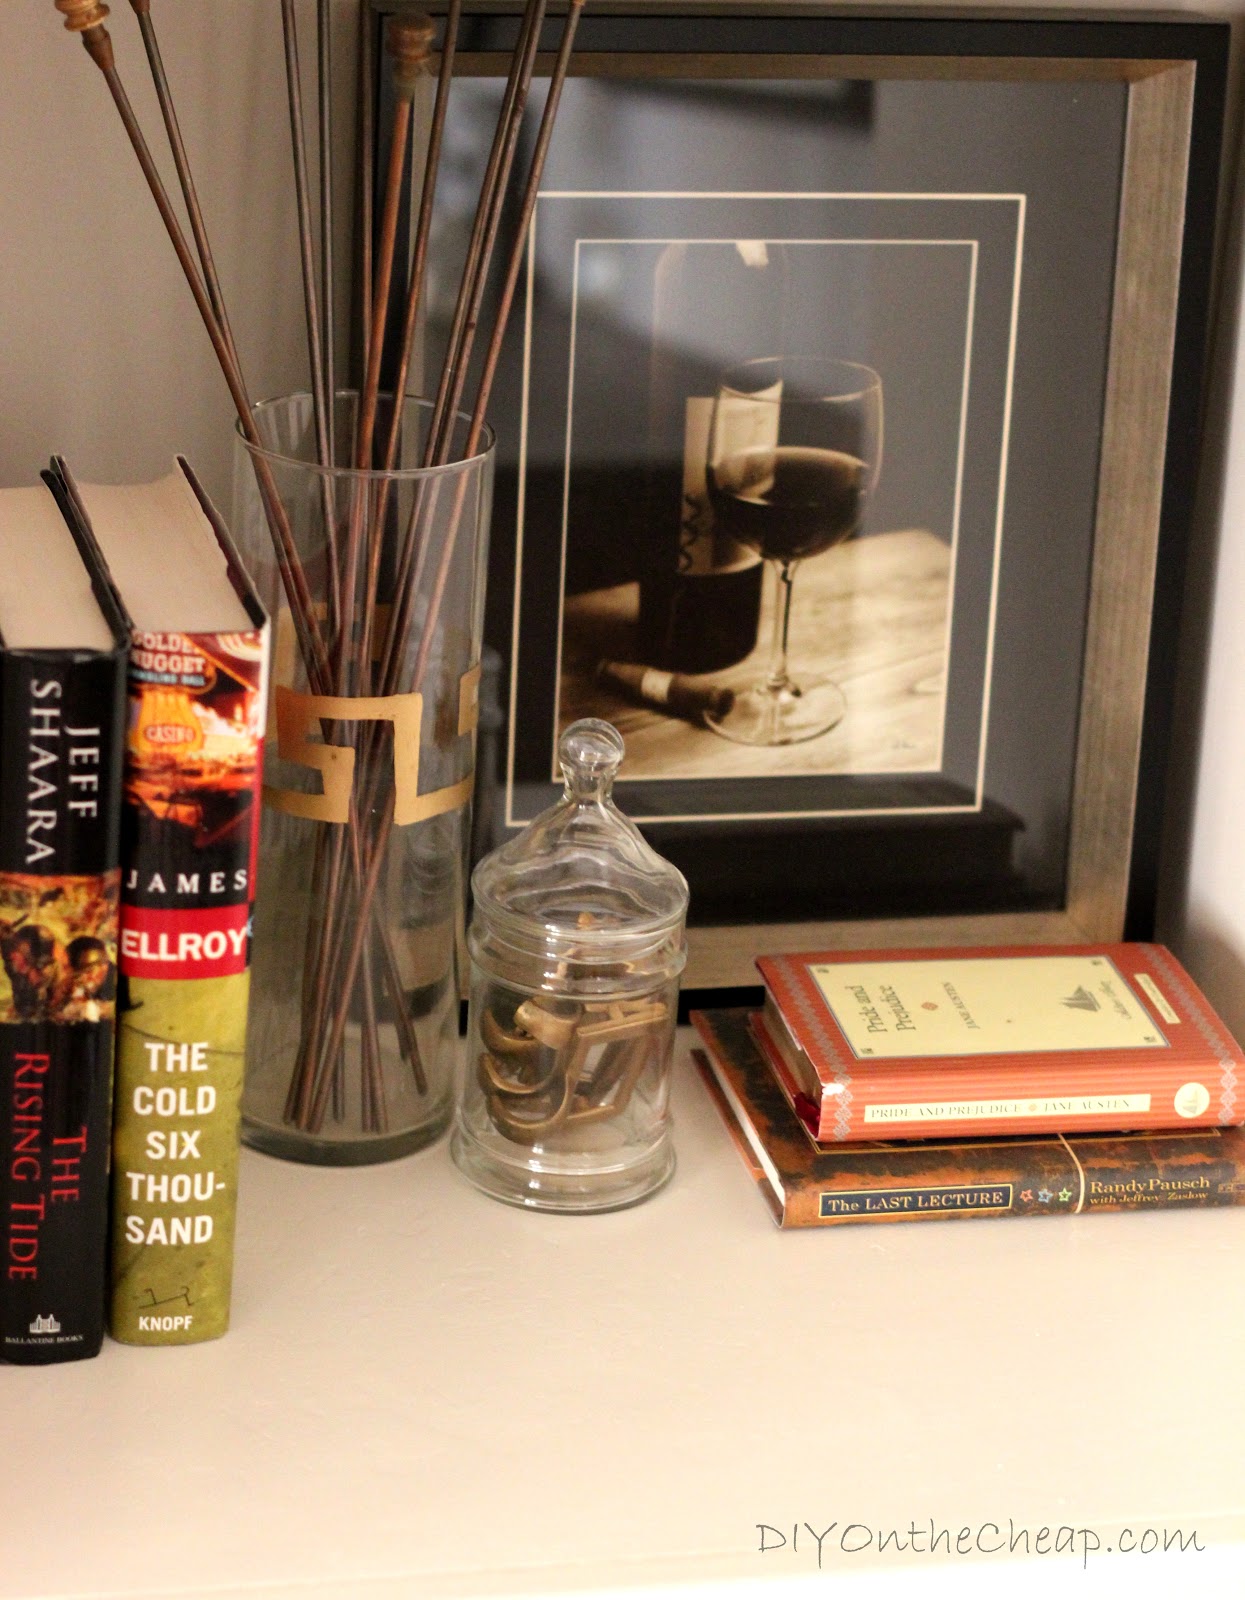
I also added this vase and jar full of old hardware from my library cabinet.

If you’ve been reading my blog for very long, then you probably know by now that I am pretty sentimental. I love furniture/decor that has a story or some sort of history or meaning behind it. Trends are fun, but they come and go. My favorite things in our home are things that bring back memories or have some sort of story behind them. If you are trying to decorate a room and you have no idea where to start, in my opinion you should always start by bringing in the things that mean the most to you, and then build from there. You can always add trendy stuff in easy-to-change form, like pillows or curtains.
Do any of your furniture pieces have a “story” behind it? Do you incorporate sentimental things in your decor?
