I am having a lot of fun exploring the new “Upcycling” movement that’s happening right now. For those of you not familiar, here is a definition. It’s basically turning trash into treasure.
I decided to give it a try by turning a Pringles can and an old bread crumbs canister into storage for my paint brushes and craft supplies. You could use these types of canisters for any type of storage really. Pens and pencils, markers, crayons, office supplies, etc. You could even cut a slit in the lid and have a cute piggy bank. Here are my upcycled food canisters:
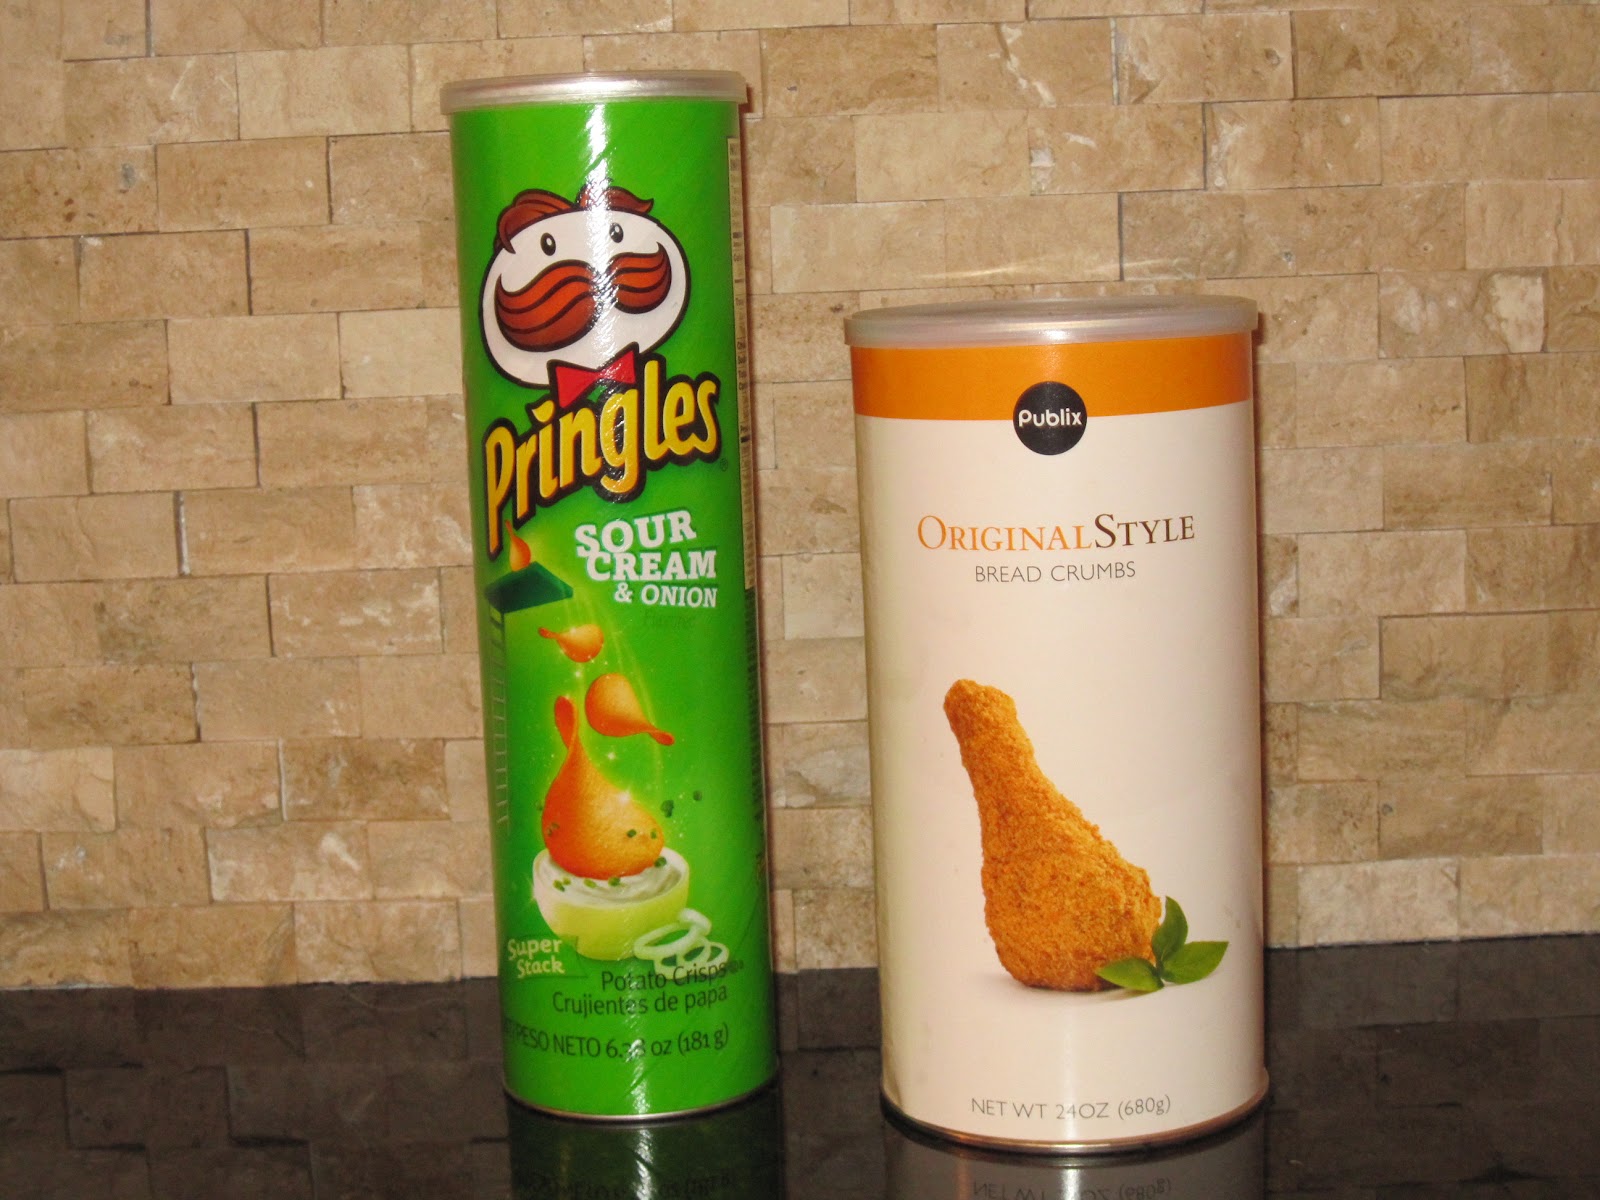 |
| Before |
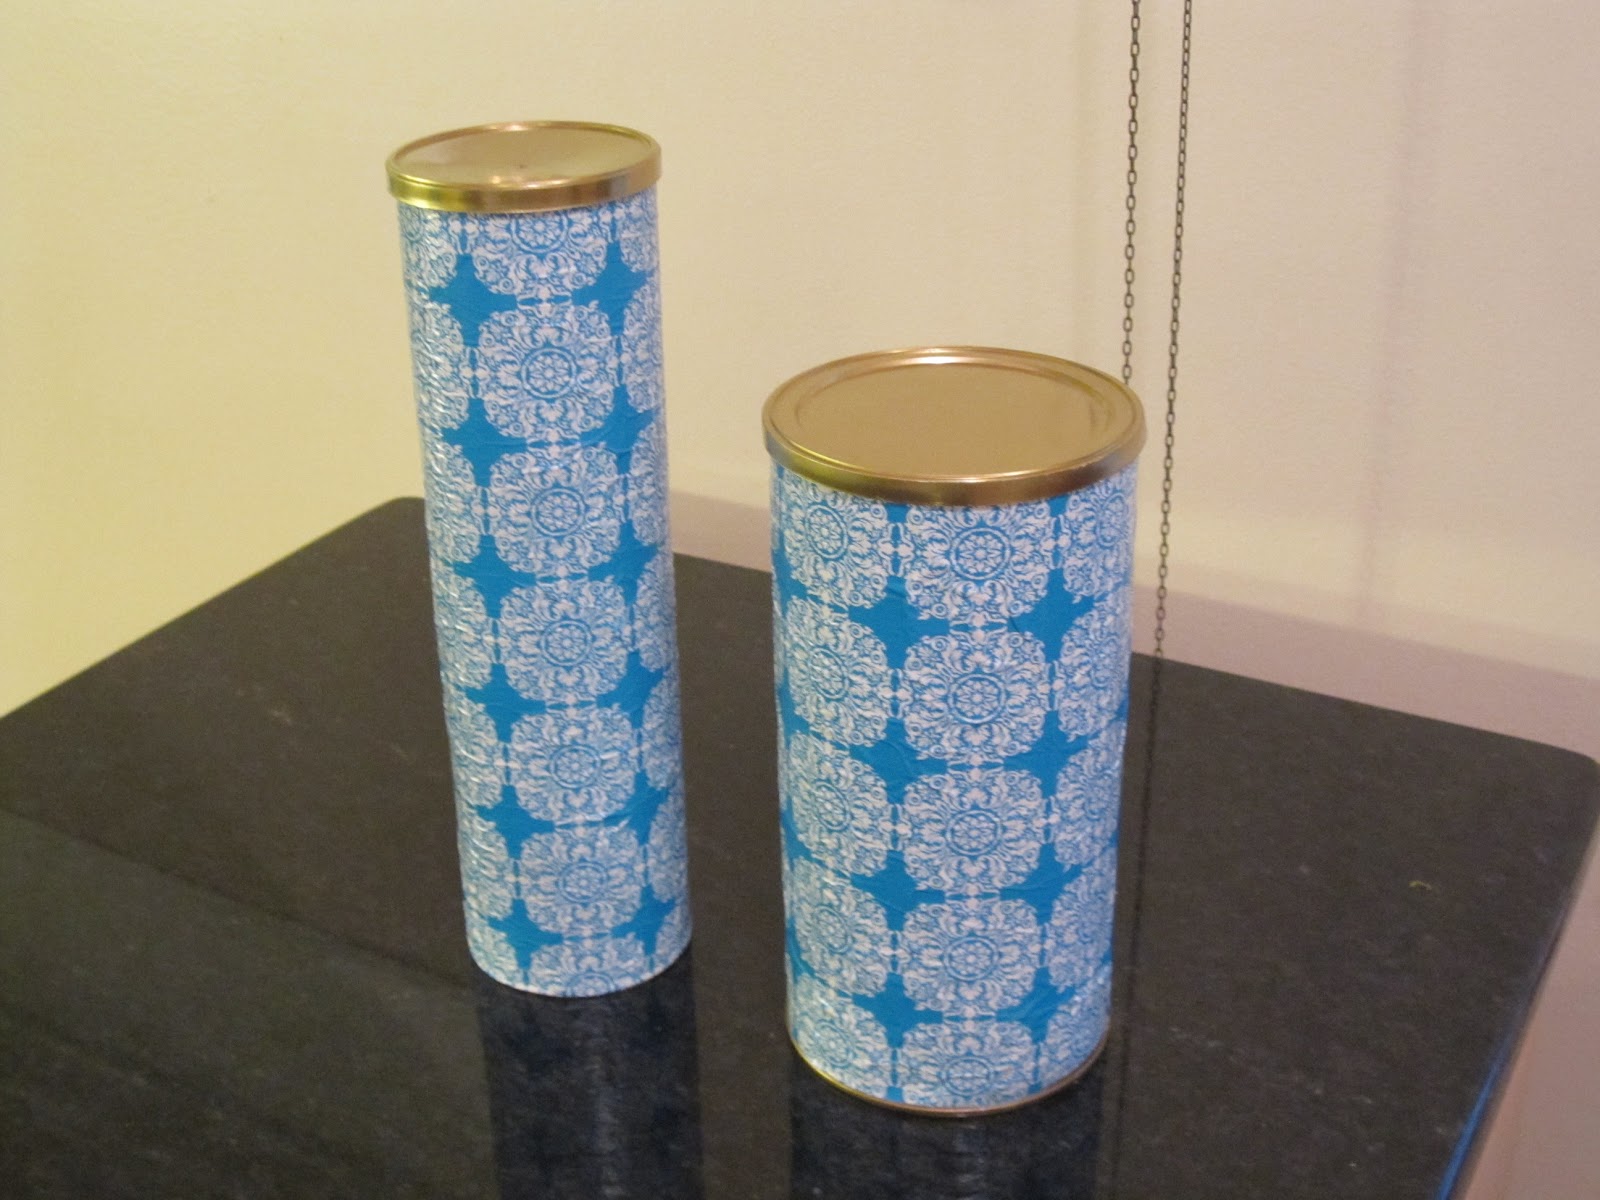 | |||
| After |
Materials I used: Food canisters; spray paint; scissors; wrapping paper; sponge brush; ruler; Mod Podge; and Decoupage gloss sealer.
I actually found this wrapping paper in the dollar bin at Michaels:

Here is how I made them:
First, I rinsed out the inside of the canisters. If you really want your supplies to smell like Sour Cream and Onion, I suppose you could skip this step. It’s just not my thing.
Then, I removed the label on the bread crumbs canister. I tried to remove the Pringles label but it proved to be a bit tedious and I was too impatient, so I left it on. I then spray painted the lids and the bottom and top rims of the cans with spray primer, and later metallic gold Krylon spray paint.
Next, I measured the height of the canister between the top and bottom rim, along with the width, and cut my wrapping paper leaving a little room for overlap. After the spray paint was dry, I used a sponge brush to apply a layer of Mod Podge to the canisters. I then adhered the wrapping paper to the canister, smoothing it out and trying to get rid of all of the bubbles. Since the wrapping paper is so thin, there still are a few little bumps here and there but it isn’t that noticeable. Using a patterned paper rather than a solid color helps to hide flaws.
I gave this some time to dry, and then applied another layer of Mod Podge on top of the wrapping paper to seal it. I later sprayed some gloss sealer all over it just to give it some added protection.

That’s it! Not hard at all. And you could really use any type of patterned paper: Wrapping paper; scrapbook paper; wall paper; etc. I already had all of the supplies, so this basically cost me $1 (for the wrapping paper.) Not bad considering I would have just thrown these canisters away. I plan on making several more of these and filling my future craft room with them. That’s an entirely different project in itself! More on that later.
What do you think of this “upcycling” project? What would you use the canisters for? Let me know!
