Erin Spain

Home, DIY, & Photography

  • Home
  • About
    • Press
    • Advertise
    • Podcast
    • Disclosure & Policies
  • Project Gallery
  • YouTube
  • Photography
  • TRAVEL
  • Contact

DIY Hand-Stamped Clay Ornaments

November 13, 2013 By Erin Spain 12 Comments

These DIY Hand-Stamped Clay Ornaments are beautiful and easy to make, plus they would make a great Christmas gift! Love these so much.

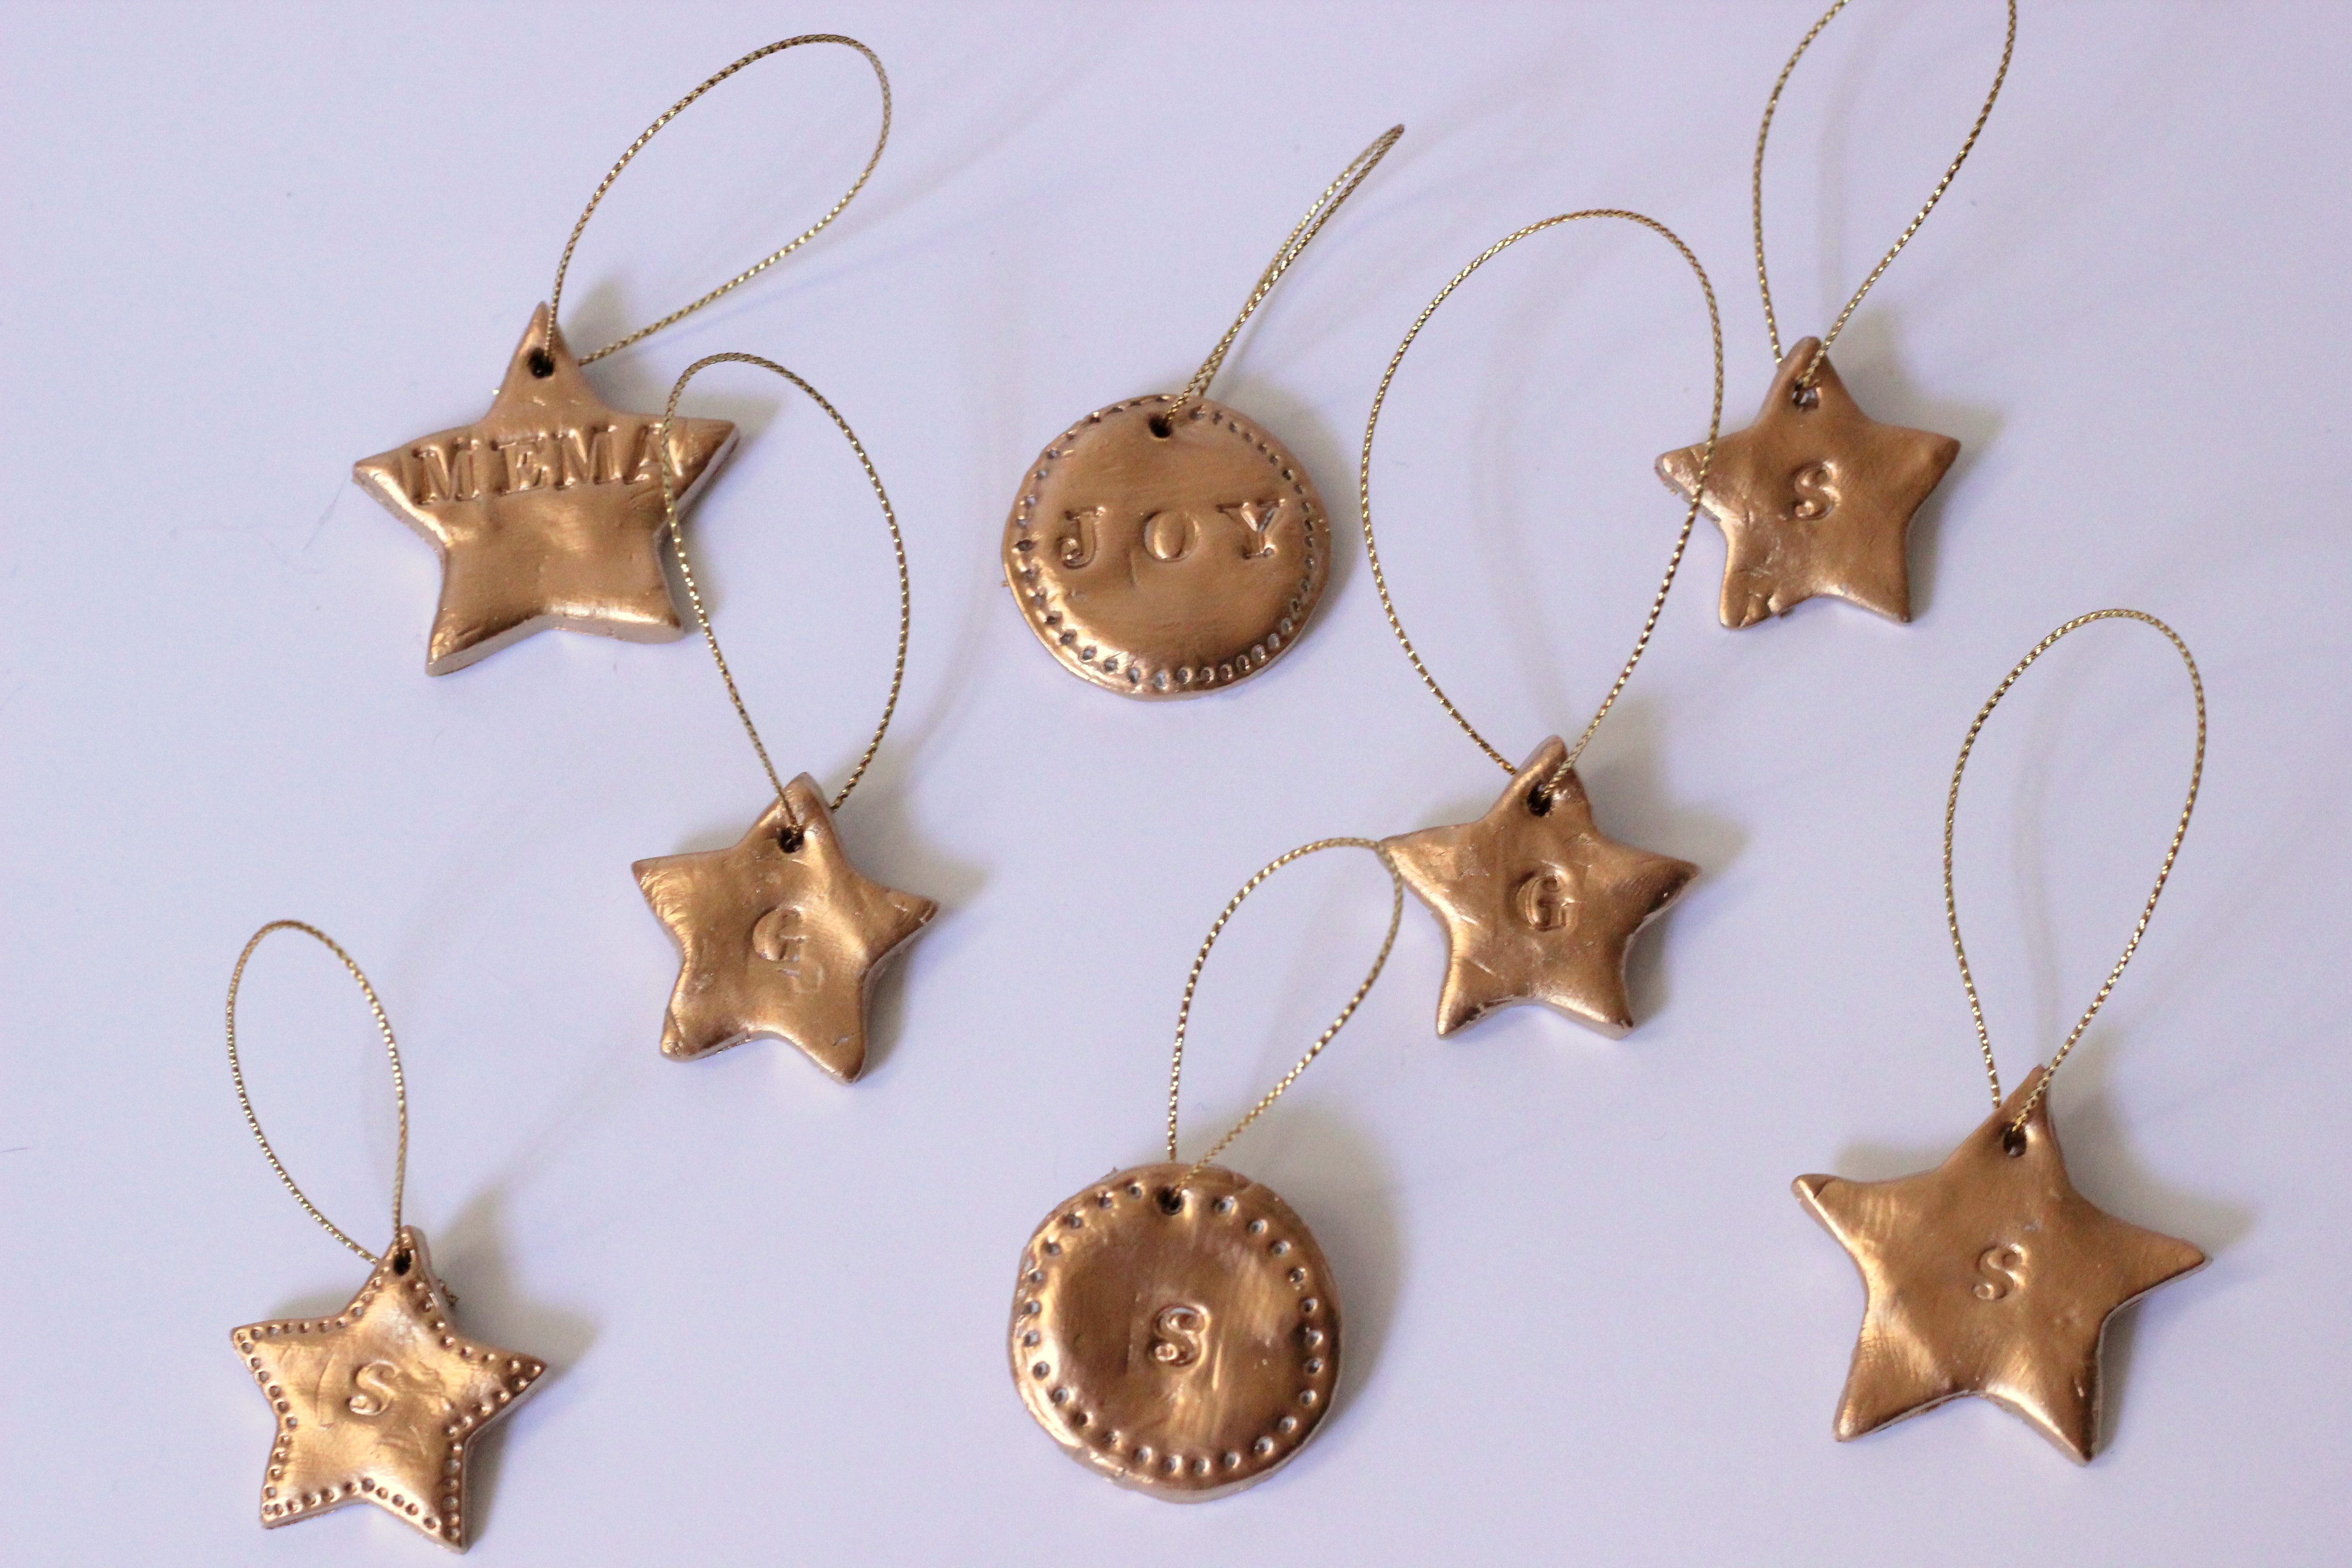
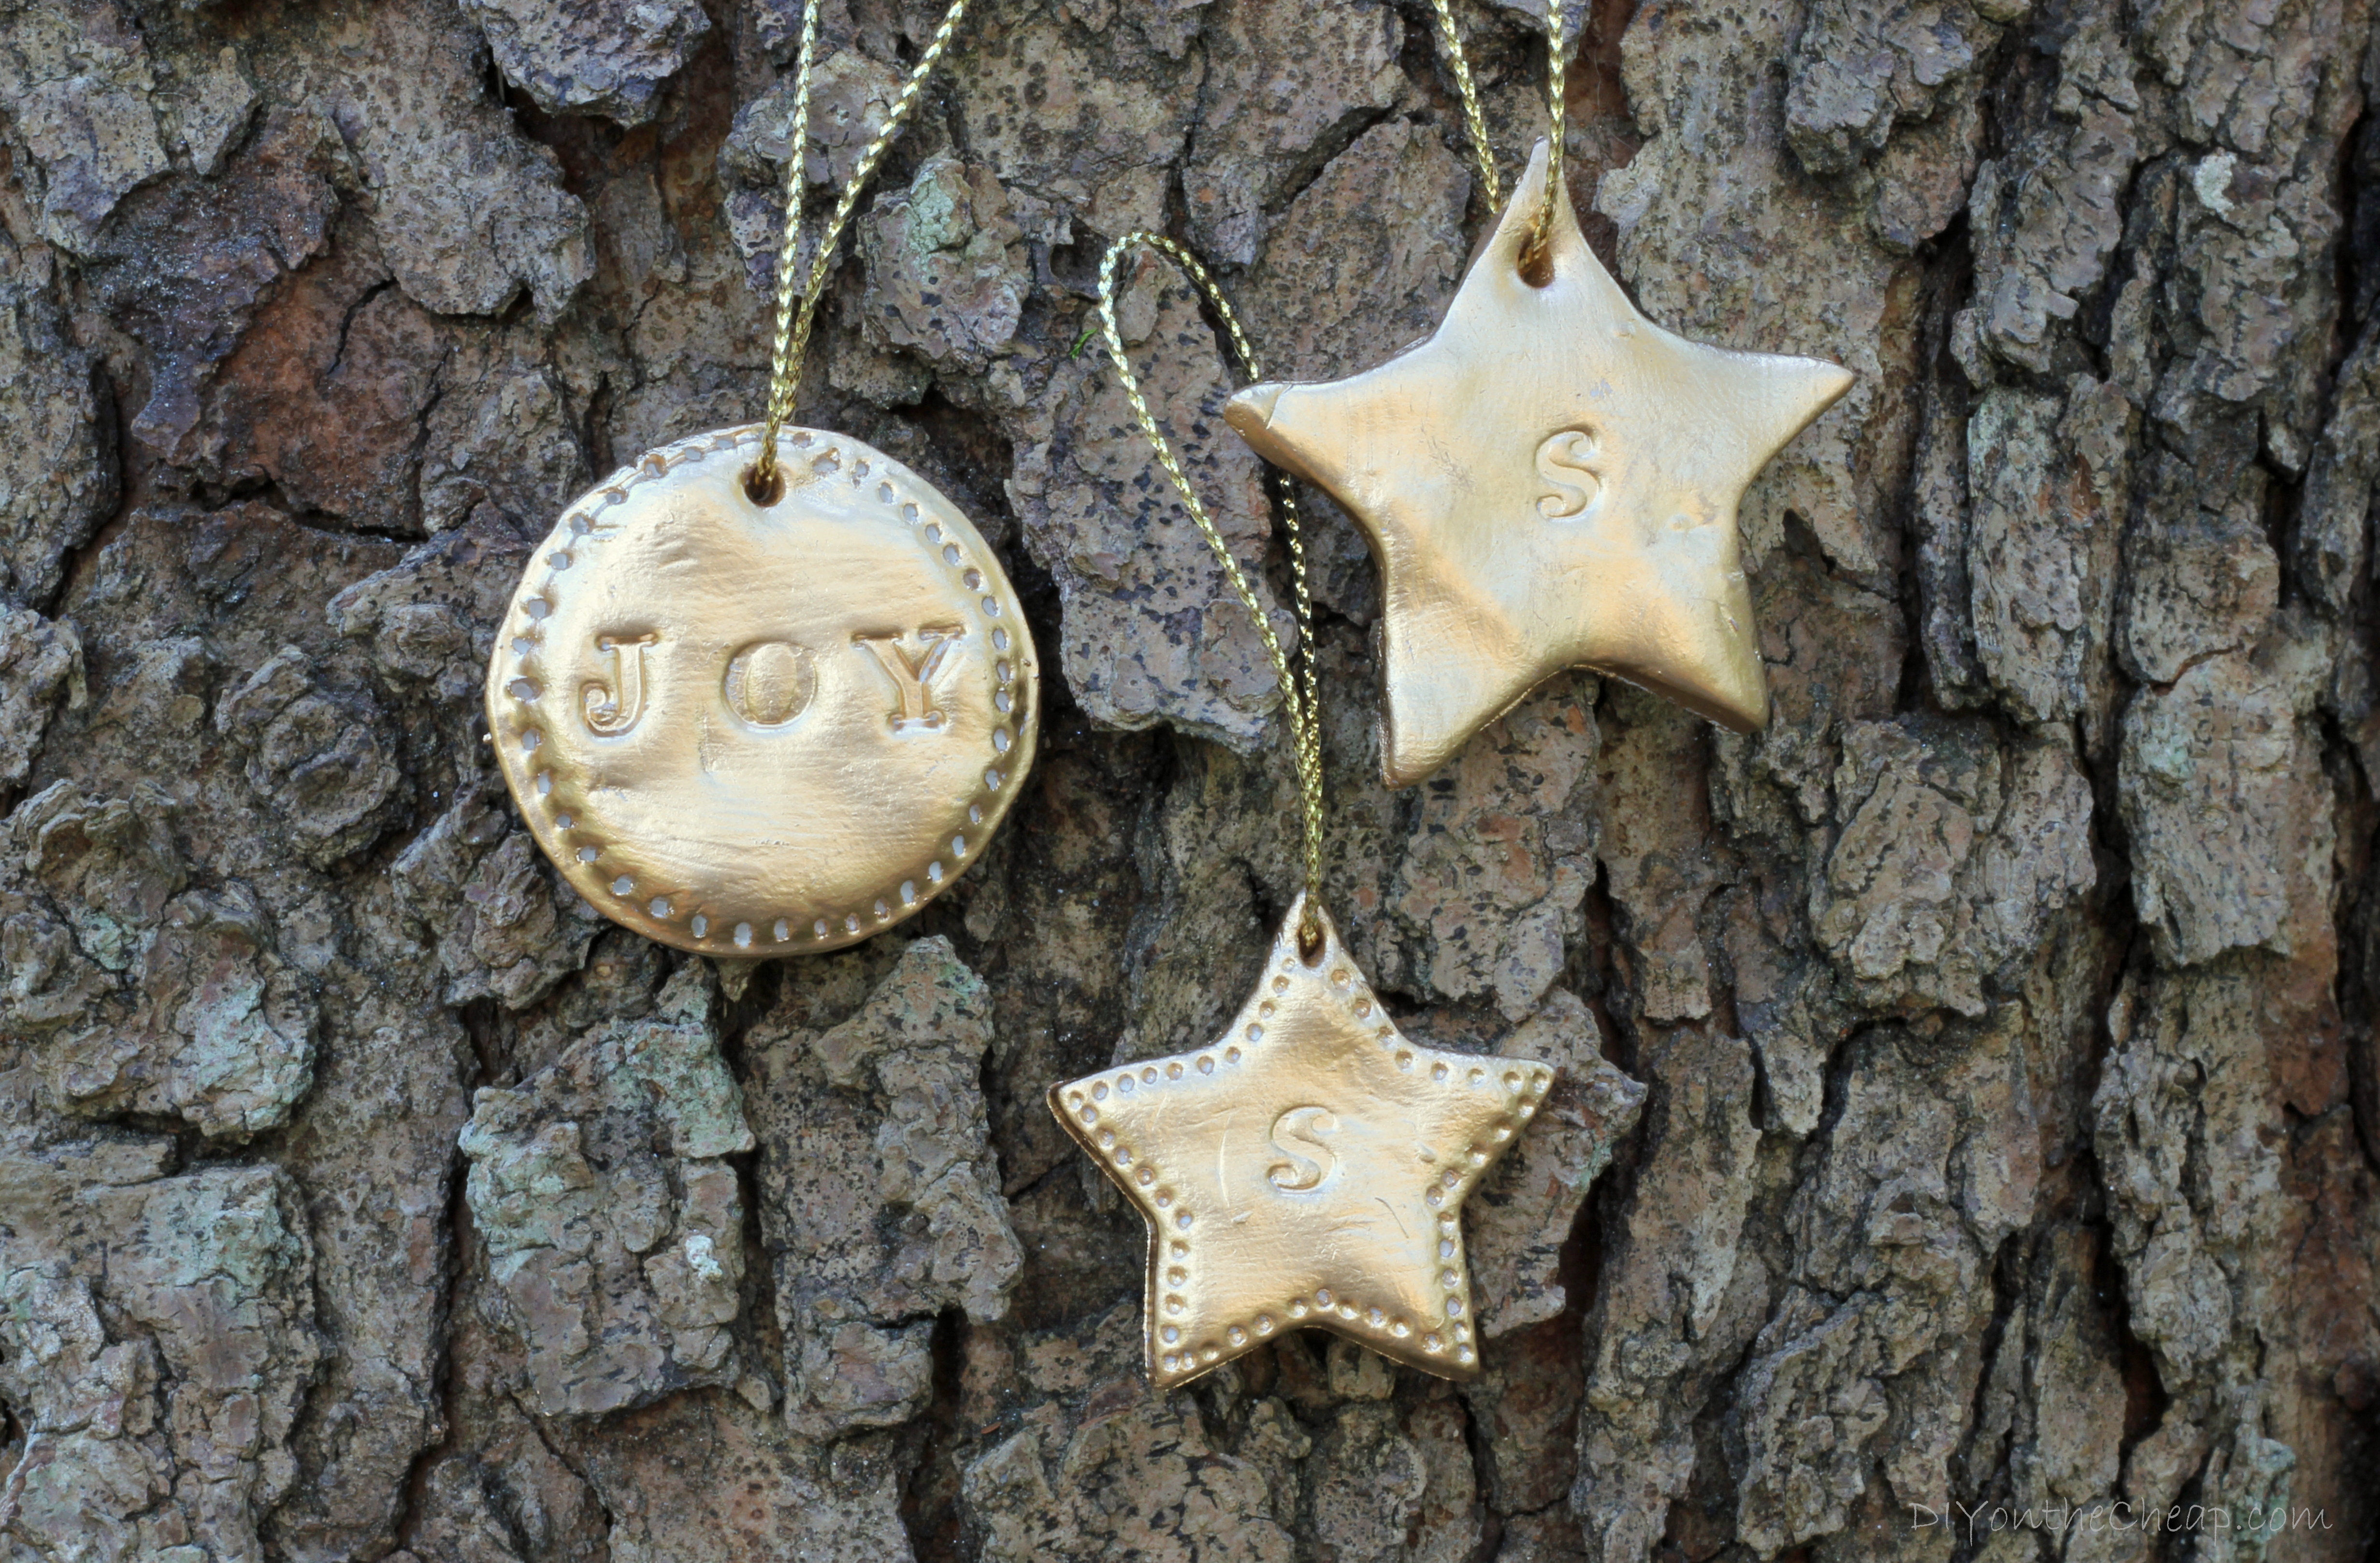
I think I may have set a record for the earliest I’ve ever started Christmas crafting. I know it’s not even Thanksgiving yet, but for some reason I’ve just been in the holiday crafting spirit. This was my first time working with clay, and I absolutely loved making these! It was easy and fun. These are DIY hand-stamped clay ornaments, but they could double as gift tags. I gilded mine in gold, but of course you could make yours any color you choose. I also did mostly monogram ornaments, but I threw in a few short words like “Joy” too. These are miniature sized, but you could make yours any size you’d like.

clay-ornaments-2b

Here’s what you’ll need:

  • 1 package of Polymer Clay
  • Christmas themed clay cutters or cookie cutters
  • Bottle cap (for round ones)
  • Wooden Skewer
  • Cookie Sheet
  • Paper plate/parchment paper (either works fine)
  • Liquid Gilding (or acrylic paint if you’d prefer a color other than gold)
  • Artist’s Paint Brushes
  • Gold Cord, thread or ribbon
  • Mini Alphabet Stamps

I got most of my supplies at Hobby Lobby, but I’m sure any craft store probably carries all of it.

First, break off a little piece of clay and start rolling it and molding it into a small flat circle. Just squeeze it with your fingers and flatten it until it is the same thickness all the way across. I recommend using parchment paper and/or a paper plate as your craft surface to prevent any messes on the table. Use your cutter or bottle cap to cut out a shape, just like a cookie cutter and cookie dough.

star cutter

Use the skewer to create a little hole at the top which you will thread your string through to hang the ornament or attach it as a gift tag. You can also add a decorative dotted border with the pointed end of the skewer.

For the monogram (or whatever message you choose), I used tiny alphabet stamps. I found these in the dollar bin, but I can’t remember if it was at Target or Michaels. I think it was Michaels but don’t quote me on that! It was last year. Any small stamp will do.

clay stamping

Bake your ornaments at 265 degrees Fahrenheit for 20 minutes.

After your ornaments have cooled, they are ready to paint. You can use acrylic paint in any color you choose, but I opted to use liquid gold leaf. Let me just say, I am addicted to this stuff! I love it. Heather from At the Picket Fence got me hooked on it after her Country Living Fair demonstration.

liquid gold leaf

After your paint dries, just slip a little thread through the hole, and they are ready to hang.

I love the personalization that a simple monogram adds to a gift. I hope you don’t get tired of clay holiday crafts, because I am having a lot of fun making things out of it!

clay ornaments 4

These DIY Hand-Stamped Clay Ornaments are beautiful and easy to make, plus they would make a great Christmas gift! Love these so much.


I promise you, even if you’ve never worked with clay before, these are easy. This would be a great project for a craft night with friends. Will you be making some of these for the holidays? Please let me know!

YOU MIGHT ALSO ENJOY THESE POSTS:

  • DIY Mason Jar Lid Ornaments
  • Monogrammed Glass Ornaments
  • Paper Feather Ornaments
  • Christmas Home Tour

Disclosure: This post contains affiliate links.

Connect with me here:

subscribe box post footer

Thanks for visiting!

-Erin

Filed Under: Crafts, Holiday & Seasonal, Home & DIY Blog, Tutorials

« Introducing FreshTape
Our Thanksgiving Tree »

Comments

  1. mary says

    November 14, 2013 at 12:20 am

    I’m thinking of using this for the Thanksgiving table setting, instead of name cards

    Reply
    • Erin @ DIY on the Cheap says

      November 14, 2013 at 12:29 am

      Great idea, Mary! Love that.

      Reply
  2. Tochi says

    November 14, 2013 at 9:47 am

    What a lovely idea 🙂 and a great diy to do with little ones. I think my nieces will enjoy this.
    thank you! t

    Reply
    • Erin @ DIY on the Cheap says

      November 14, 2013 at 9:44 pm

      Thank you Tochi!

      Reply
  3. Kate says

    November 14, 2013 at 7:59 pm

    OOH, I love these!! This might be something that I can work on with the little one too. Thanks!

    Reply
    • Erin @ DIY on the Cheap says

      November 14, 2013 at 9:45 pm

      Thanks Kate! Yes, this would be a fun project to do with kids too!

      Reply
  4. Janice says

    December 15, 2013 at 3:28 am

    This is a great idea. I tried it last night with friends from my French conversation group and they loved it. Empty Snapple bottles with the paper and glue removed made great rolling pins, and doubled for cleaning off our brushes once filled with water. I tried using two colors, for instance antique brown or bright blue, then once that dried, just brushing the surface horizontally with gold or pearlescent paint. That helped the stamped letters stand out more. Once everything was dry, iridescent embossing powders just rubbed on with my fingertip added a nice touch.

    Reply
    • Erin @ DIY on the Cheap says

      December 15, 2013 at 9:47 pm

      How fun! I’m so glad you liked the project. Yours sound like they turned out beautifully! I bet the iridescent finish looks so pretty.

      Reply

Trackbacks

  1. 26 Cool DIY Christmas Gift Tags says:
    November 28, 2013 at 6:04 pm

    […] hand stamped clay tags (via diyonthecheap) […]

    Reply
  2. 26 Wonderful DIY Christmas Gift Tags says:
    December 1, 2013 at 3:37 pm

    […] hand stamped clay tags (via diyonthecheap) […]

    Reply
  3. Fern Leaf Christmas Tree Art - DIY on the Cheap says:
    December 2, 2013 at 12:31 am

    […] For the star, I molded it out of bakeable clay and painted it with liquid gilding. (I used the same process as my clay ornaments.) […]

    Reply
  4. DIY Polka Dot Mini Ball Ornaments - DIY on the Cheap says:
    December 6, 2013 at 4:04 pm

    […] wasn’t done crafting with clay. I’m having so much fun with it! I recently shared these hand-stamped clay ornaments and this time I decided to make cute little multi-colored DIY Polka Dot mini ball ornaments! (Wow, […]

    Reply

Leave a Reply Cancel reply

Your email address will not be published. Required fields are marked *

SHOP ERIN’S FAVORITES

SPONSORS & AFFILIATES

CATEGORIES

ARCHIVES

Copyright © 2025 Erin Spain. Log in | Privacy Policy