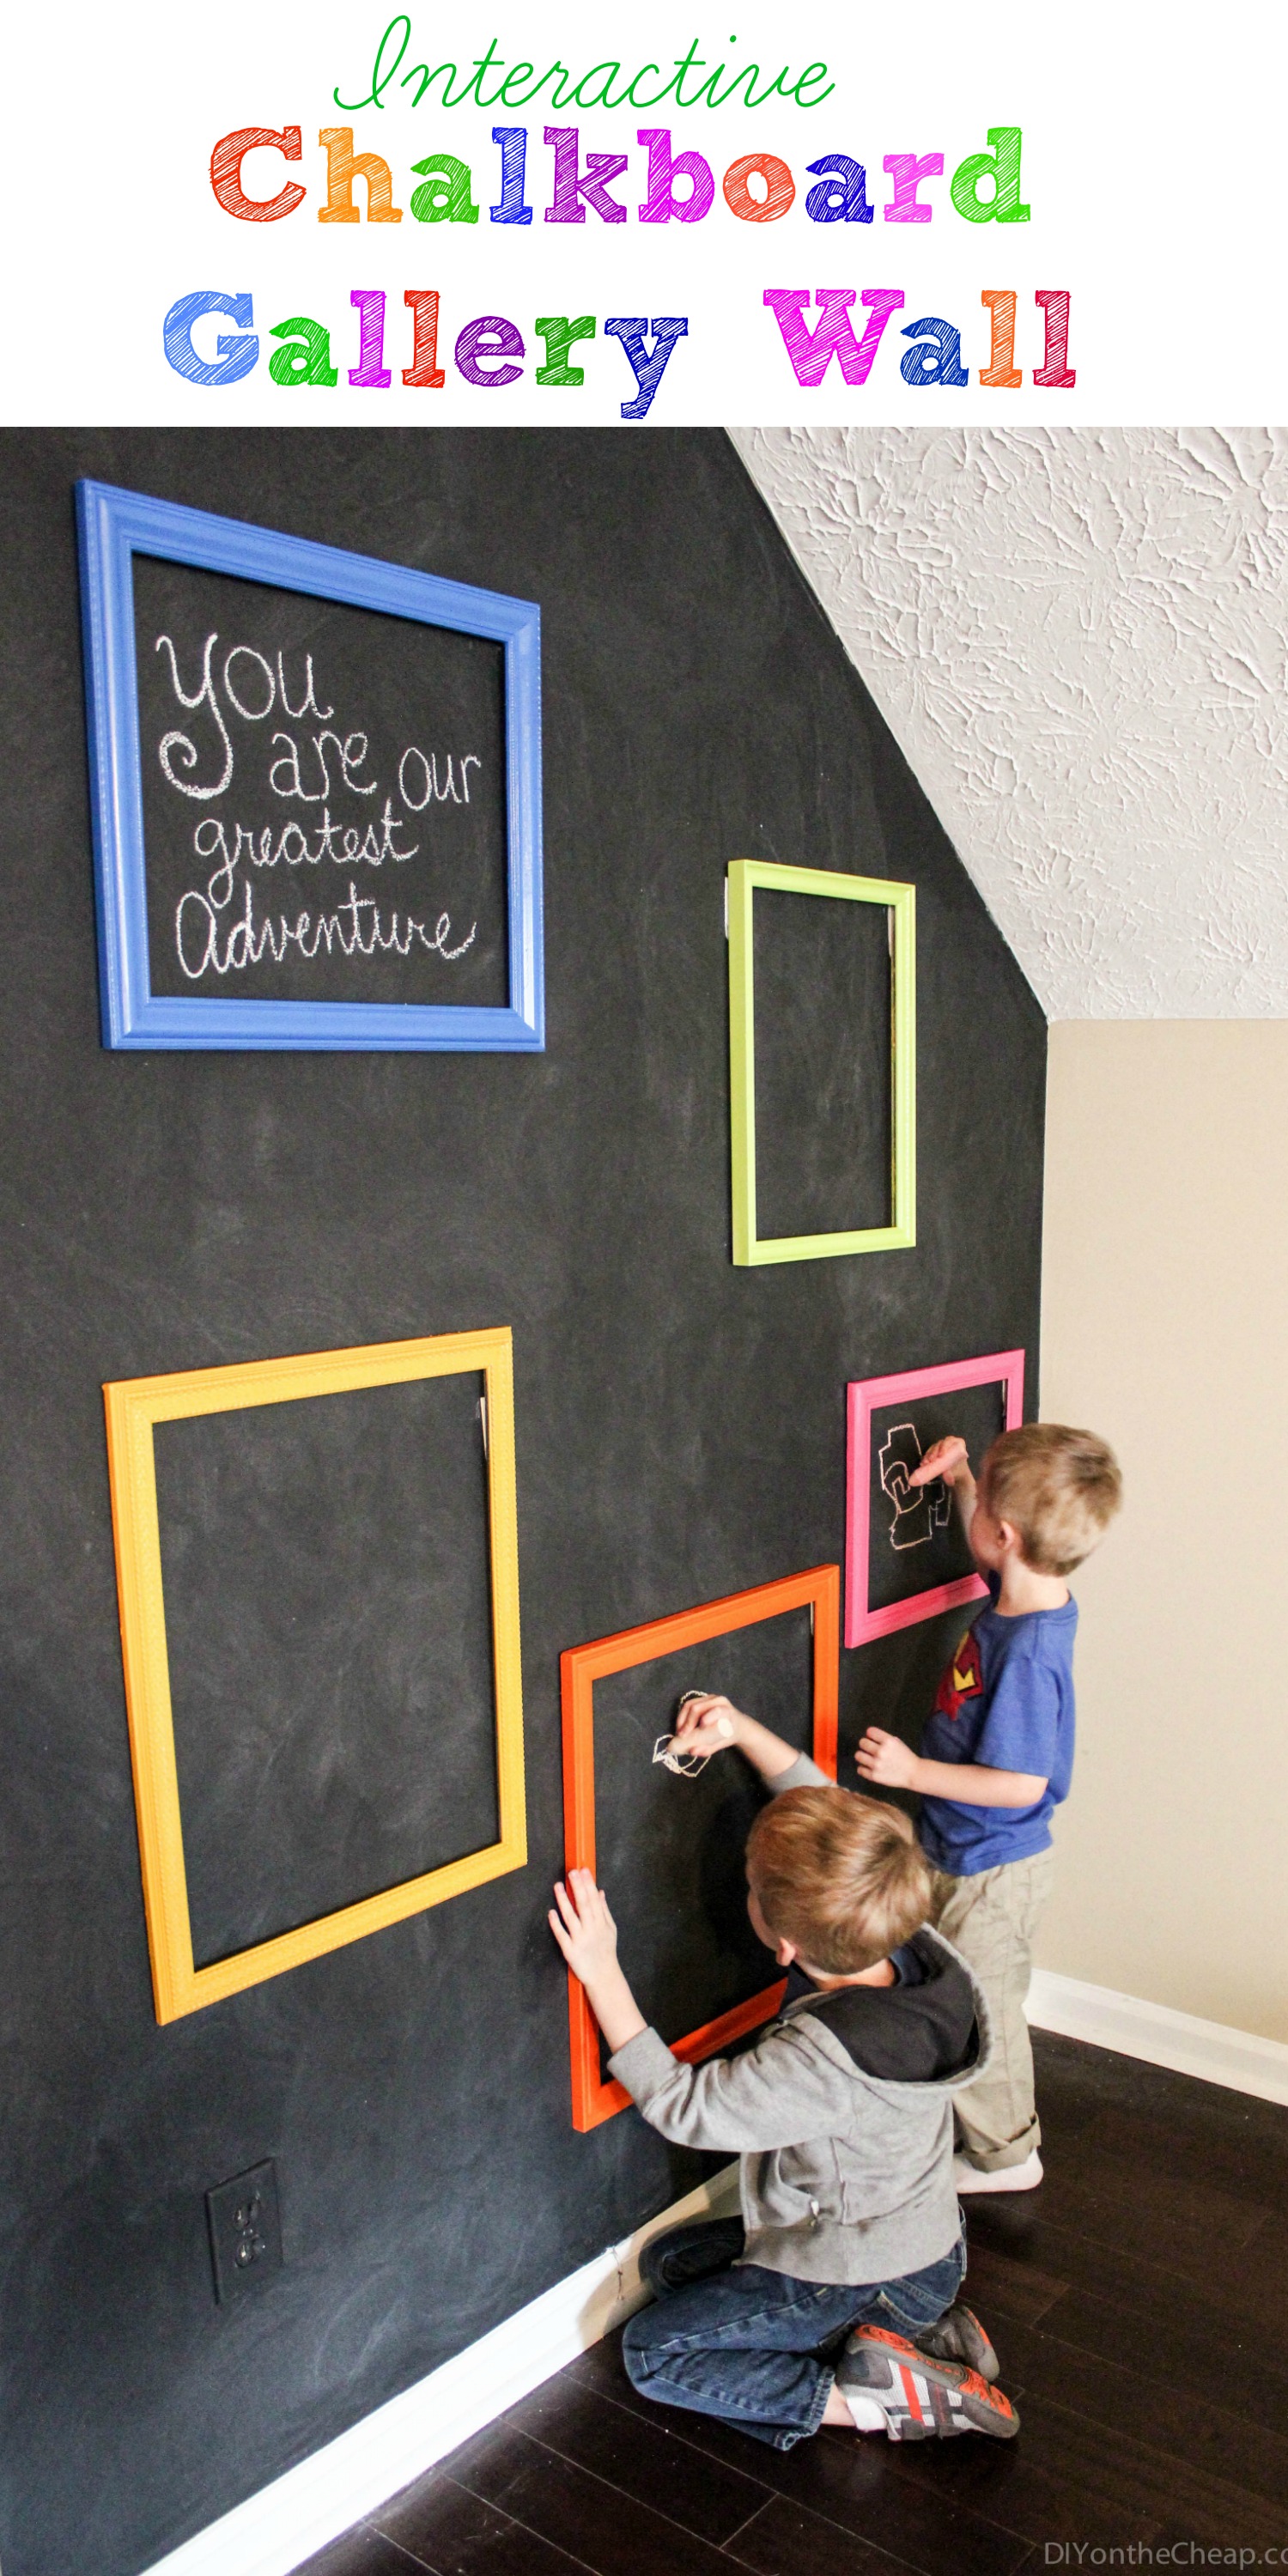
I know, I know. You’ve probably seen about fifteen million chalkboard walls if you happen to follow lots of blogs or peruse Pinterest often. But guess what? I love them and I don’t think I’ll ever get tired of seeing them! Painting a chalkboard wall has been on my to do list for quite some time, and I finally got around to it. I decided to create an interactive chalkboard gallery wall in the playroom for the boys.
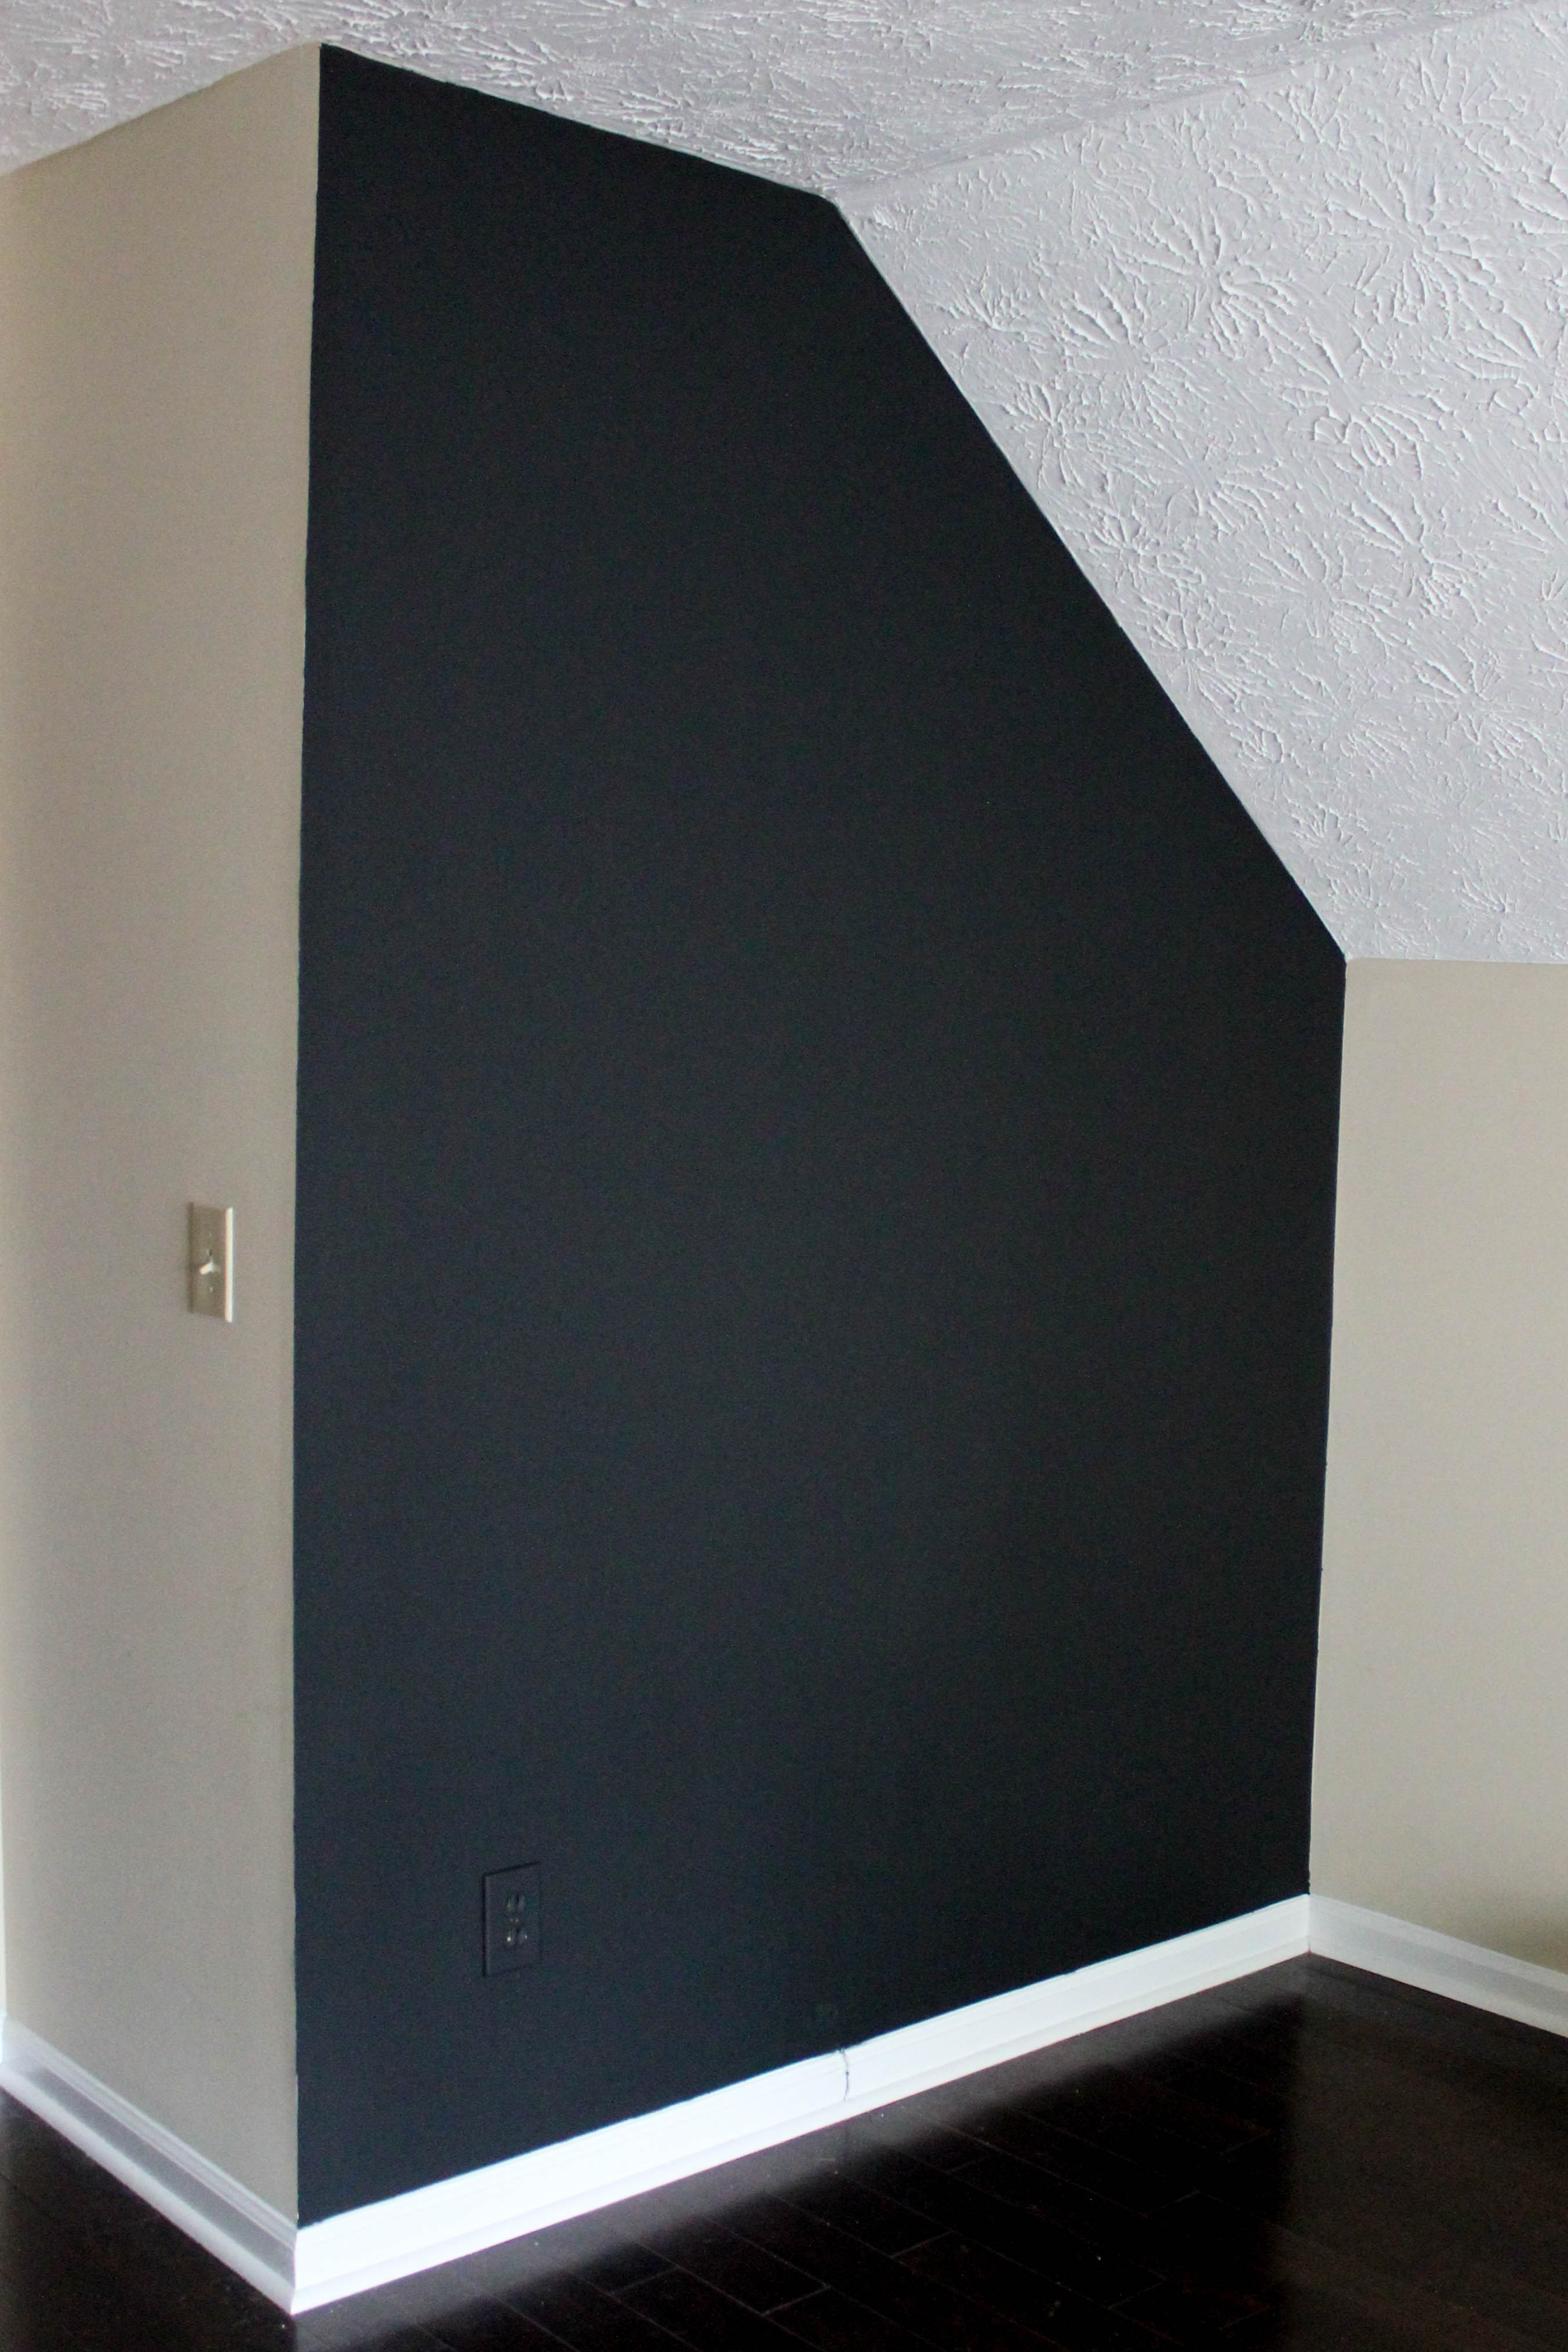
We have this small wall near one of the entrances of the playroom (there are two entrances since the back staircase leads up there).
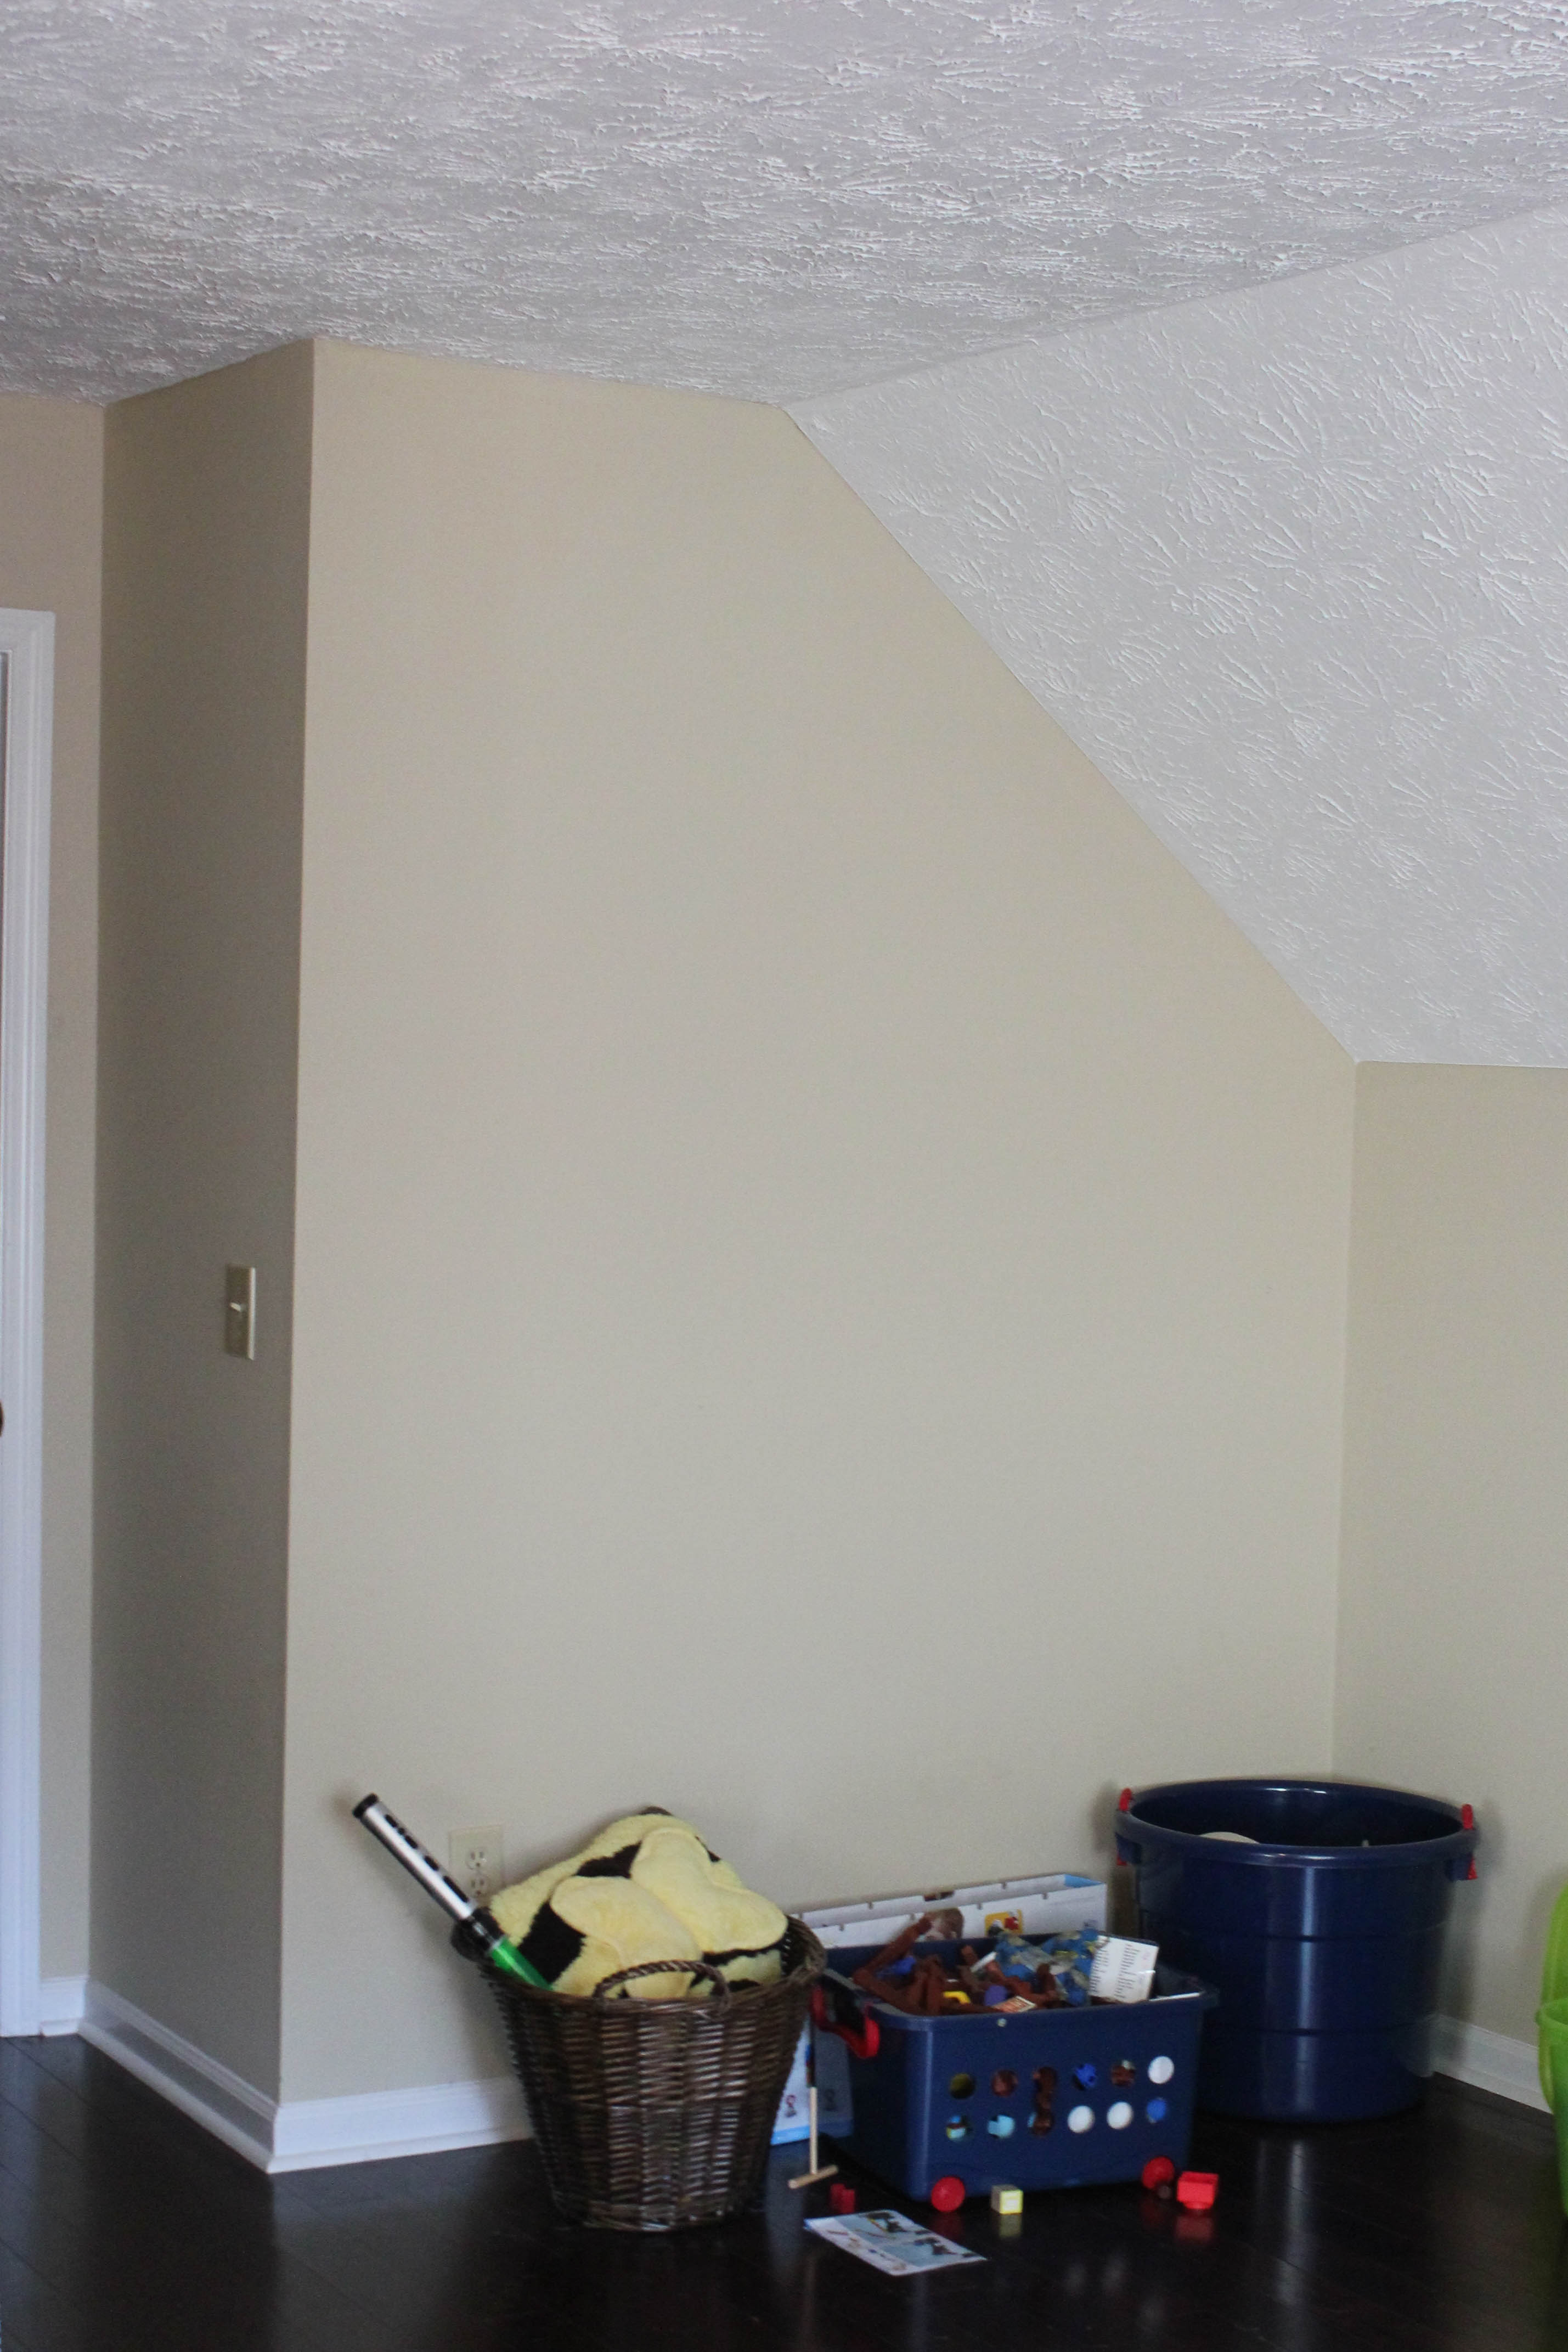
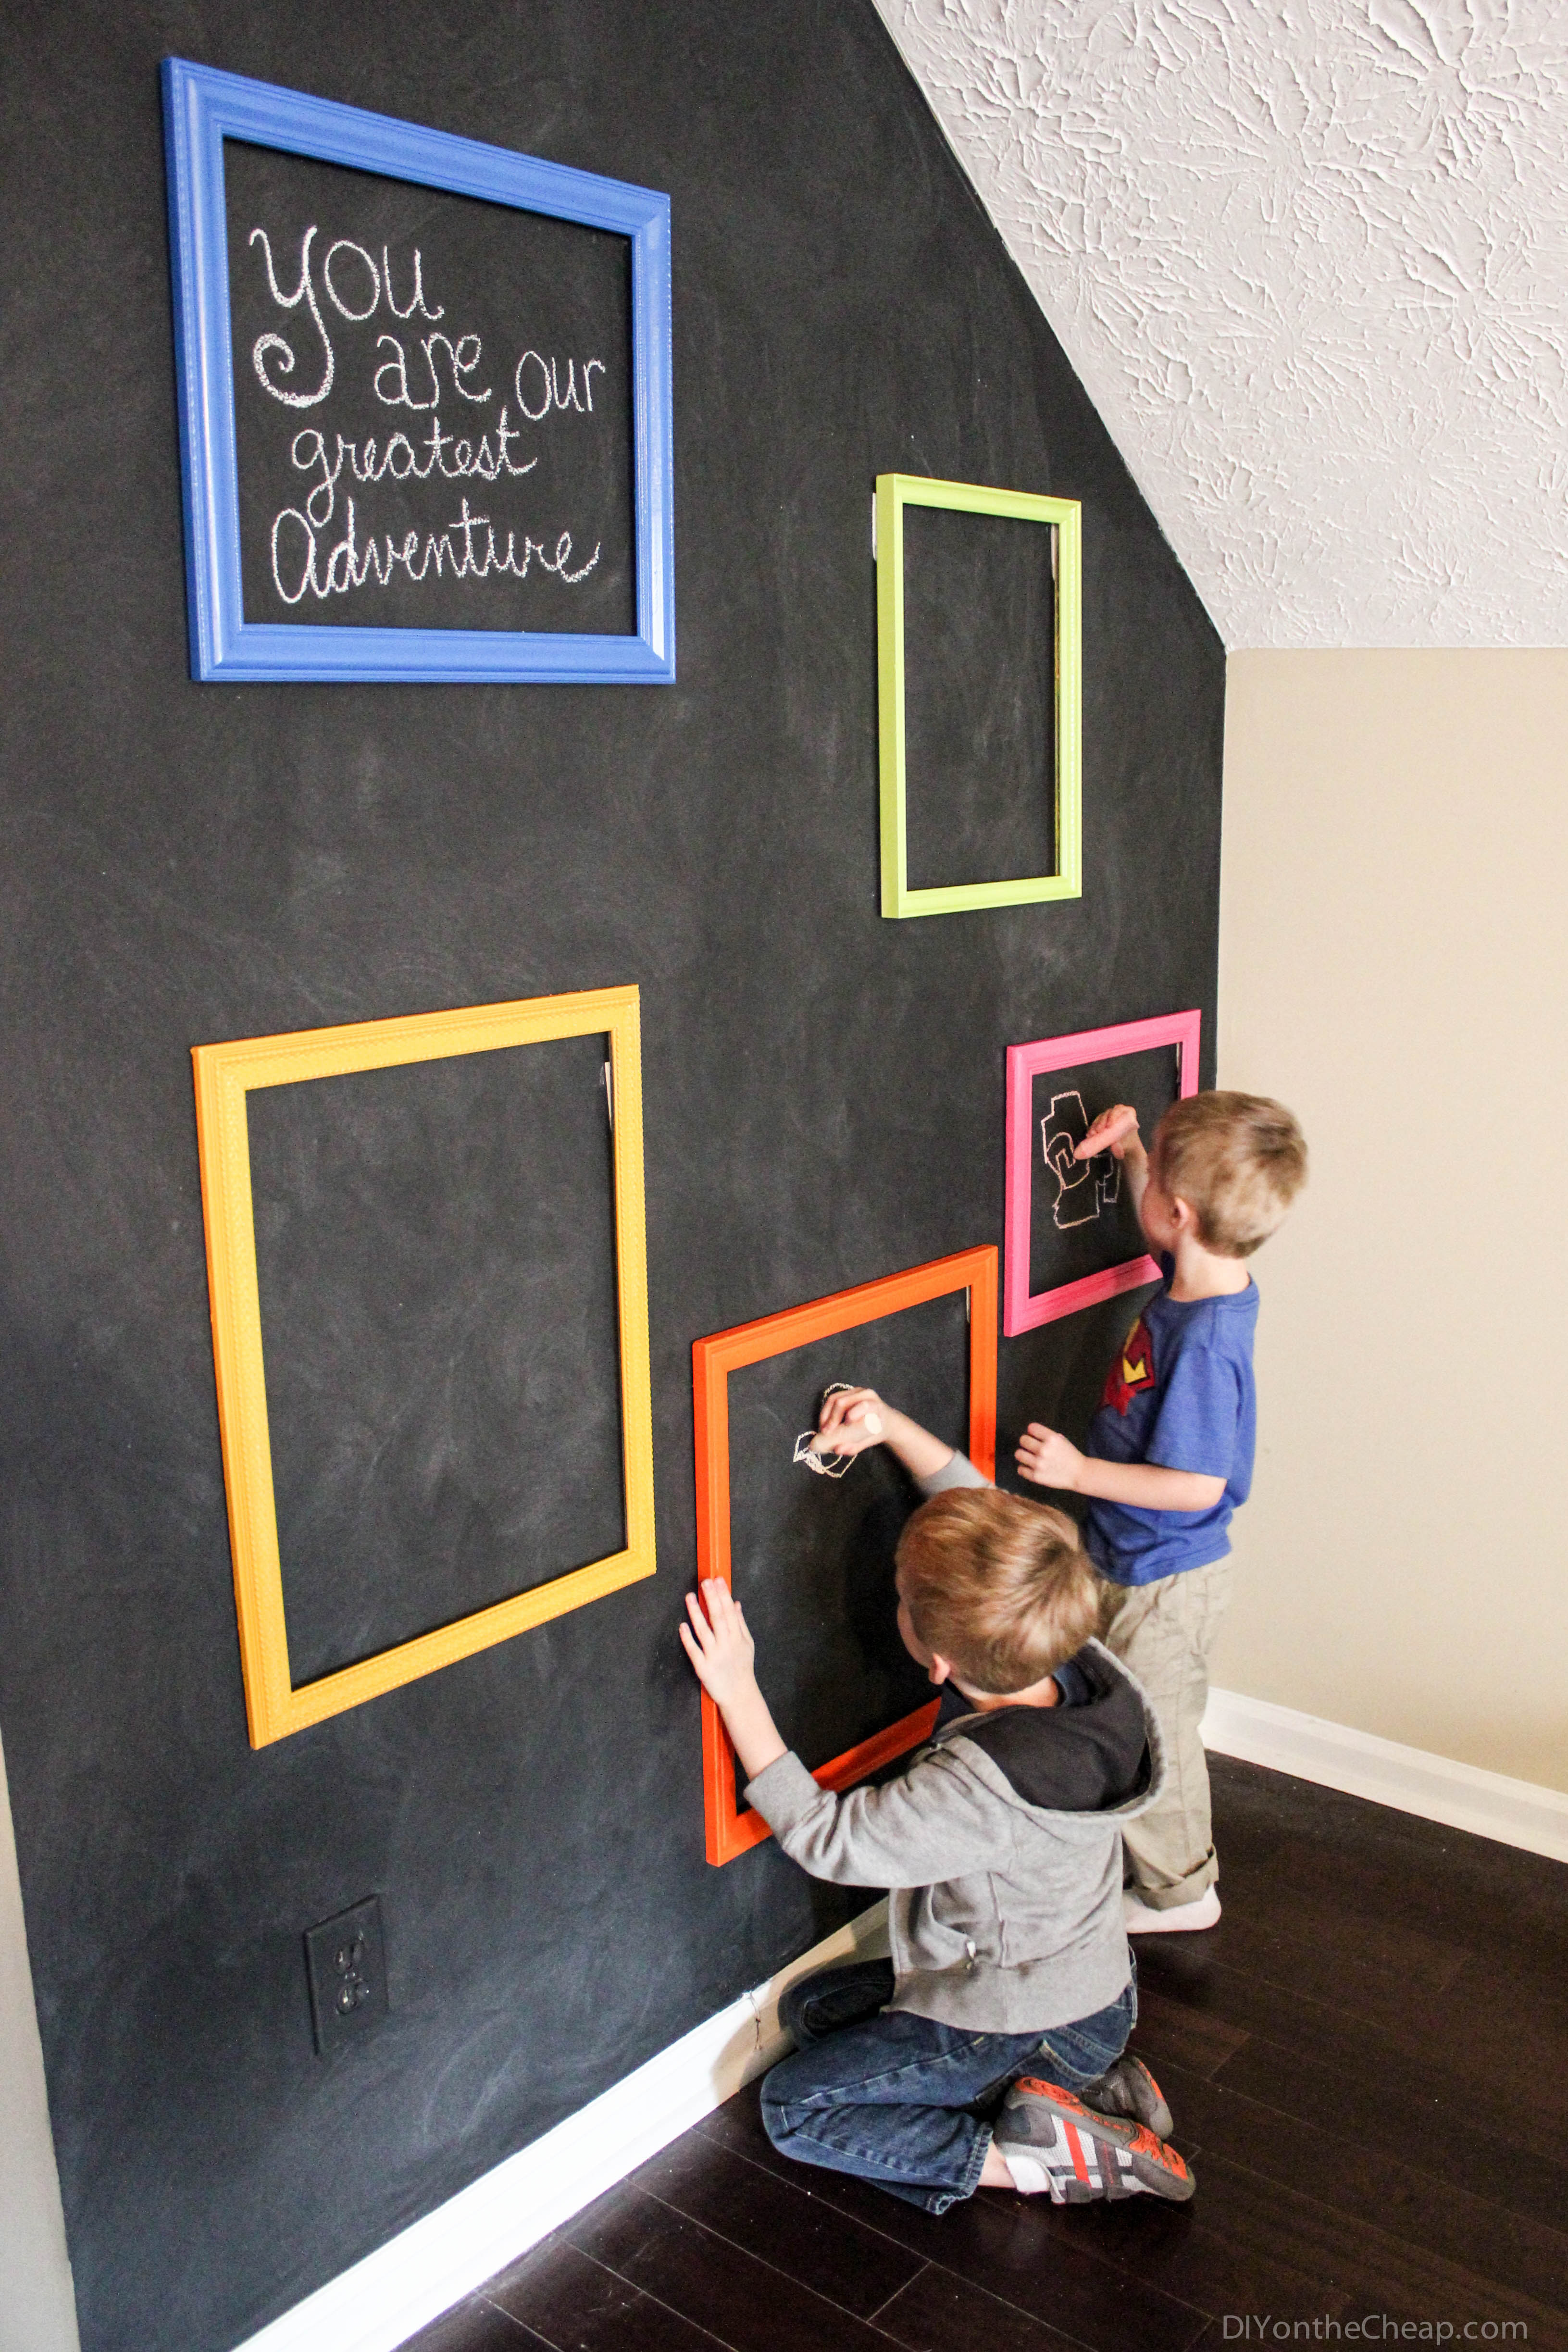
I thought this wall would be the perfect spot to create a chalkboard wall for the boys to enjoy, and I wanted to add a fun little touch to it. I decided to gather up some thrift store frames and have Chris spray paint them in a variety of bright colors, and then I attached them to the wall with Command picture hanging strips to create a cute, interactive “gallery wall.” The fun thing about this particular gallery wall is that the boys create the art, and they can change it anytime they want by erasing it and starting over again. They always love to see their artwork framed, so this is a different way to provide that for them.
Here’s what I used for this project:
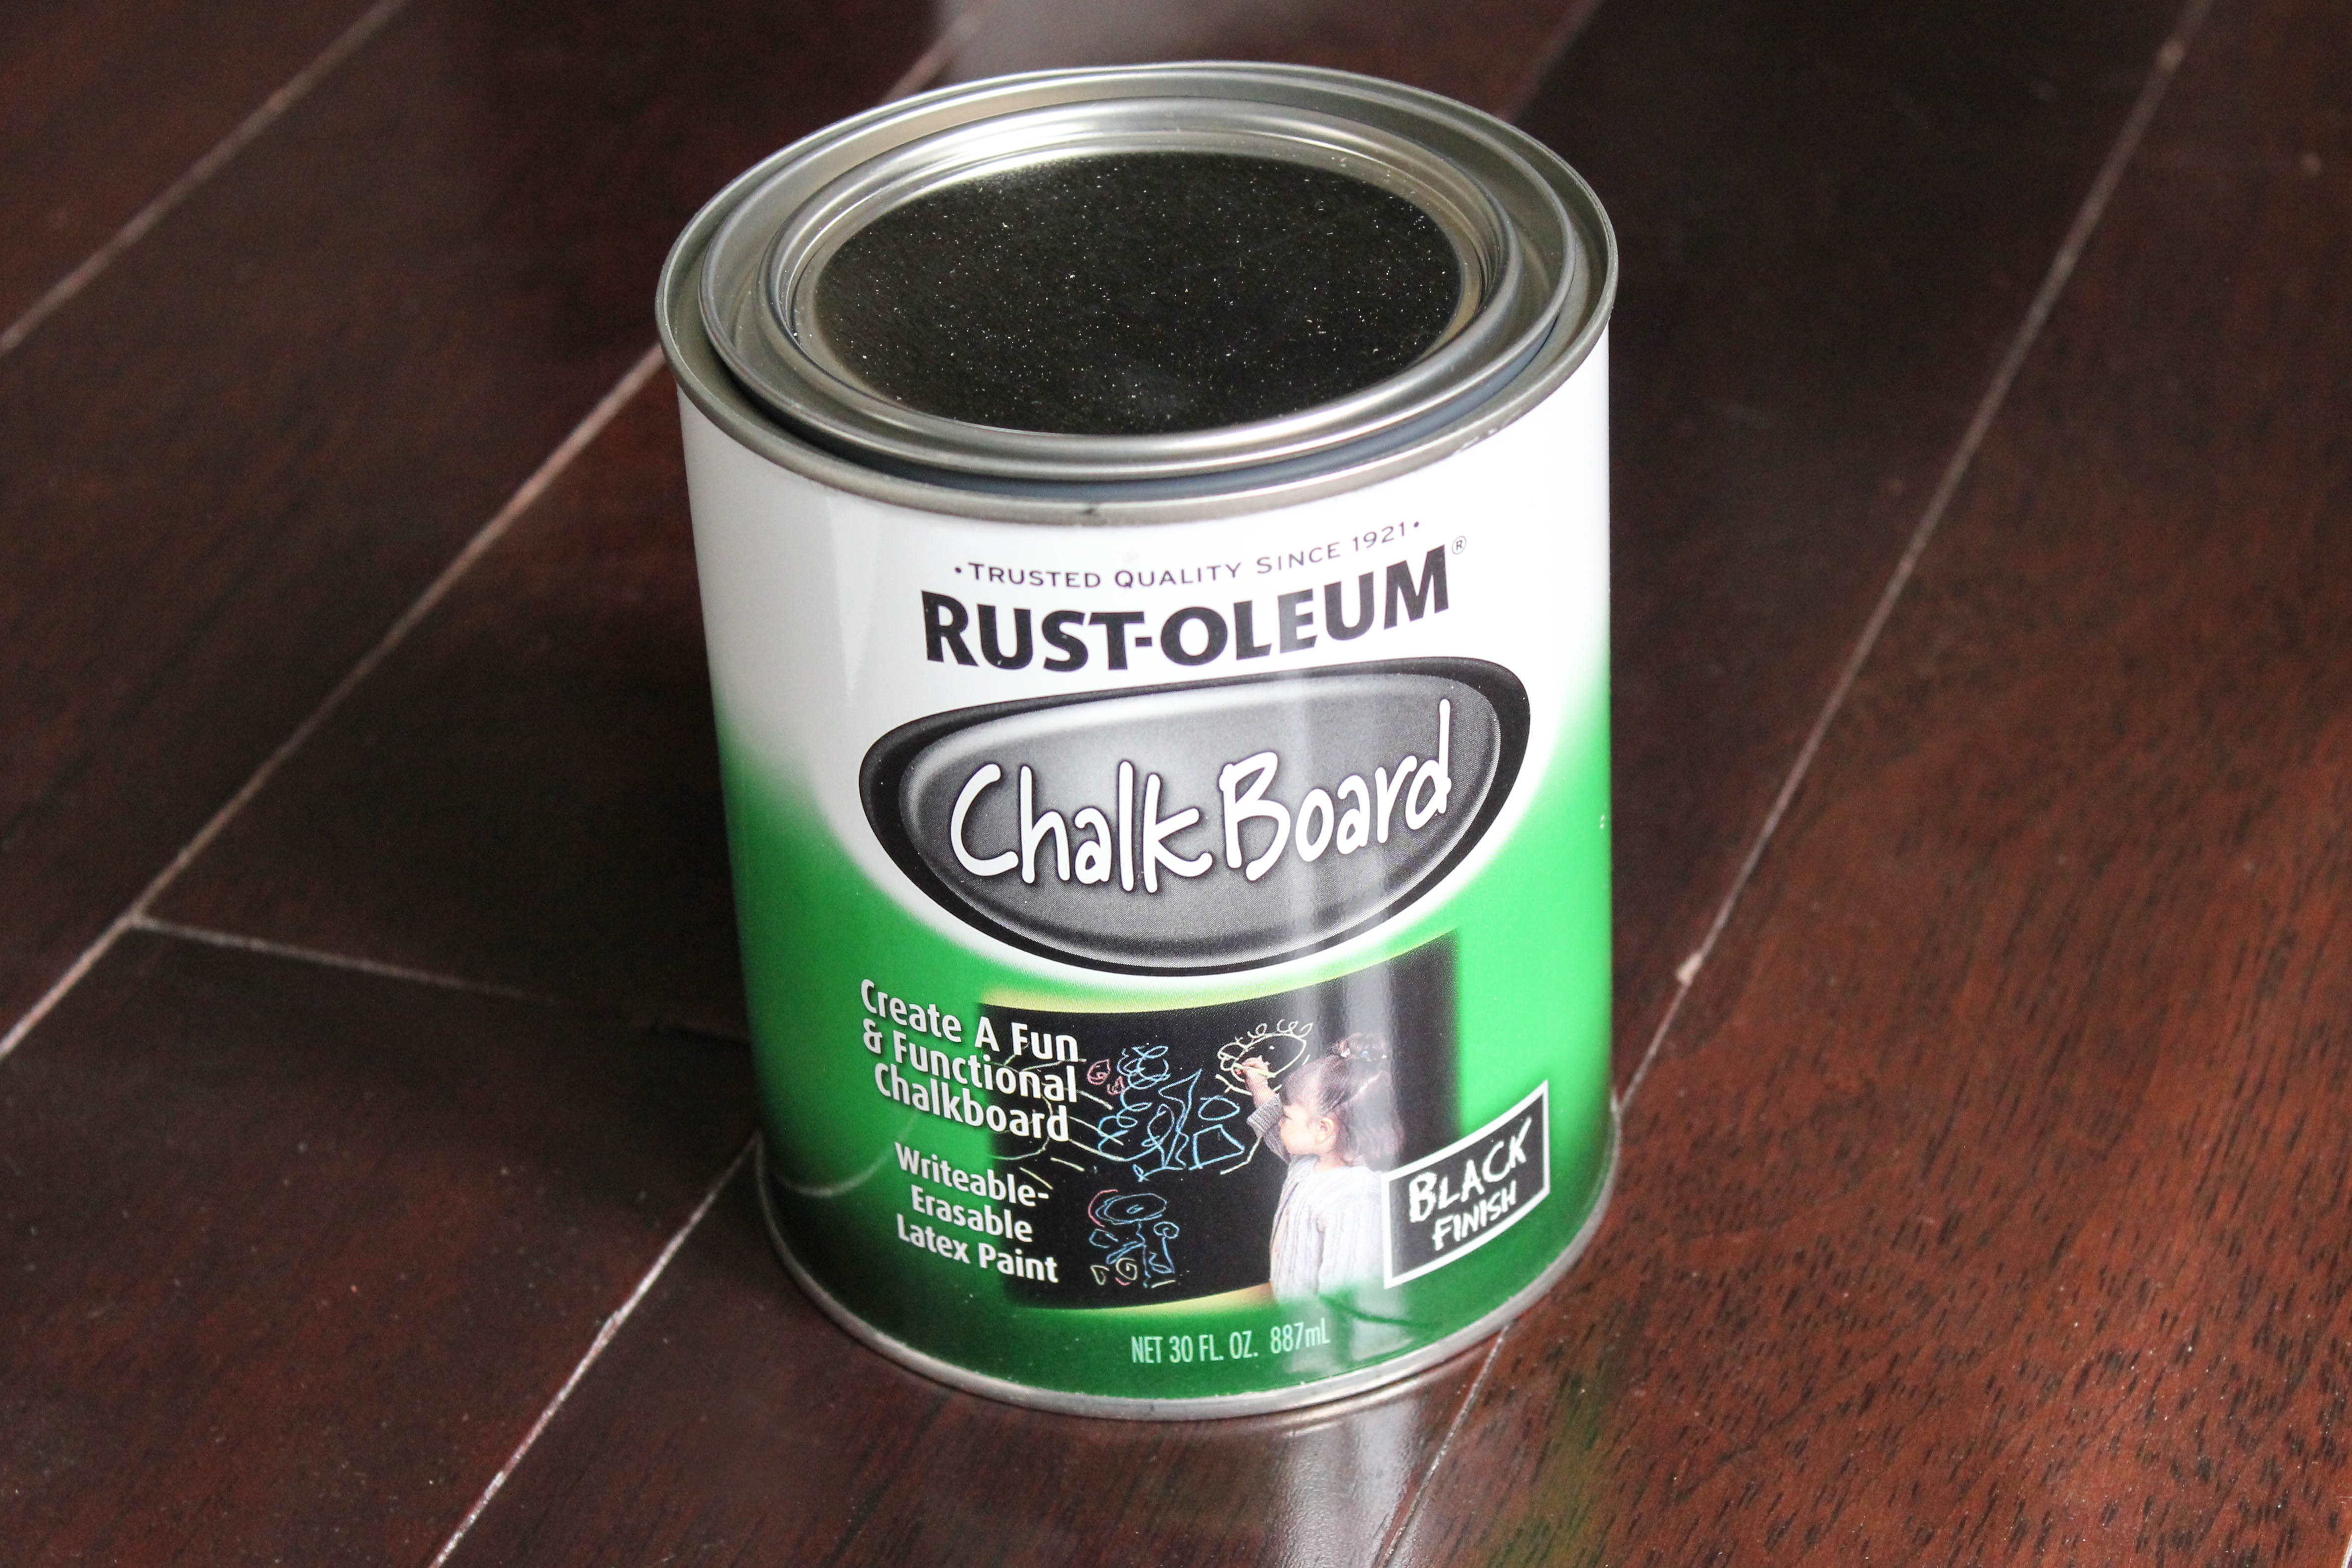
- Rust-Oleum Chalkboard Paint

- Rust-Oleum Spray Paint (Primer; Marigold; Brilliant Blue; Key Lime; Berry Pink; Real Orange)
- Thrift Store Frames
- Command Picture-Hanging Strips
- Paint Roller and Roller Cover
- Paint Brush
- FrogTape
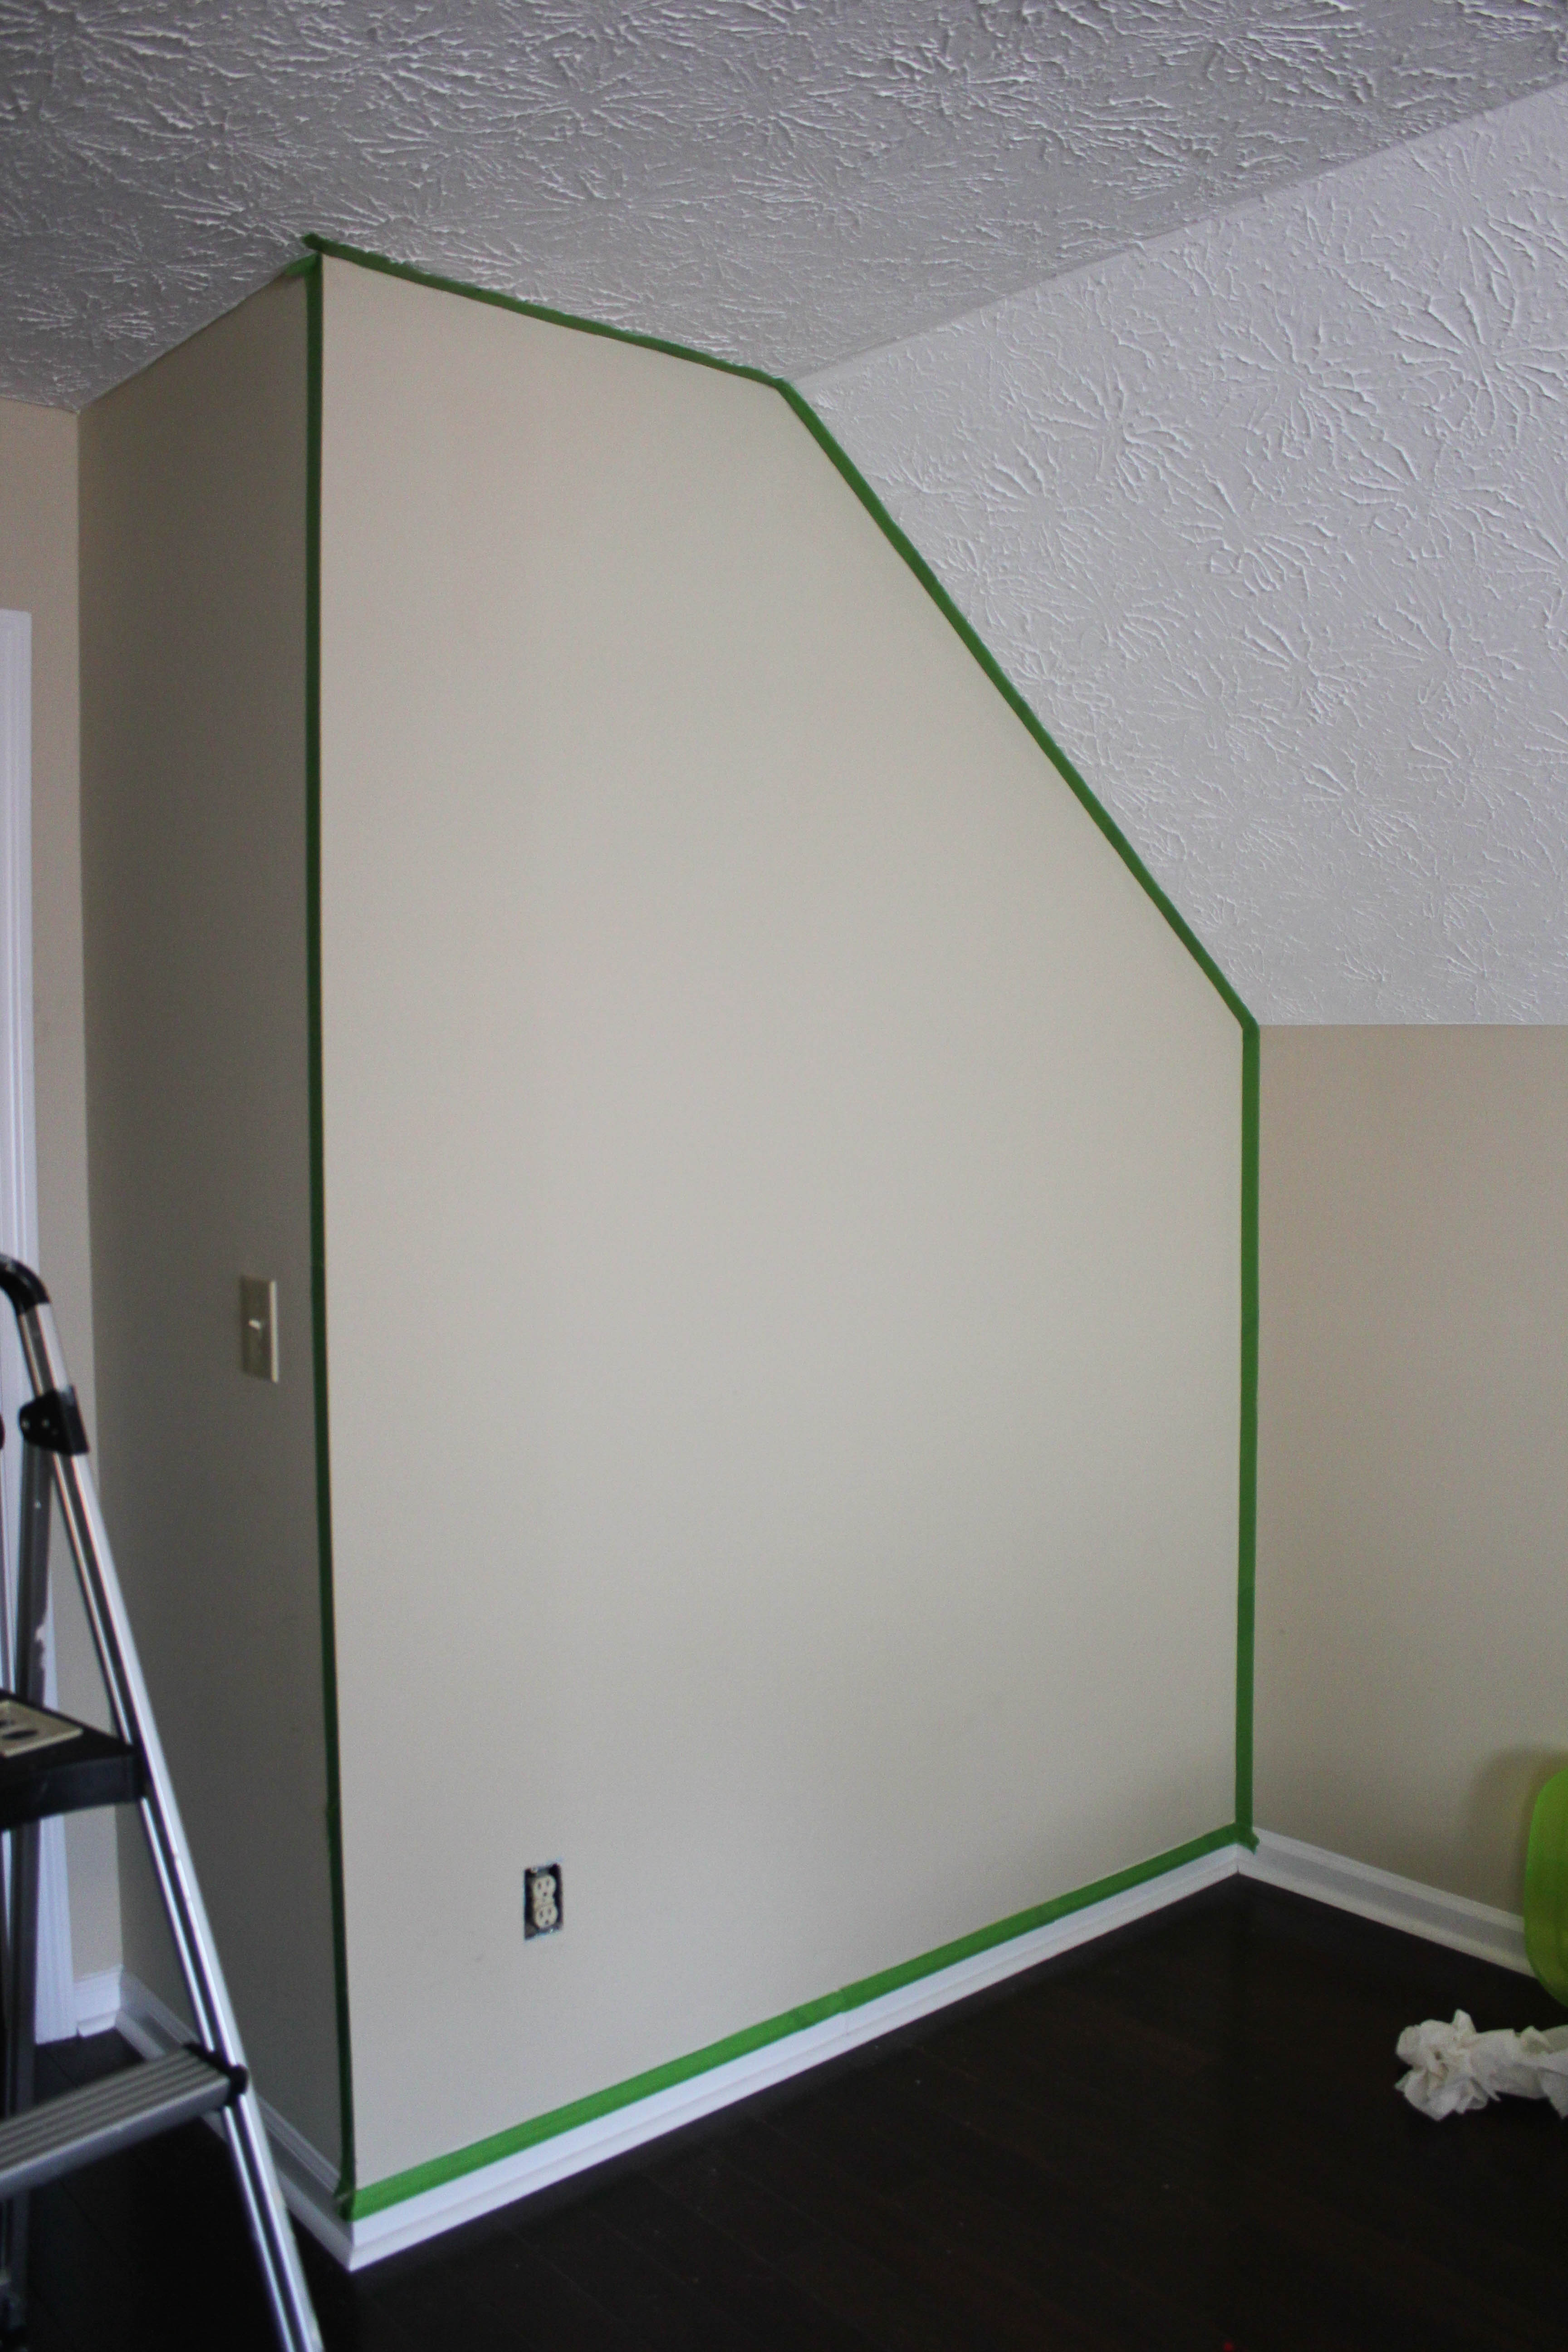
First, I taped off the edges of the wall with FrogTape to ensure crisp lines.
Then, I painted two coats of Rust-Oleum Chalkboard Paint![]() (allowing 4 hours between coats).
(allowing 4 hours between coats).
I used a combo of a paint brush for the edges and a roller for the bulk of the painting.
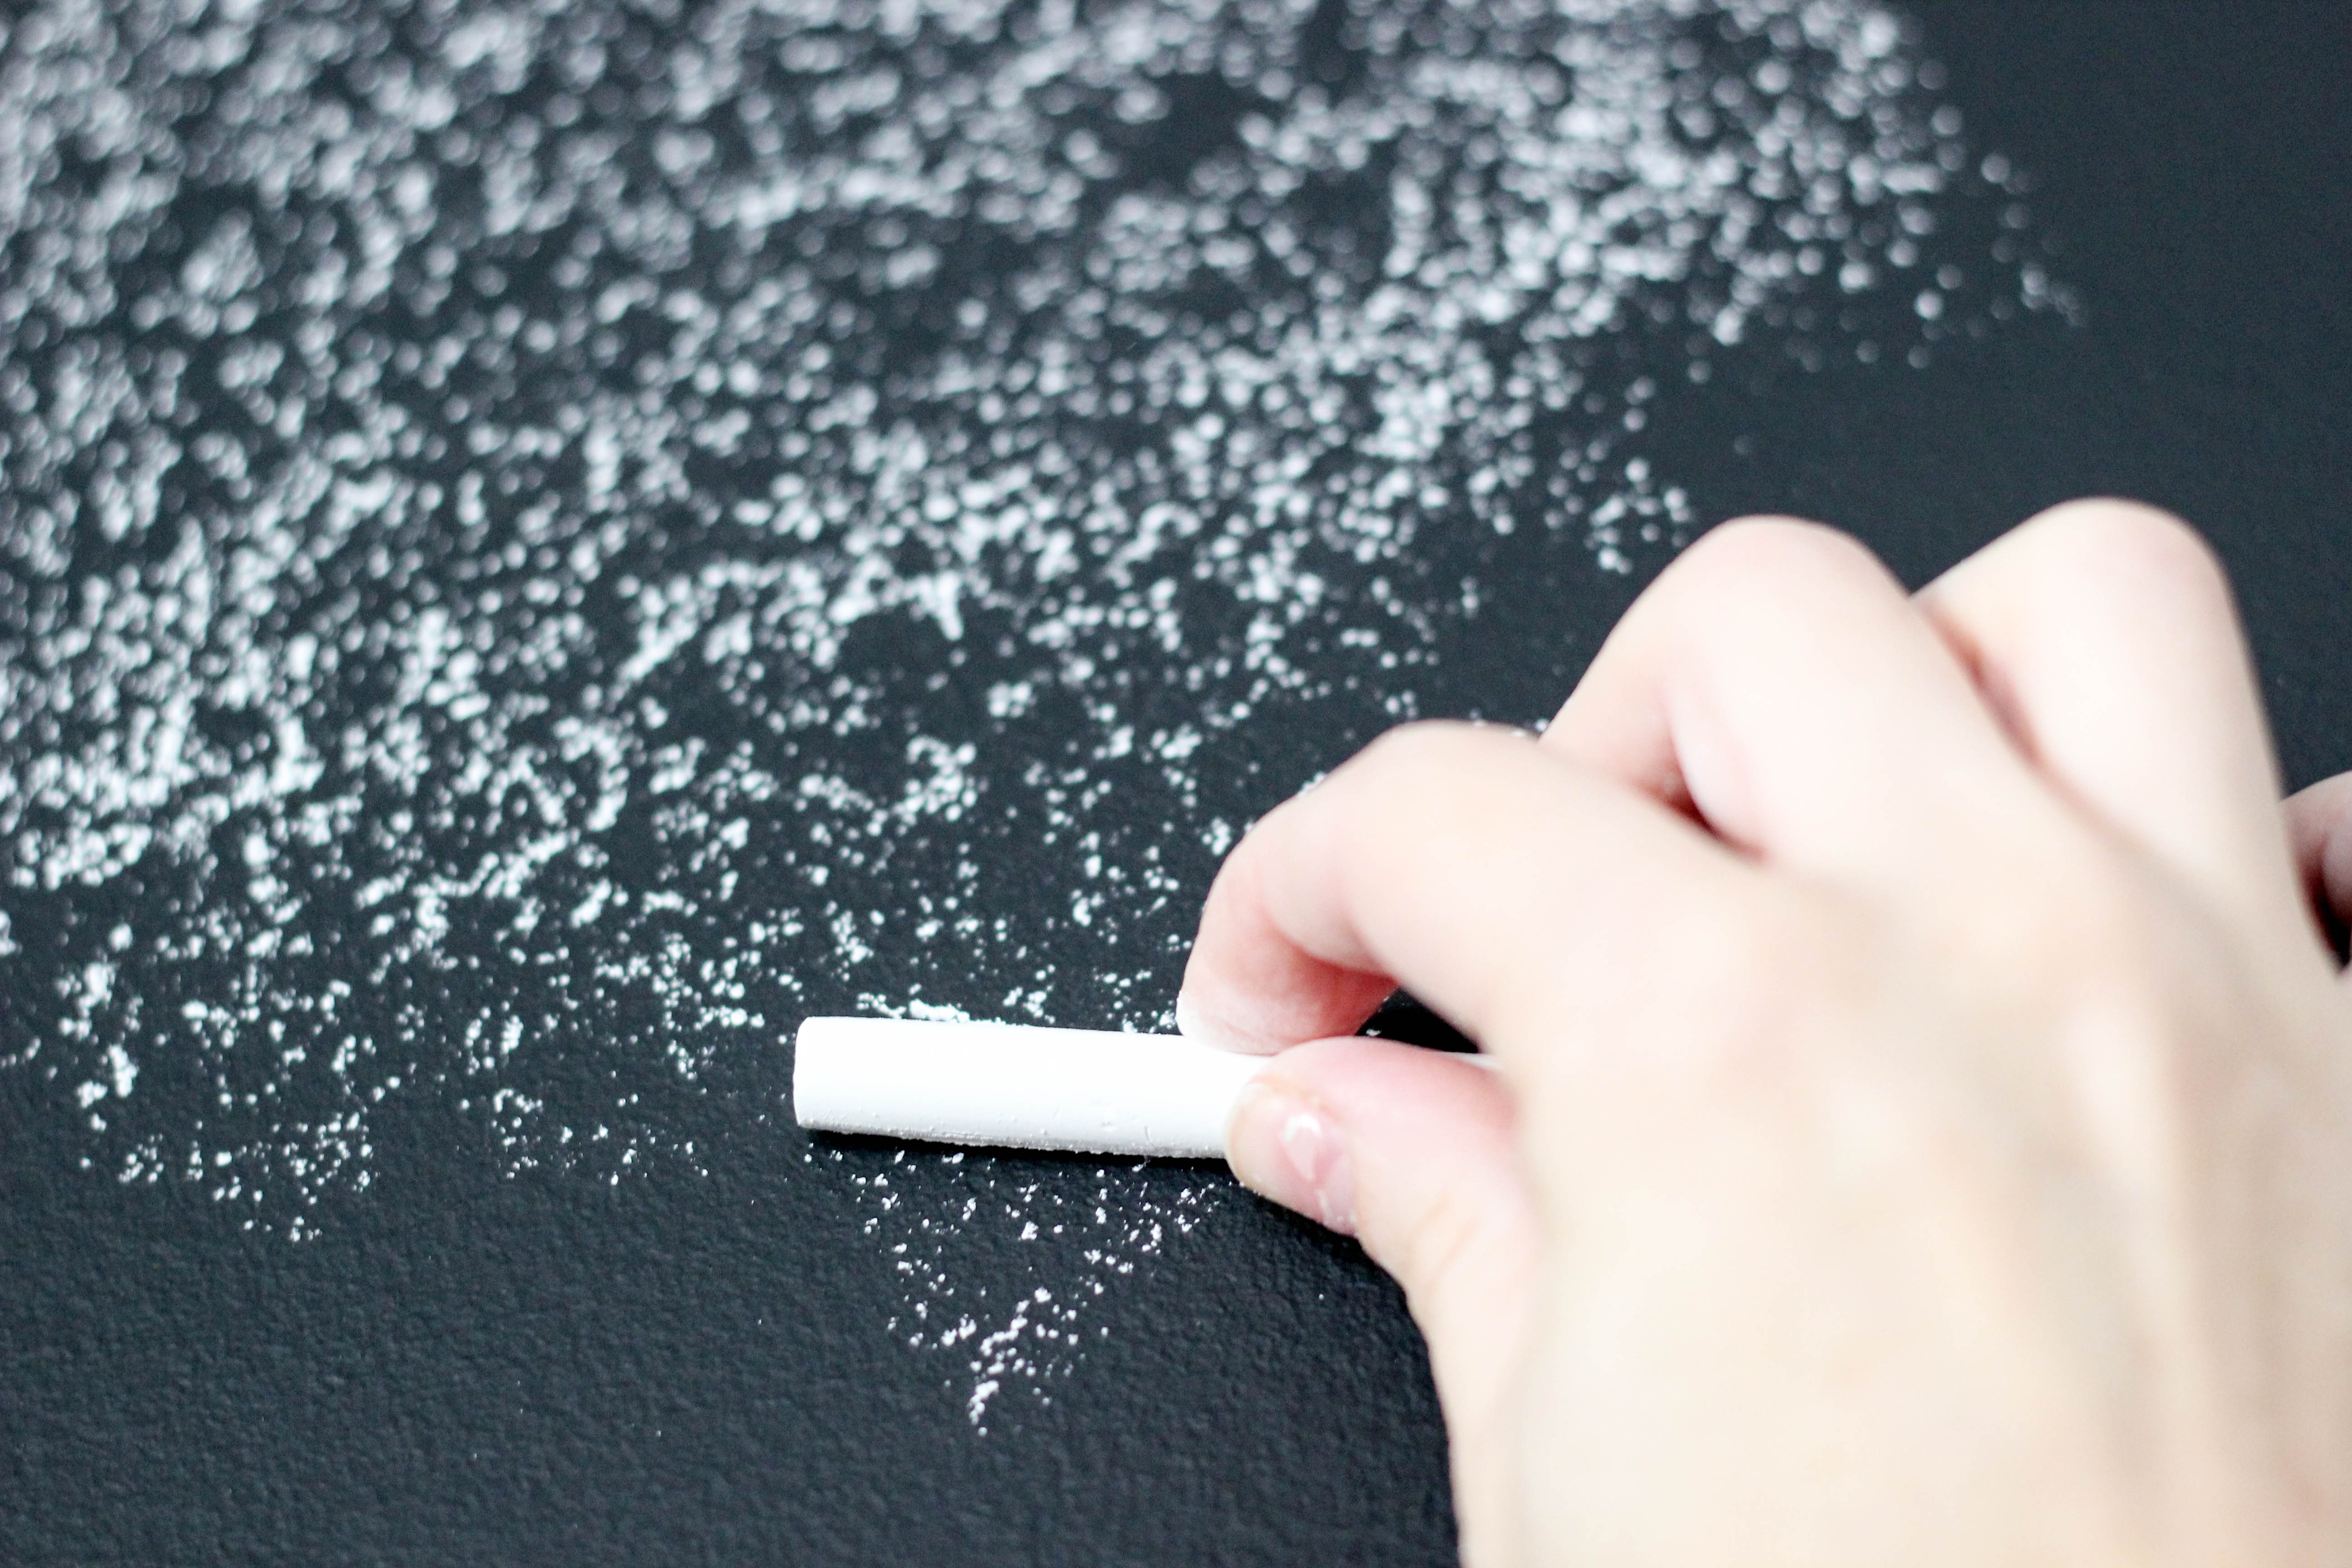
I allowed the paint to cure for three days, and then I “seasoned” the chalkboard wall by using the side of my chalk to cover the entire wall, and then erasing it with a damp rag. After that, the wall was ready to use!
I collected a total of 5 large frames from local thrift stores and had Chris take over spray painting duty since I’m prego. Although the spray paint has primer built-in, since these were going in the playroom I had him prime them first too just for added protection. Then, he painted each of them a different color.
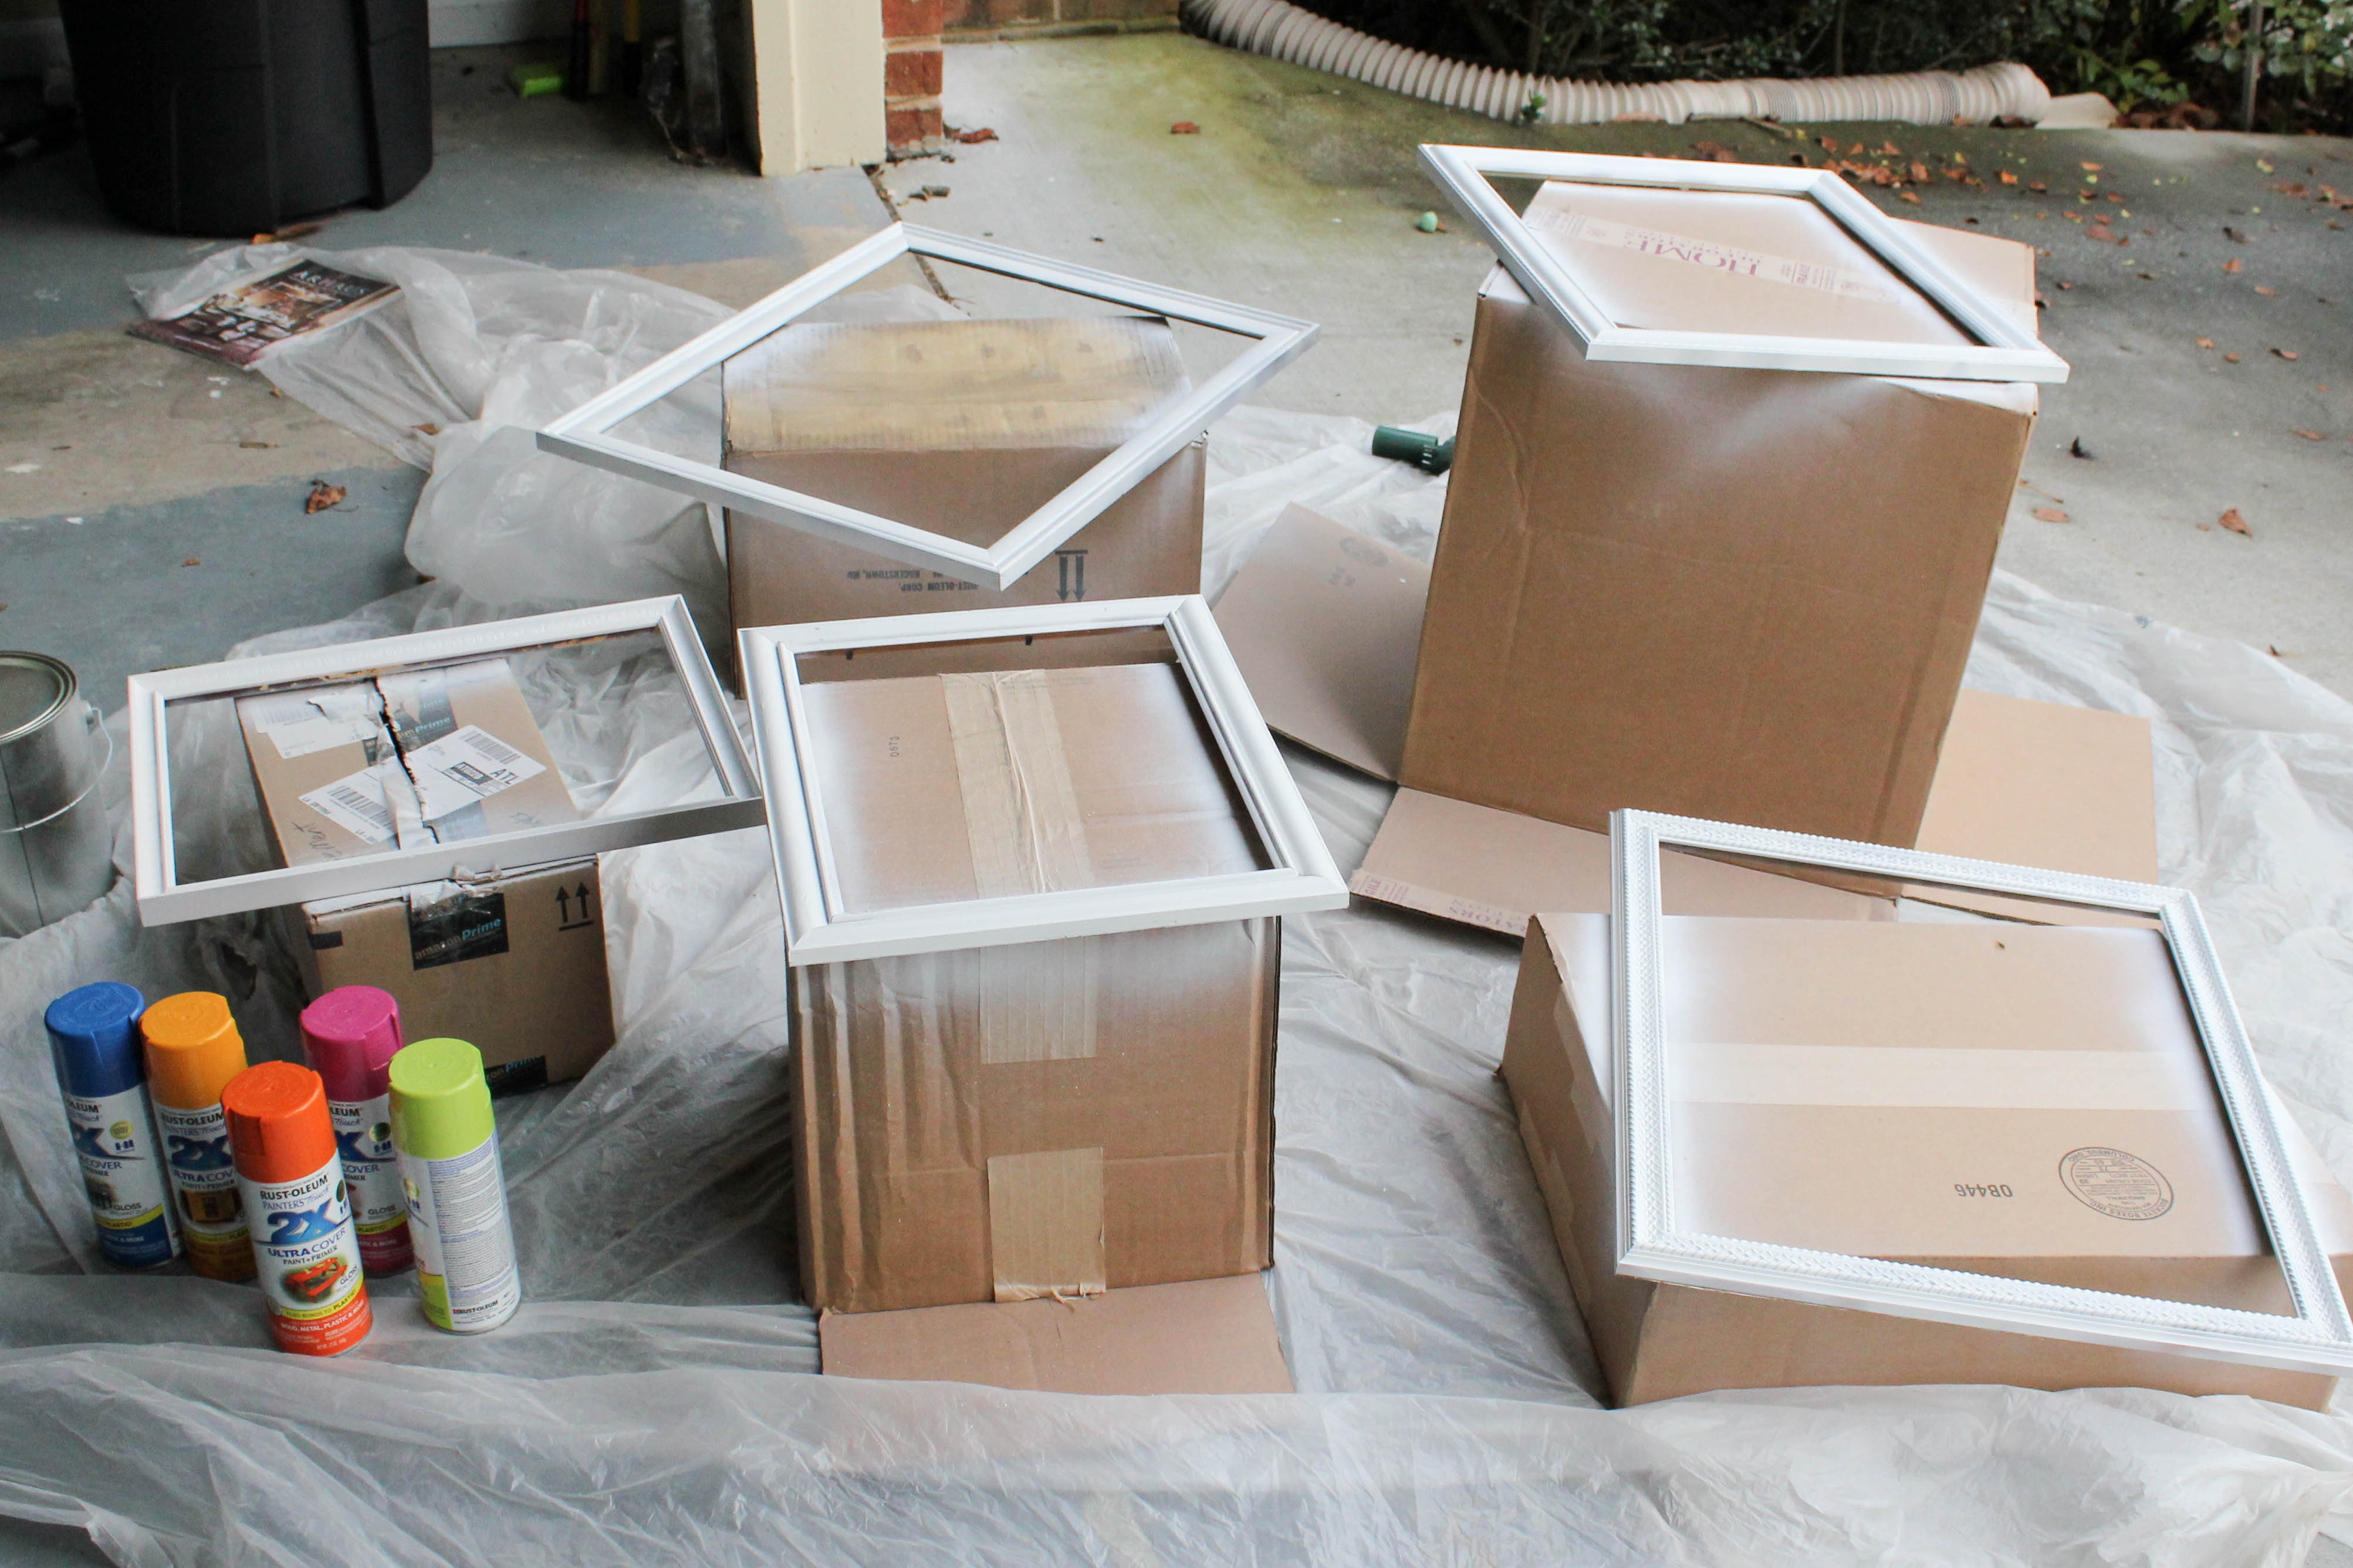
We used Rust-Oleum spray paint in a variety of yummy colors. (See supply list at the top of this post for specific color names.)

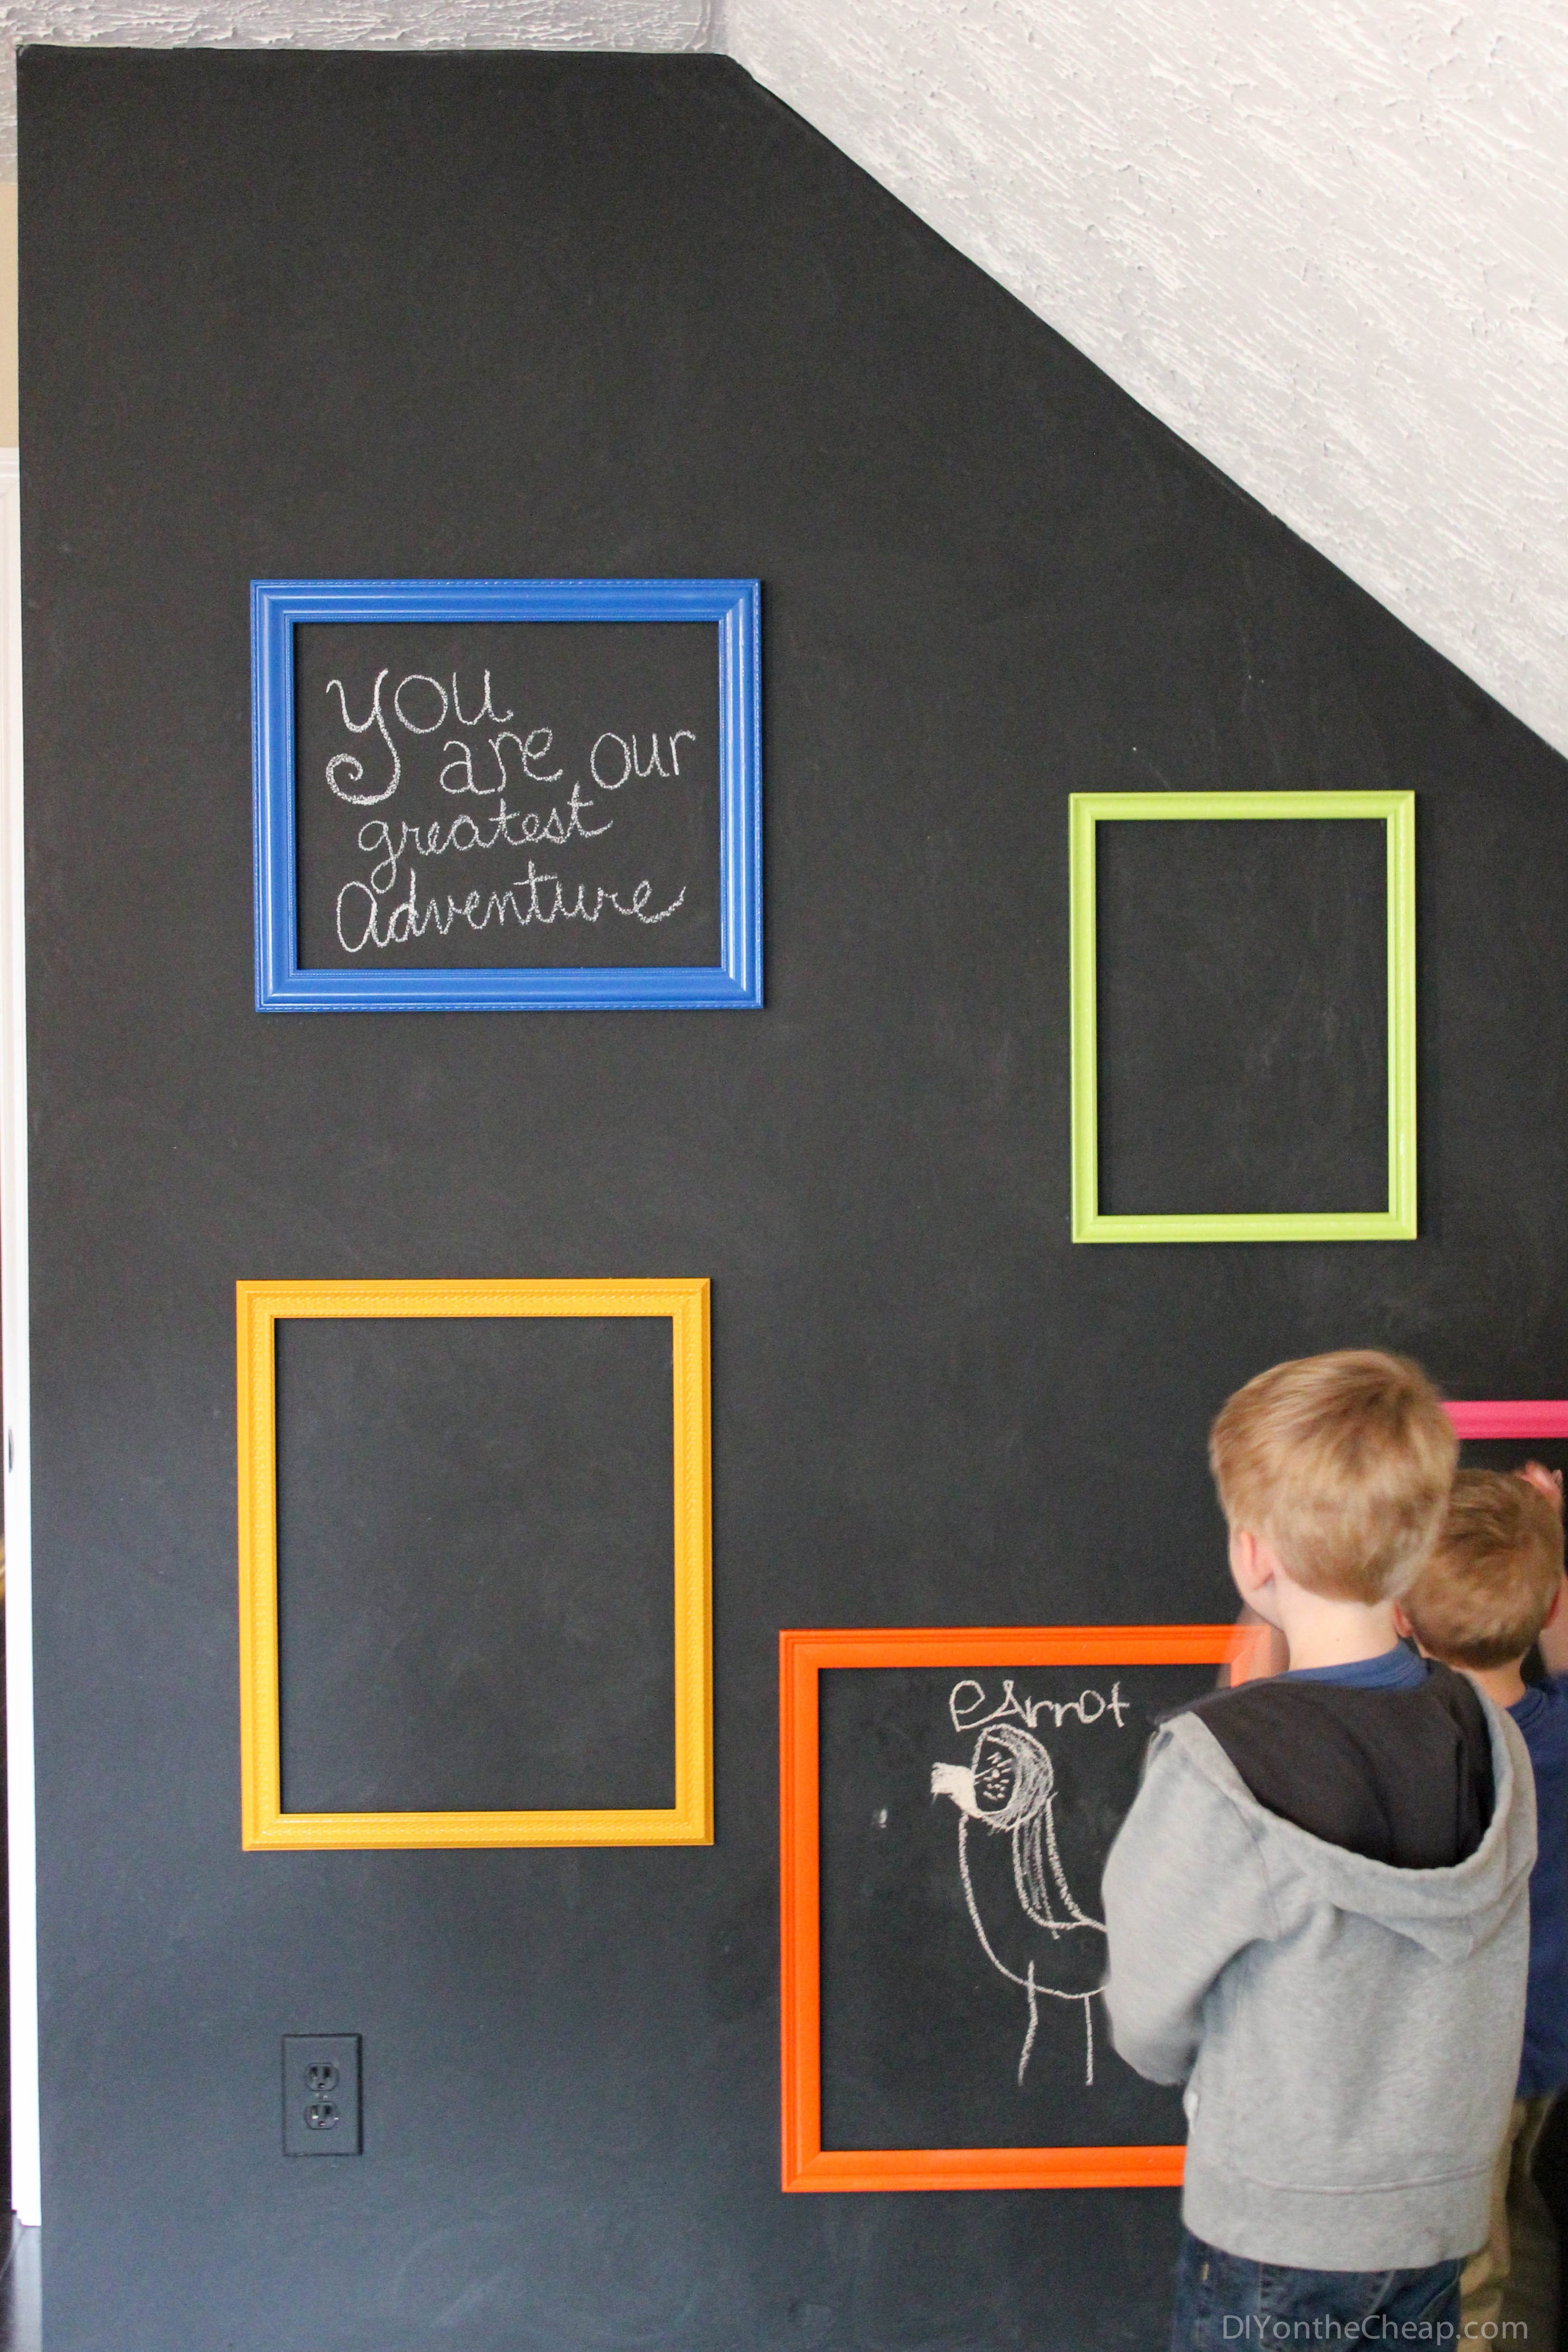
I used Command picture hanging strips![]() to attach the frames to the wall, this way we can remove them anytime we want without damaging the wall. No nail holes to fill! Yay!
to attach the frames to the wall, this way we can remove them anytime we want without damaging the wall. No nail holes to fill! Yay!

Now the boys have a fun place to get creative anytime they want. They both love art and they literally sit and draw pictures for hours. This is a fun way for them to get their art “fix” without leaving a trail of papers wherever they go. (Although I’m sure they will still do that too.) 🙂 Our playroom is finally coming together now that we have the clipboard gallery wall and the newly made-over bookshelf on the other side of the room.
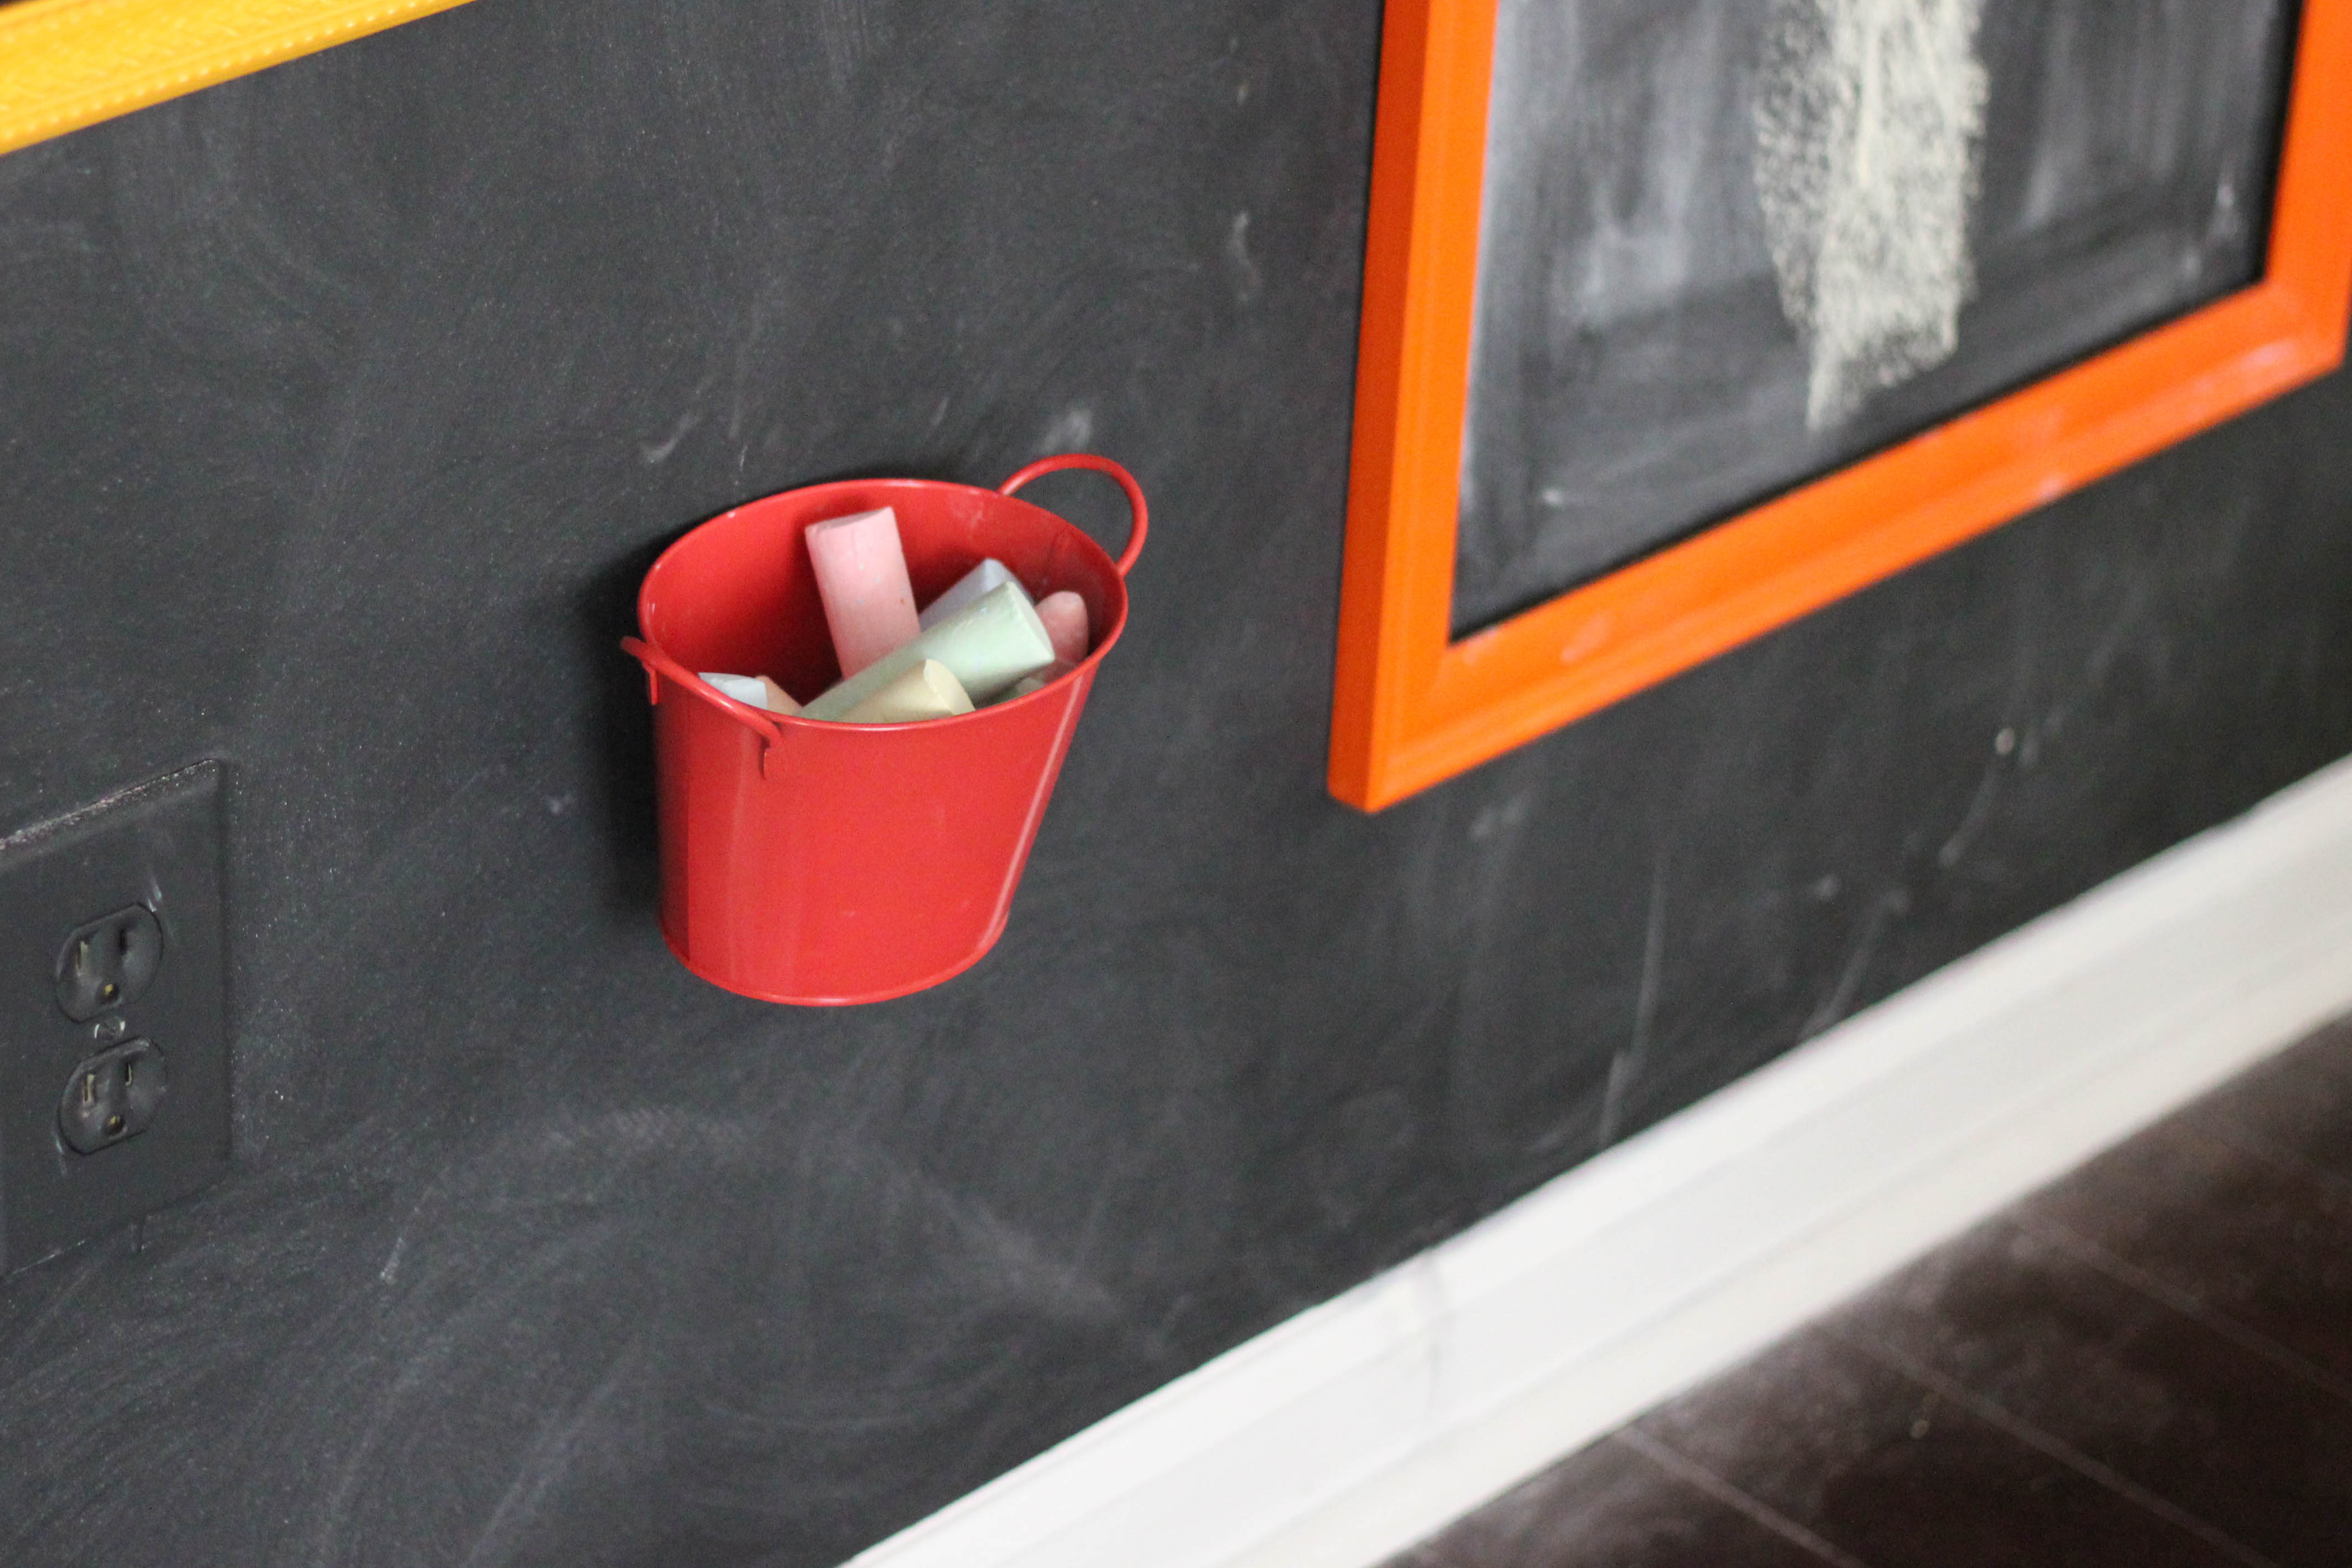
After I took the photos of the boys playing, I decided it would be convenient to just attach the chalk bucket to the wall for easy access. I used a large Command picture hanging strip (it’s kind of like velcro) to attach the bucket to the wall.
Do you have a chalkboard wall in your home, or do you plan on creating one? Let me know!
Disclosure: I received Rust-Oleum products for free to review. All opinions are my own. This post contains affiliate links.
YOU MIGHT ALSO ENJOY THESE POSTS:
- The 20 Toy Rule: How We Decluttered Our Playroom & Simplified Our Life
- DIY Kid’s Art Table
- DIY Lego Table IKEA Hack
- Kid Art Clipboard Wall
- Boy’s Bedroom Decor
Connect with me here:
![]()
![]()
![]()
![]()
![]()
![]()
