Well, I guess you know by now – I like DIY projects that are easy. And if something isn’t easy, I generally like to find the laziest easiest and most low-maintenance way to do it, if possible. As I was attaching ribbon trim to my lamp shade with my glue gun the other day, and failing miserably because I was using satin ribbon and you could see every little glue bump and lump underneath, I suddenly glanced over and noticed my double-sided hem tape laying on the kitchen counter from my curtain project last week. Light bulb! I started attaching the ribbon with the hem tape instead, and it couldn’t have been easier! And the results were much smoother too. At that point, I had already attached the bottom ribbon with the glue, so I went back and ripped it off, and attempted to pick off all of the glue that had dried. This created quite a mess. And I couldn’t get it all off, so there are still a few tiny bumps here and there. So you can consider this blog post a tutorial on “how to” AND “how NOT to” attach ribbon trim to a lamp shade.
 |
| Top: Hem Tape; Bottom: Glue Gun. |
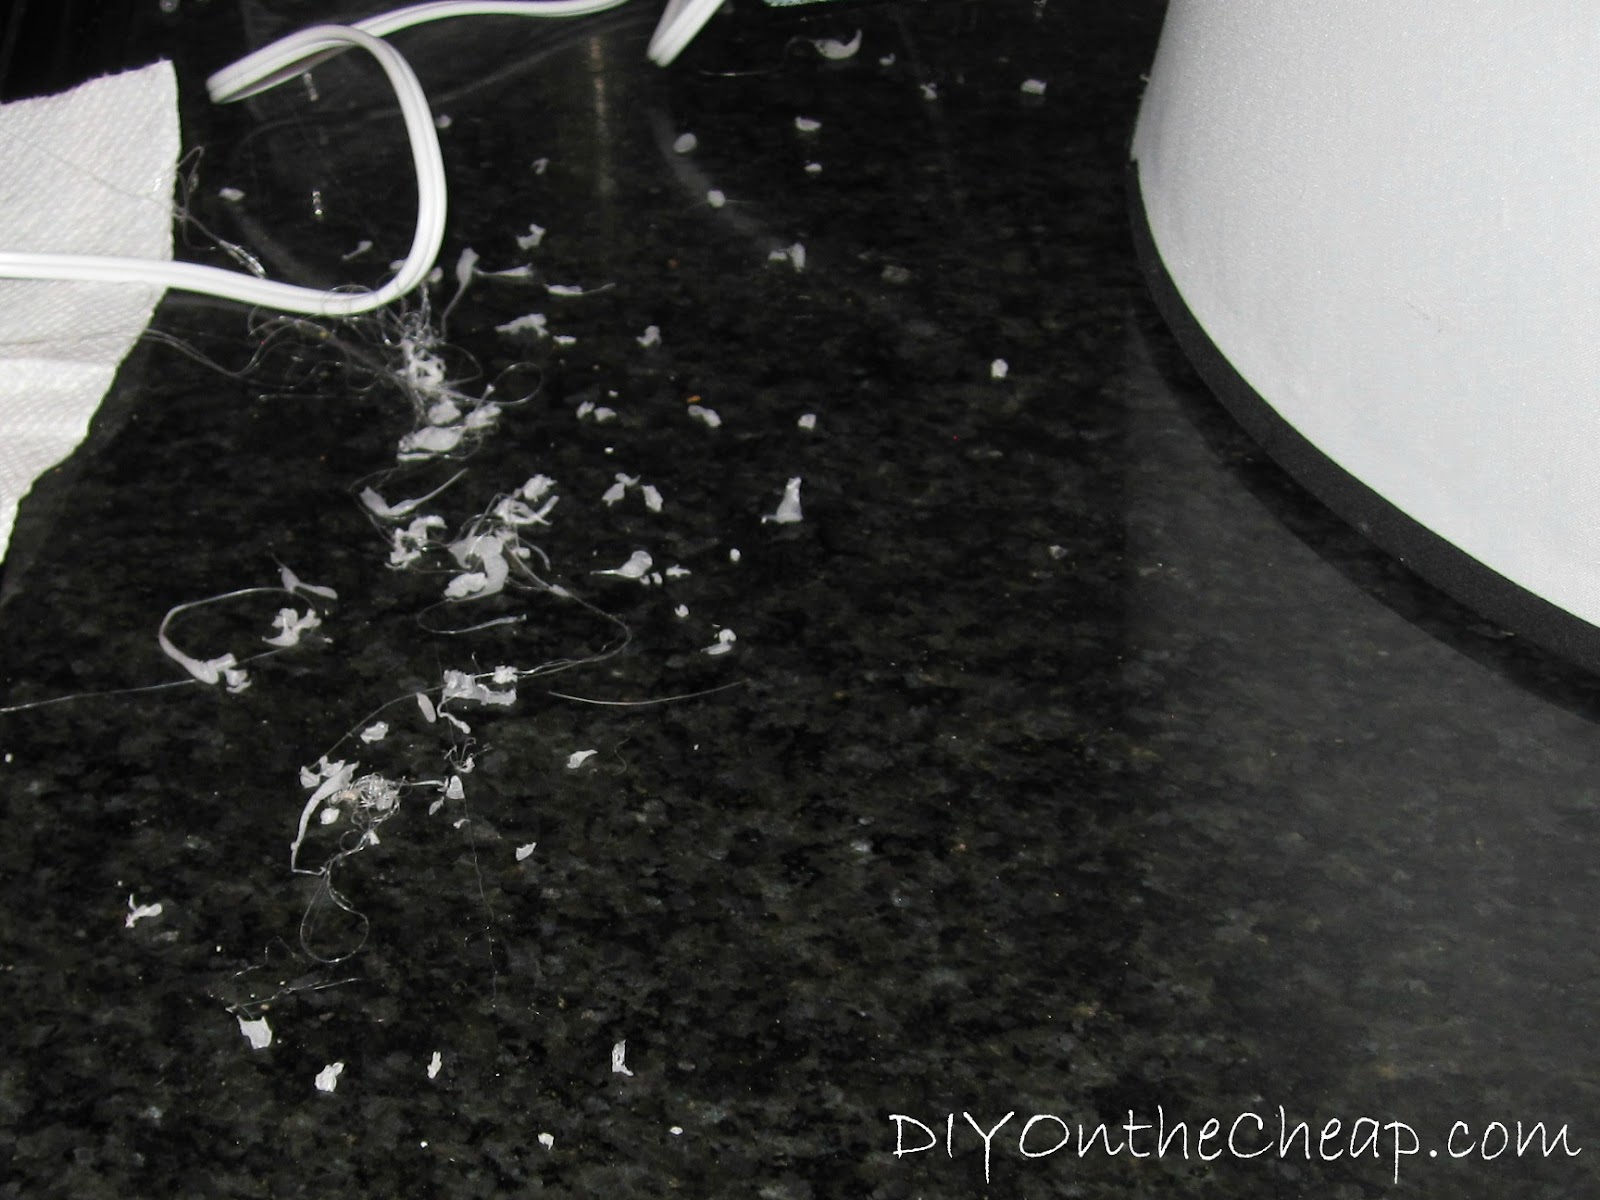 |
| Picked-off Glue Mess! |
It is my advice to NOT use a glue gun to attach satin ribbon to a lamp shade. Unless you can get away with only dotting it at the seam. My ribbon kept slipping and needed to be adhered all the way around, so this would not have worked for me. Now if my ribbon had not been satin (which shows flaws easily), I could have probably gotten away with the glue gun. But why bother? Especially since hem tape can be temporary, so when I want to change out the ribbon all I have to do is peel it off and replace it. No damage to the shade!
Here is how to do it (and it couldn’t be more simple.):
Start at the seam of the lamp shade for both the top and bottom ribbons. Line the hem tape up with the edge of the shade, and slowly stick it on, about an inch at a time, smoothing it out as you go. If you get a bump, just use your fingernail to smooth it down. After you’ve attached the tape all the way around, peel off the backing. Start at the seam again, and attach your ribbon very slowly, again smoothing as you go.
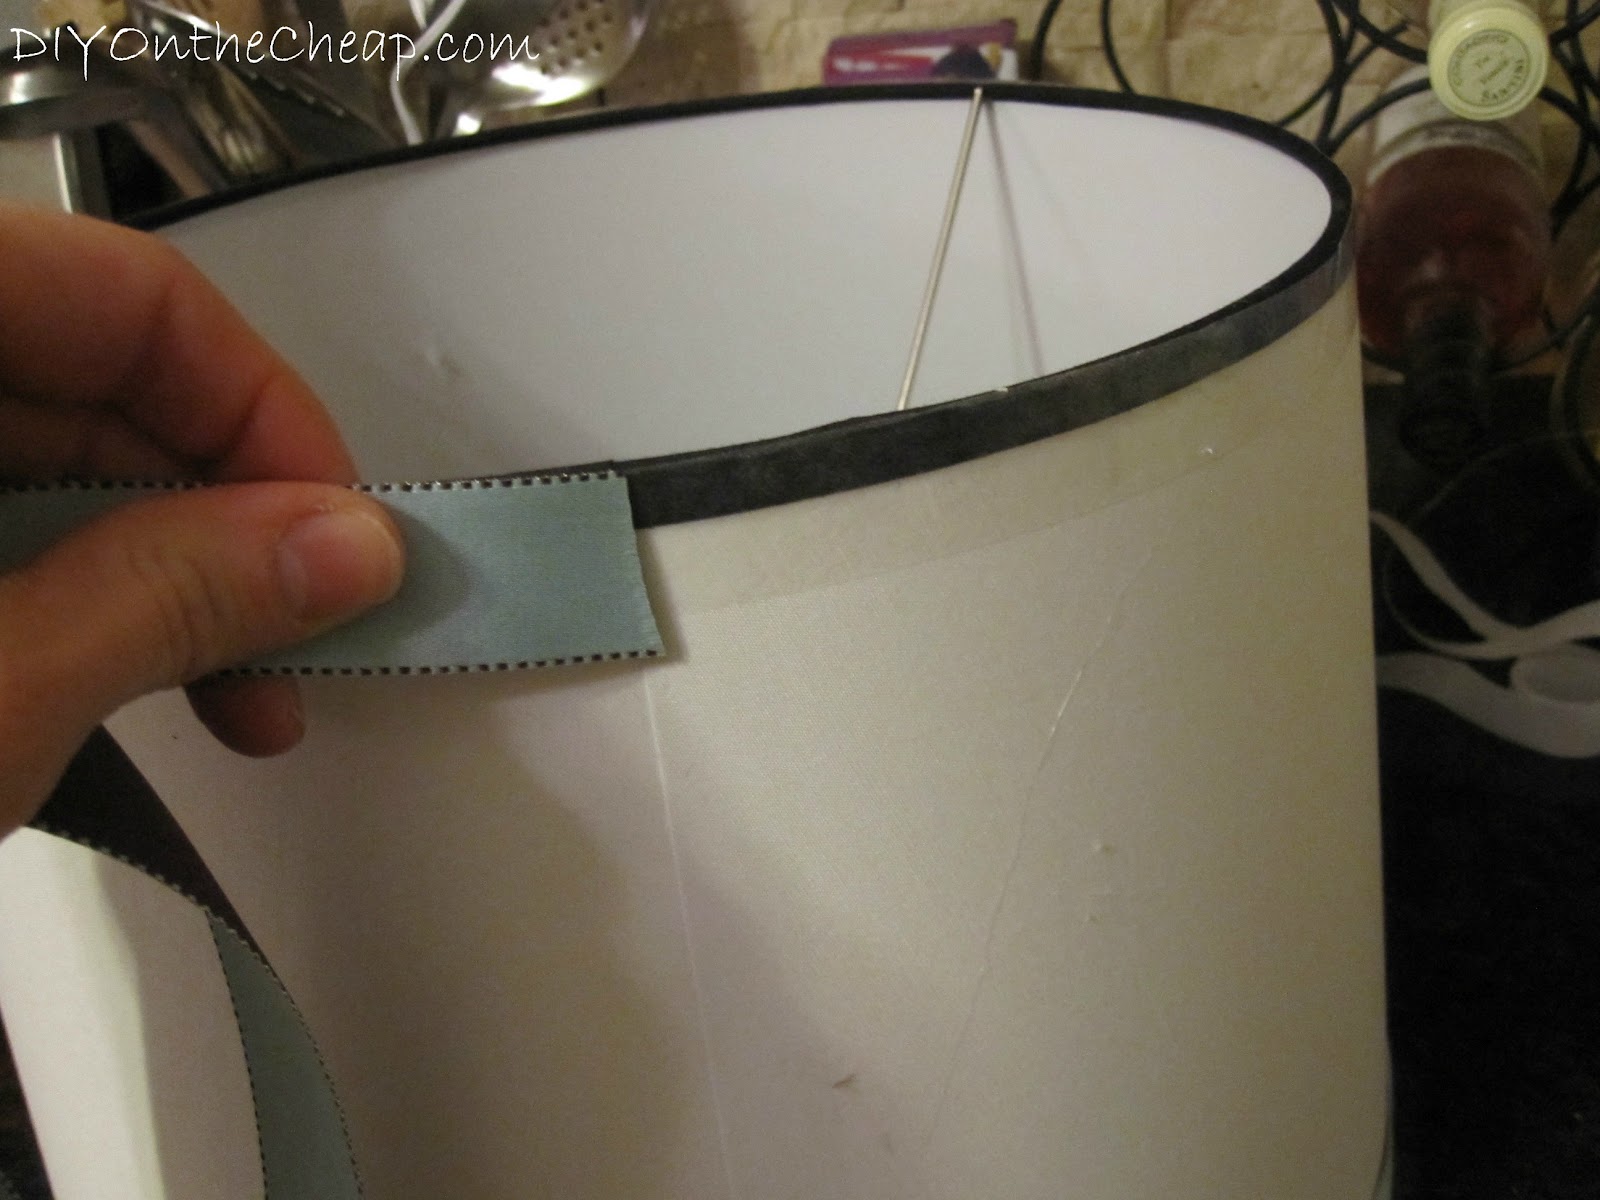 |
| Hem tape is on, now attach the ribbon, starting at the seam. |
When you get back around to where the ends meet at the seam, fold your ribbon over about a half inch to an inch and create a little hem so the raw edge doesn’t show. You can either glue it to itself or use a tiny piece of the hem tape to stick the ribbon to itself, and then stick it down to the shade.
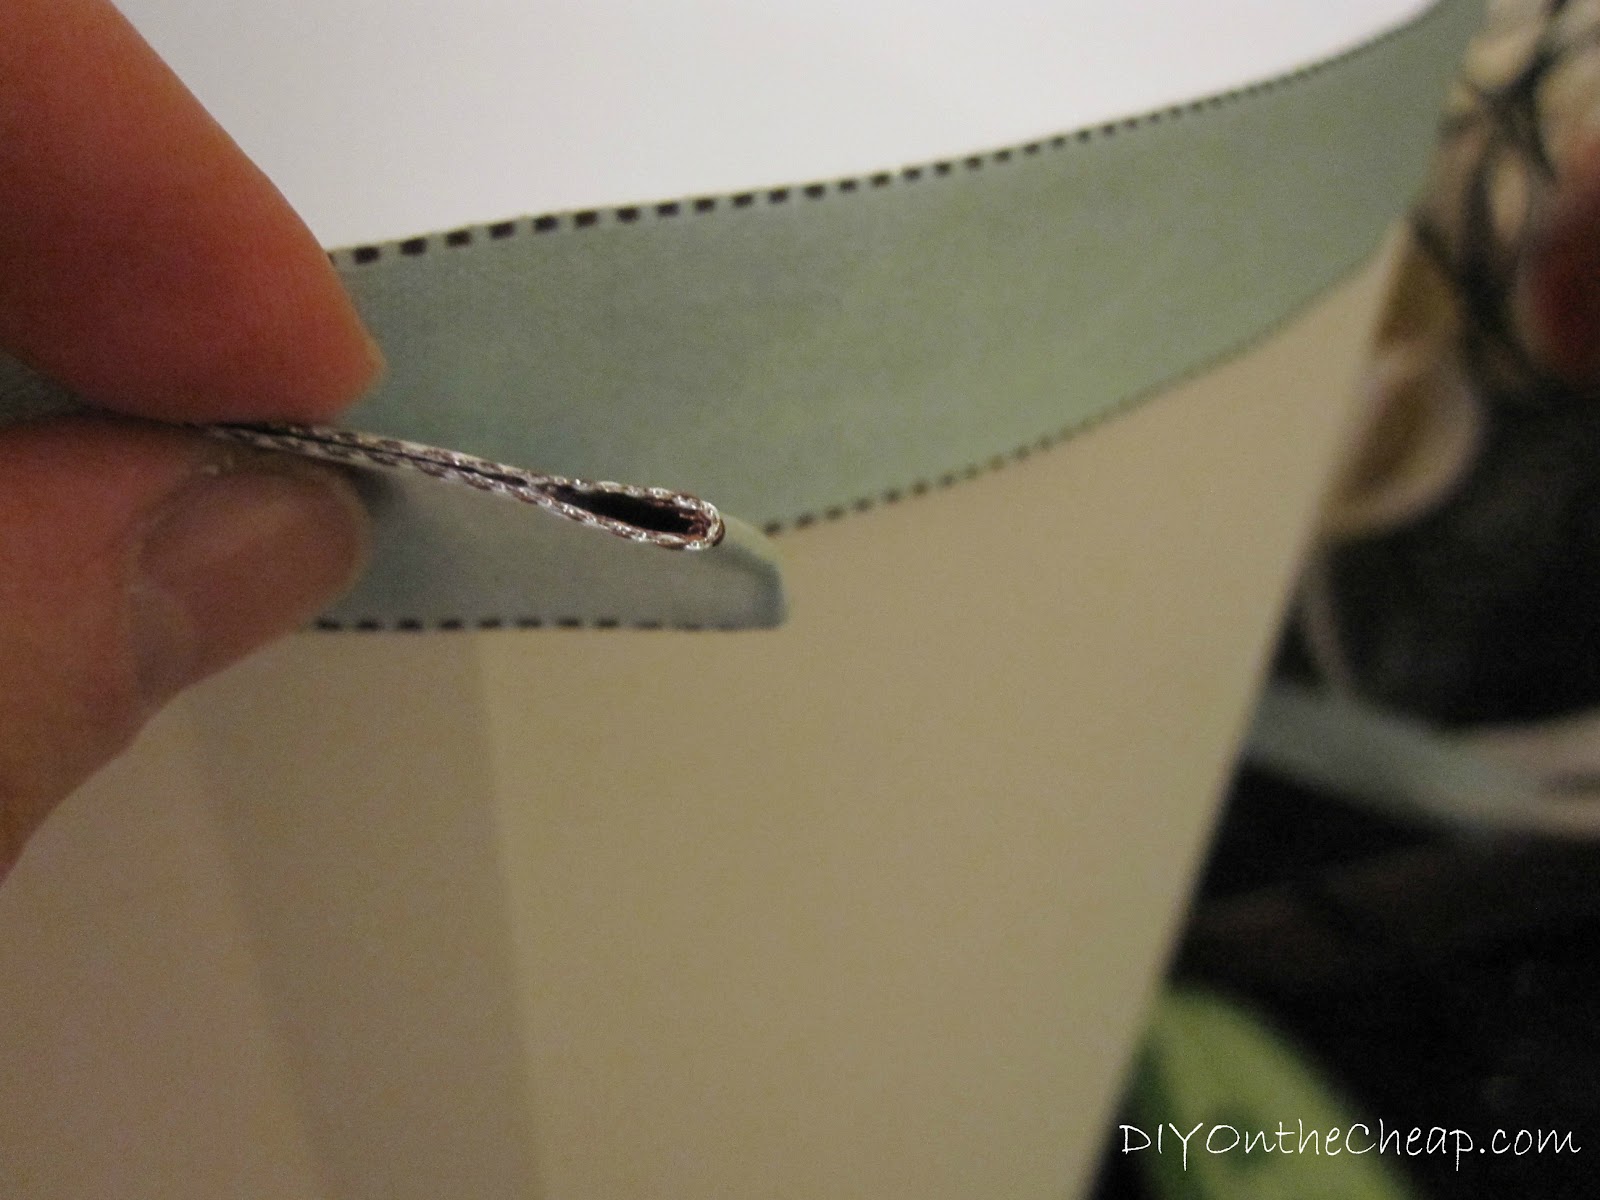 |
| Fold ribbon to create a hem so raw edge doesn’t show. |
Do the same thing with the second band of ribbon. And you’re done!
 |
| Finished Lamp Shade |
This particular shade came with thin black trim, and I wanted to add a little bit of color to match the decor in our family room. Ribbon is the perfect way to dress up a lamp or coordinate it with the rest of your room. There are so many possibilities as far as color, pattern, ribbon width, material, etc., so you can achieve a variety of looks depending on the type of ribbon you use. Now my lamp matches the room much better.
I will show pictures of the whole room when we finish decorating. I will do this with each room we finish and add sources for where many of my bargain purchases came from. For now, we have lots of half-decorated rooms and everything is a work in progress since we moved into our home just a few months ago. Slowly but surely, we are making this house our home.
