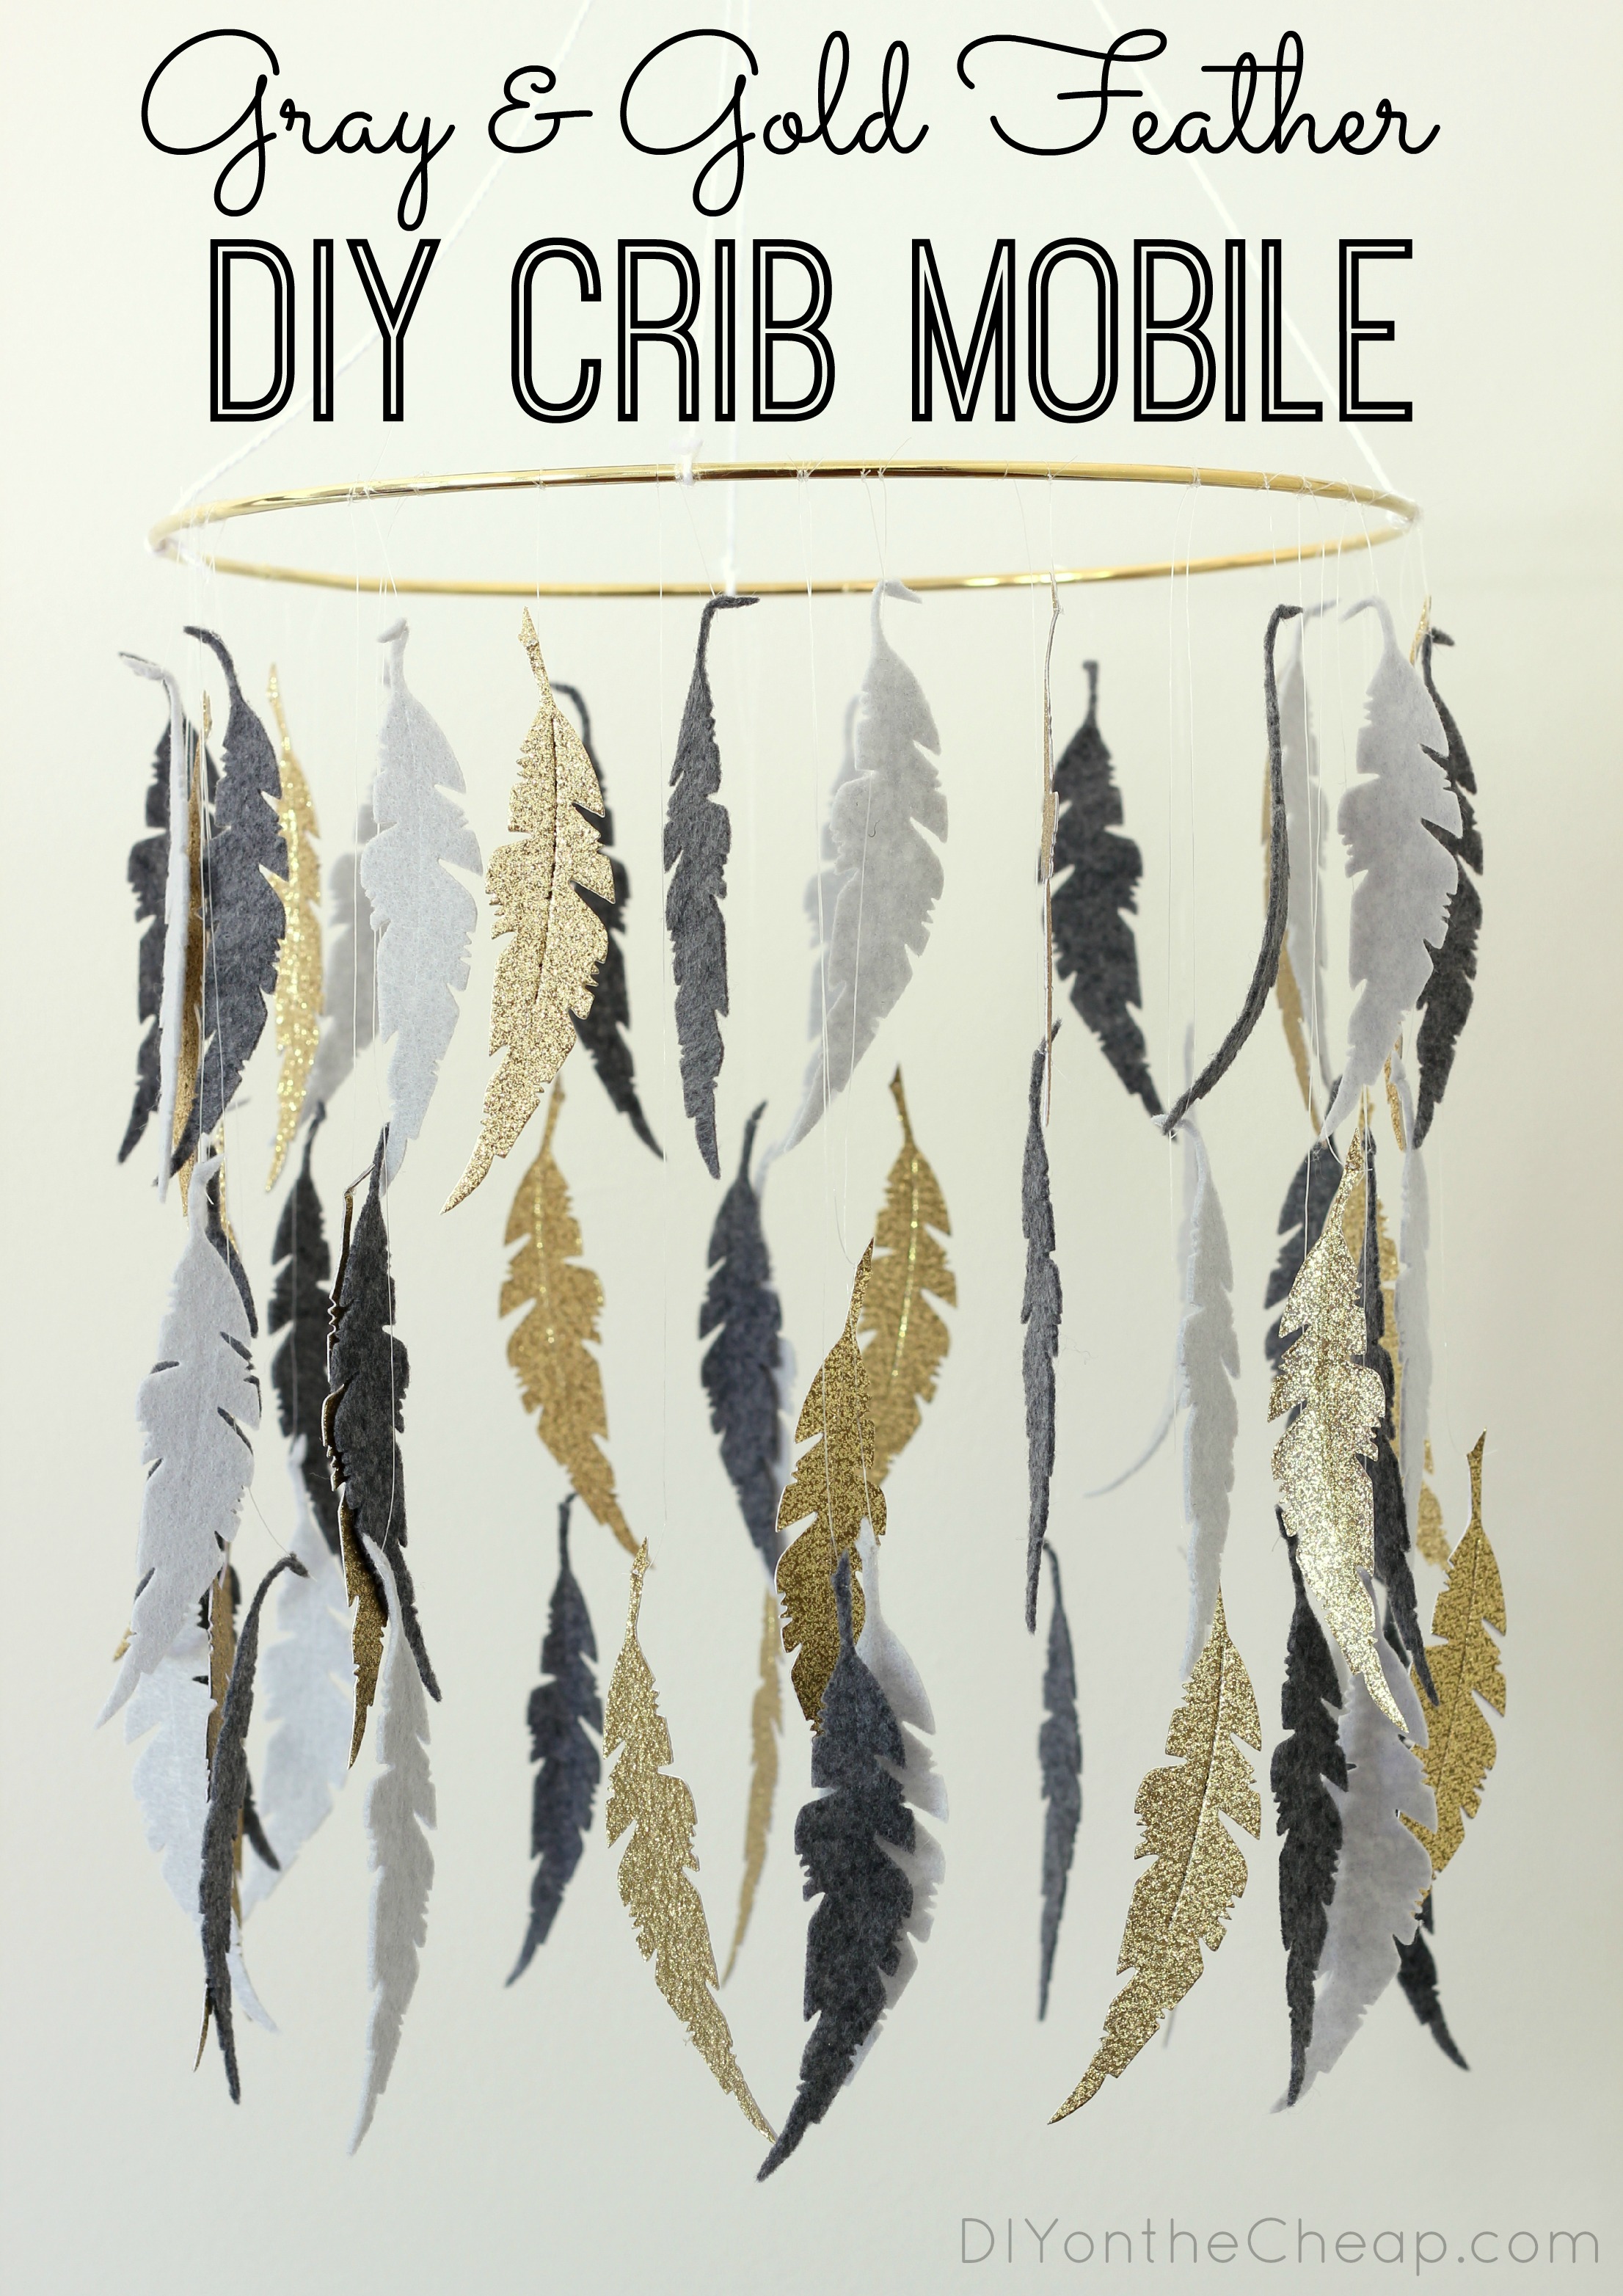
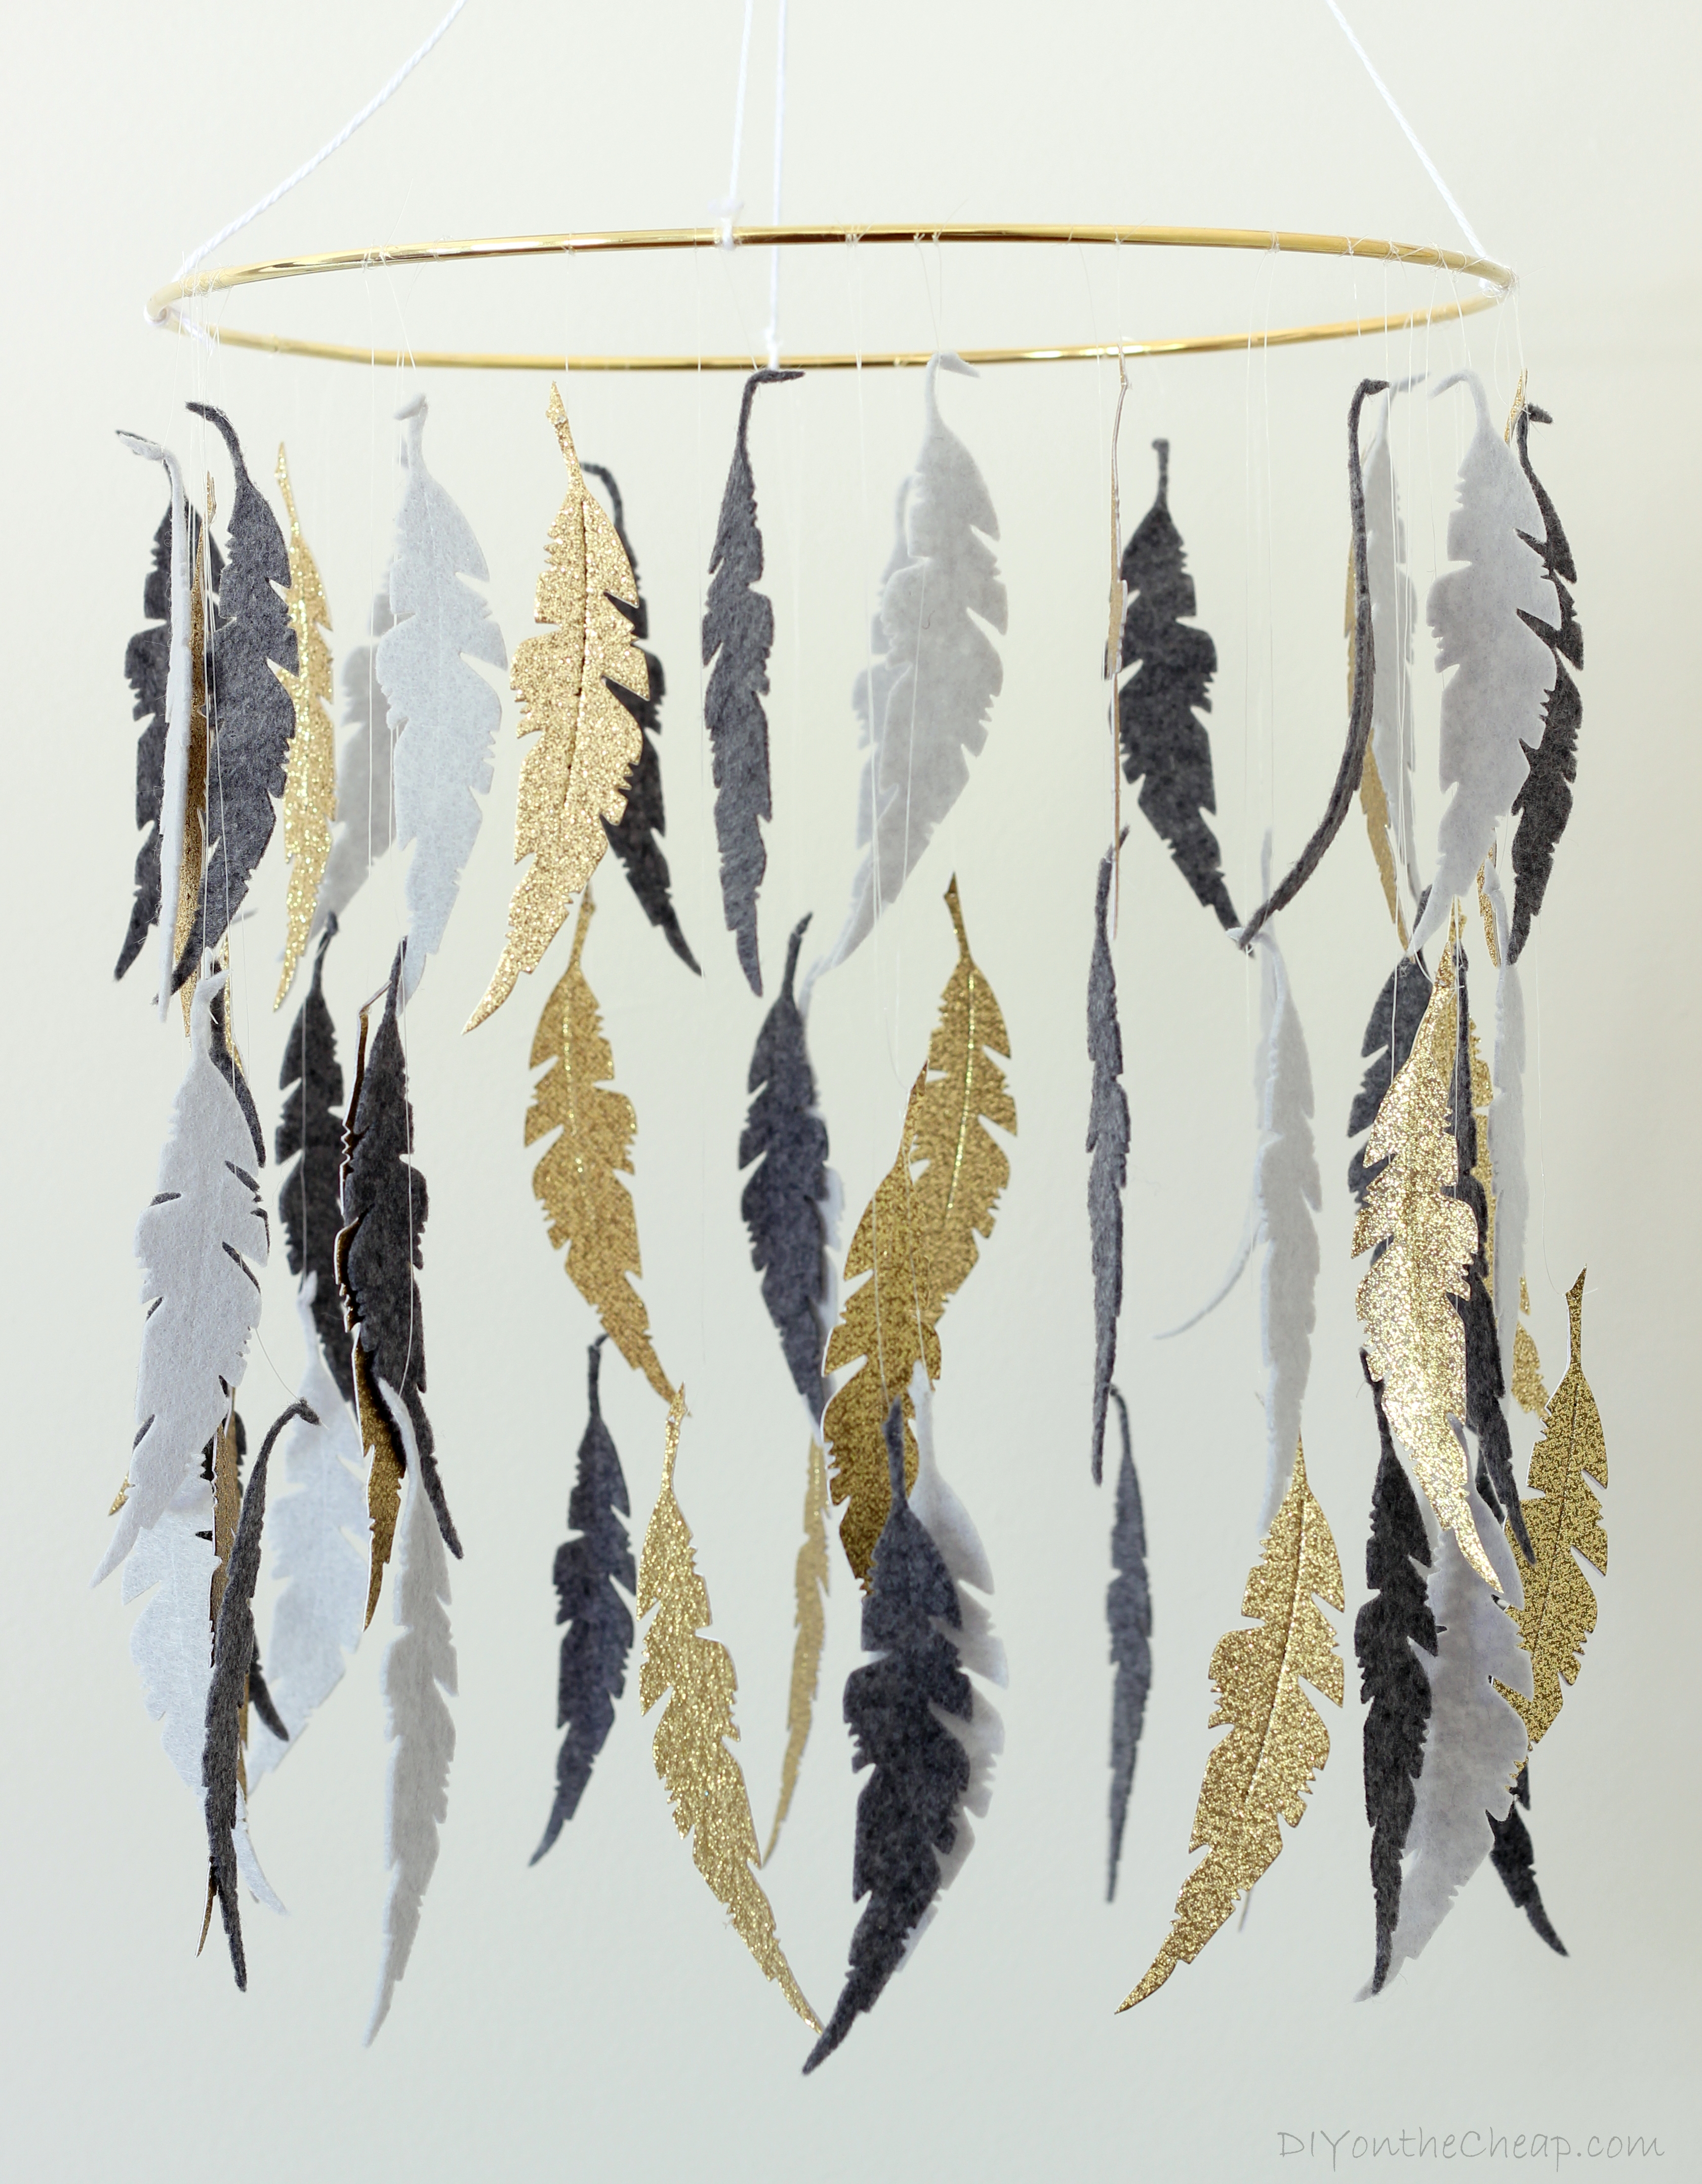
When I was at the Haven Conference, I was introduced to the amazing Sizzix die-cutting machine and I immediately knew I had to have one! I knew it would be the perfect tool to help me create some adorable nursery decor. I received the Sizzix Big Shot machine along with a few die-cutting cartridges which I used to make a gray and gold feather DIY crib mobile, which happens to officially be my very first nursery project so far!
What you’ll need for this project:
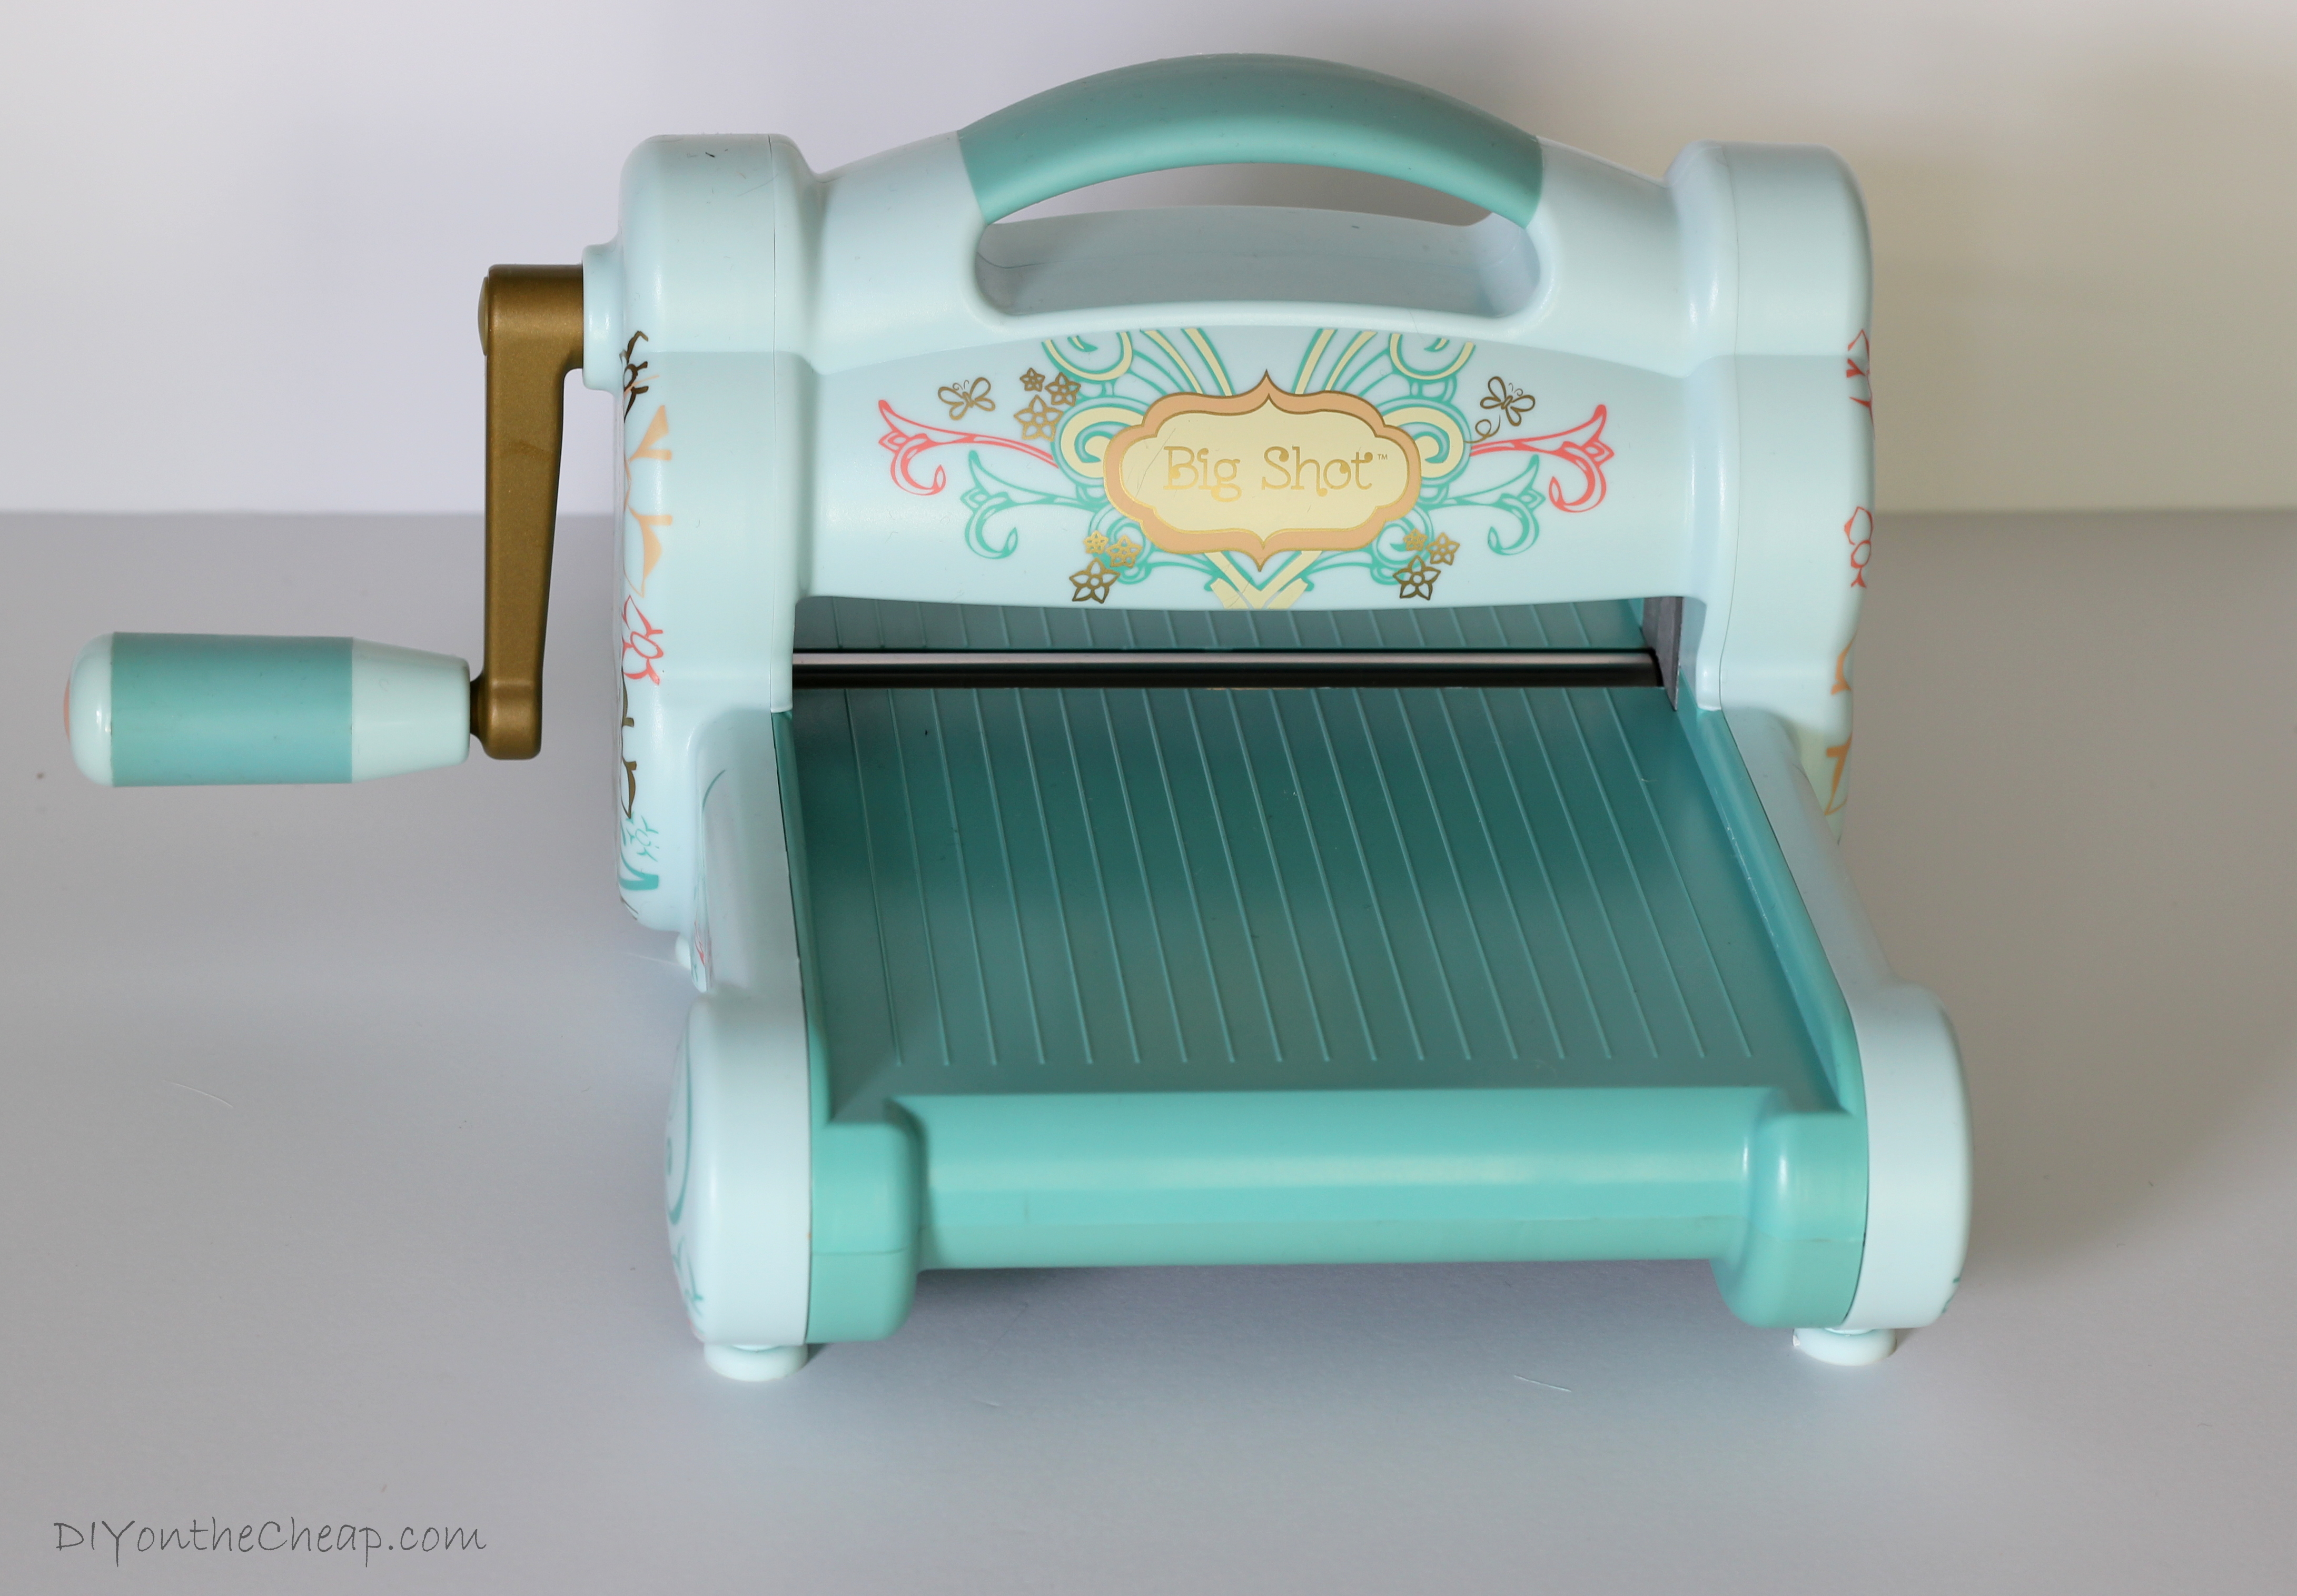
- Sizzix Big Shot Machine
- Sizzix Bigz Die – “Writing Desk”
- Sizzix Cutting Pads
- Felt
 in your choice of color (I used light and dark gray.)
 - Gold Glitter Cardstock
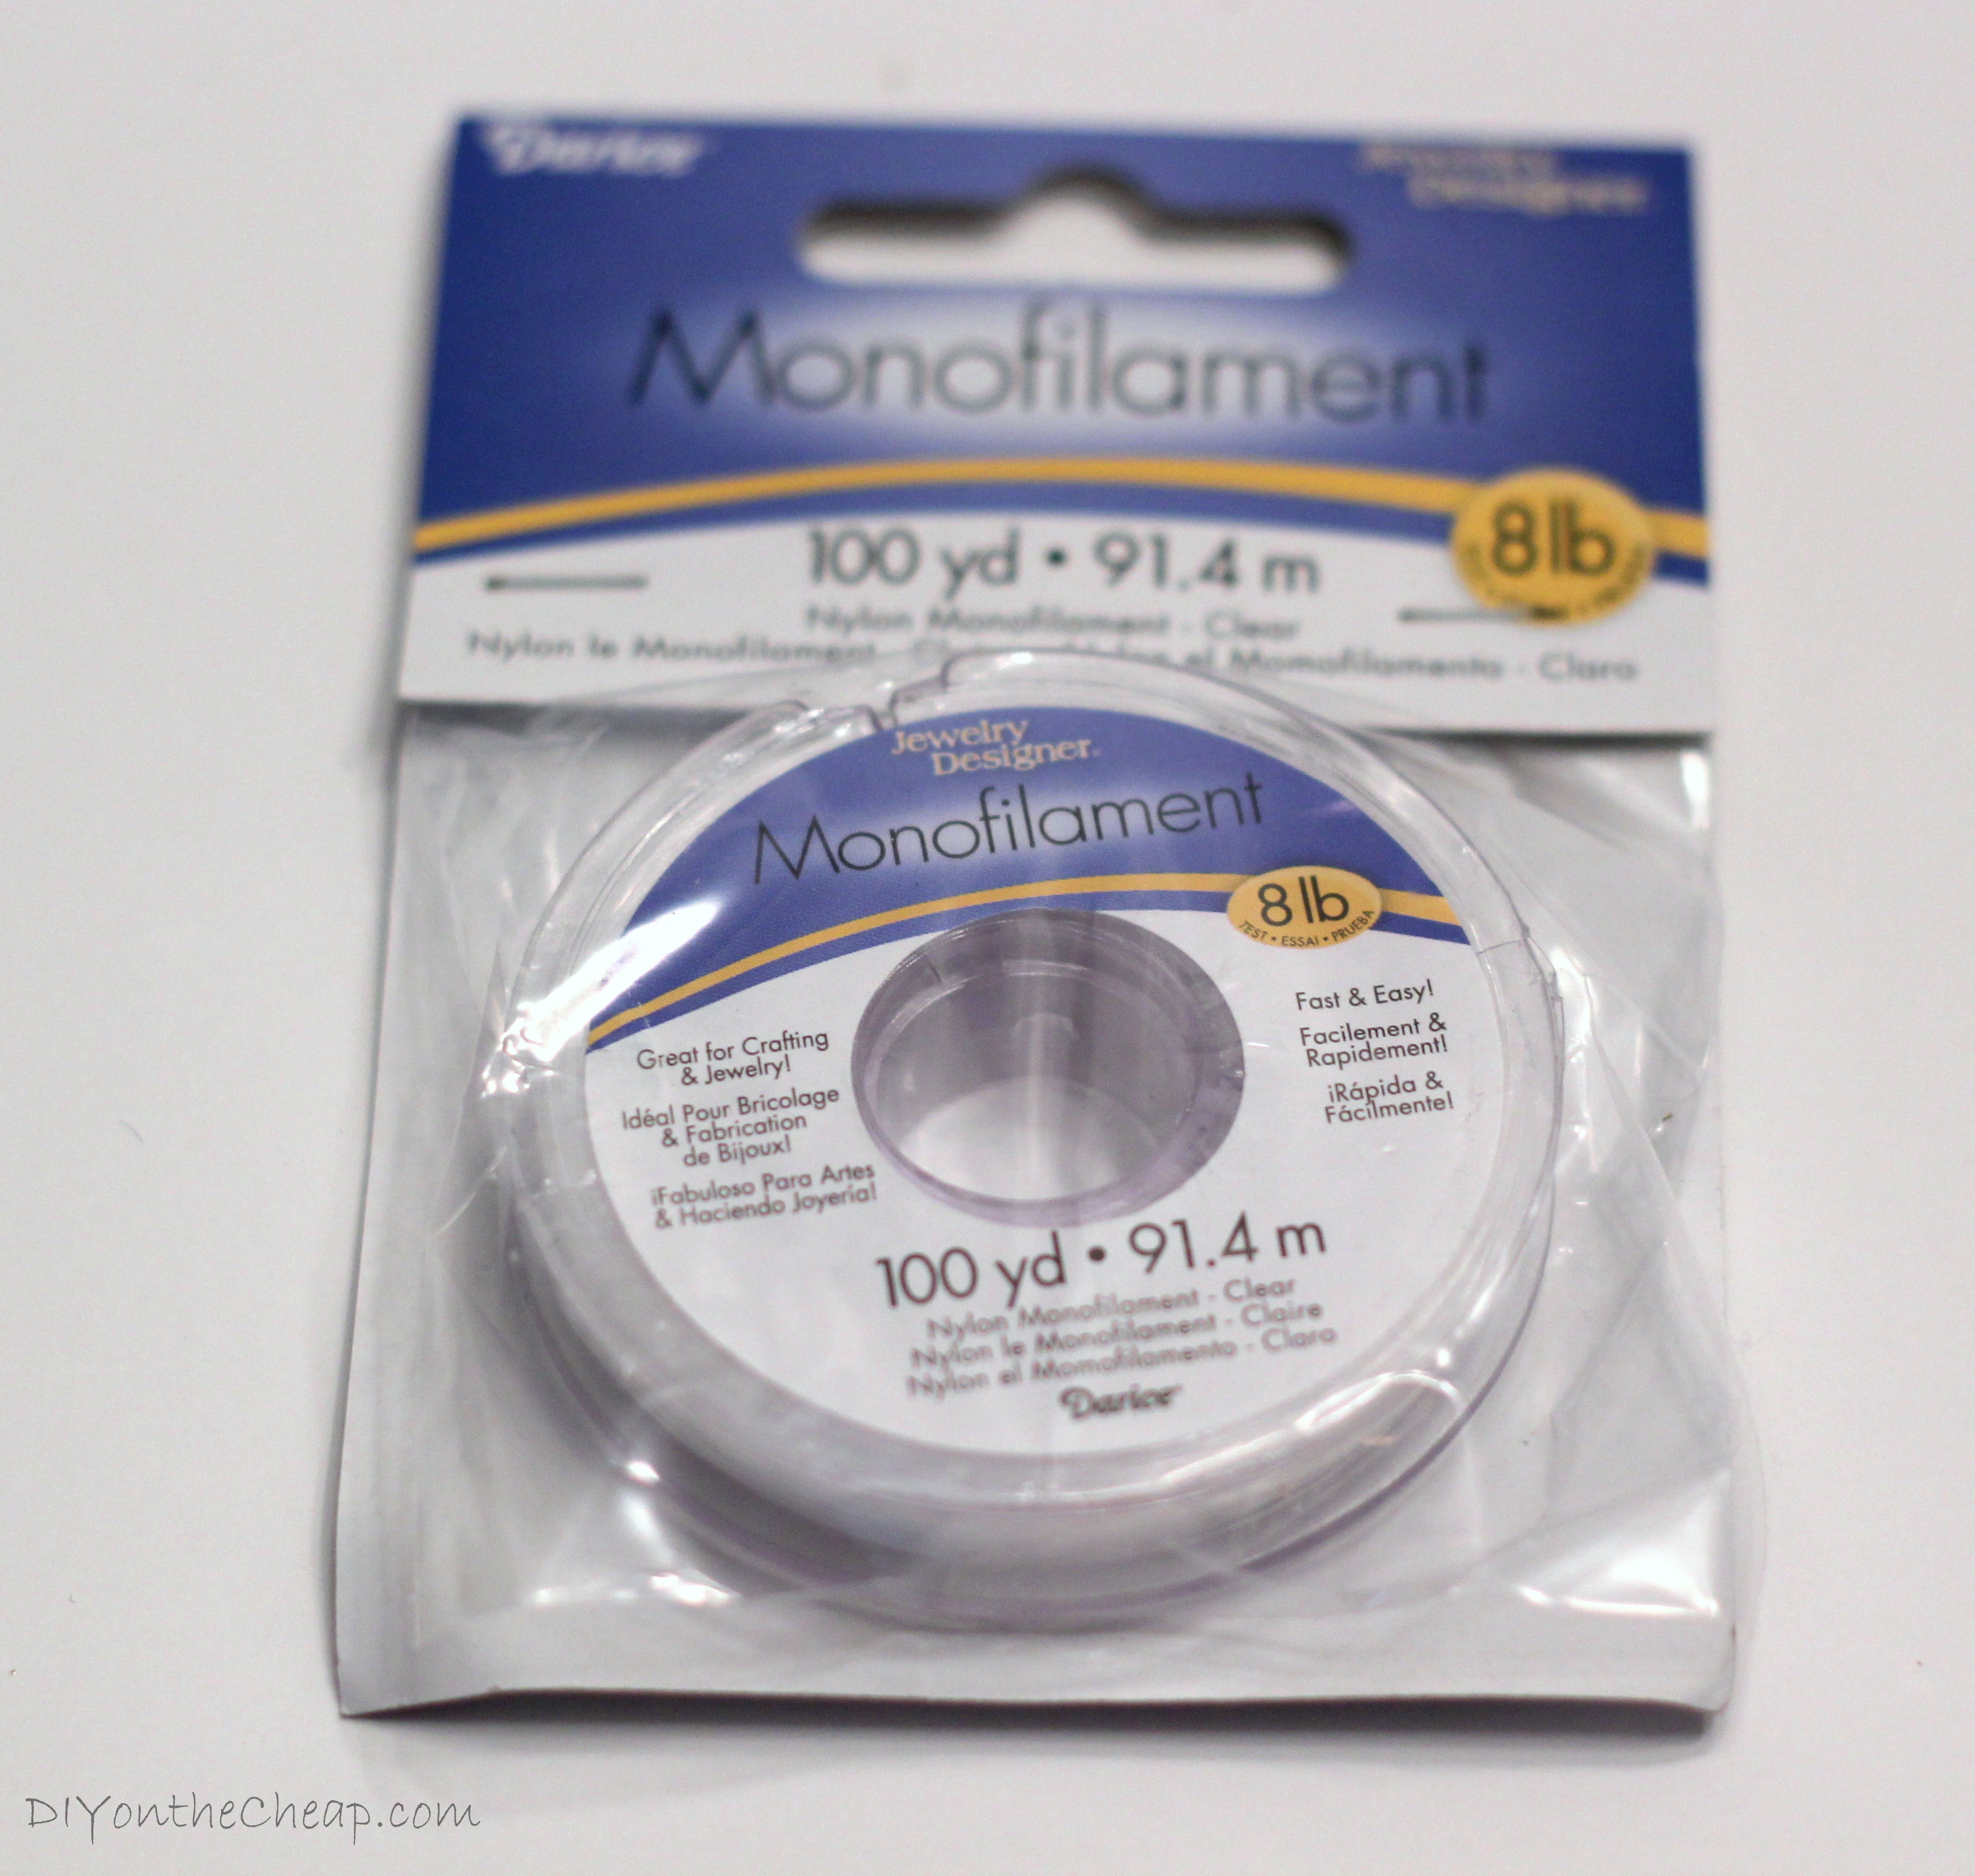
- Monofilament/fishing line
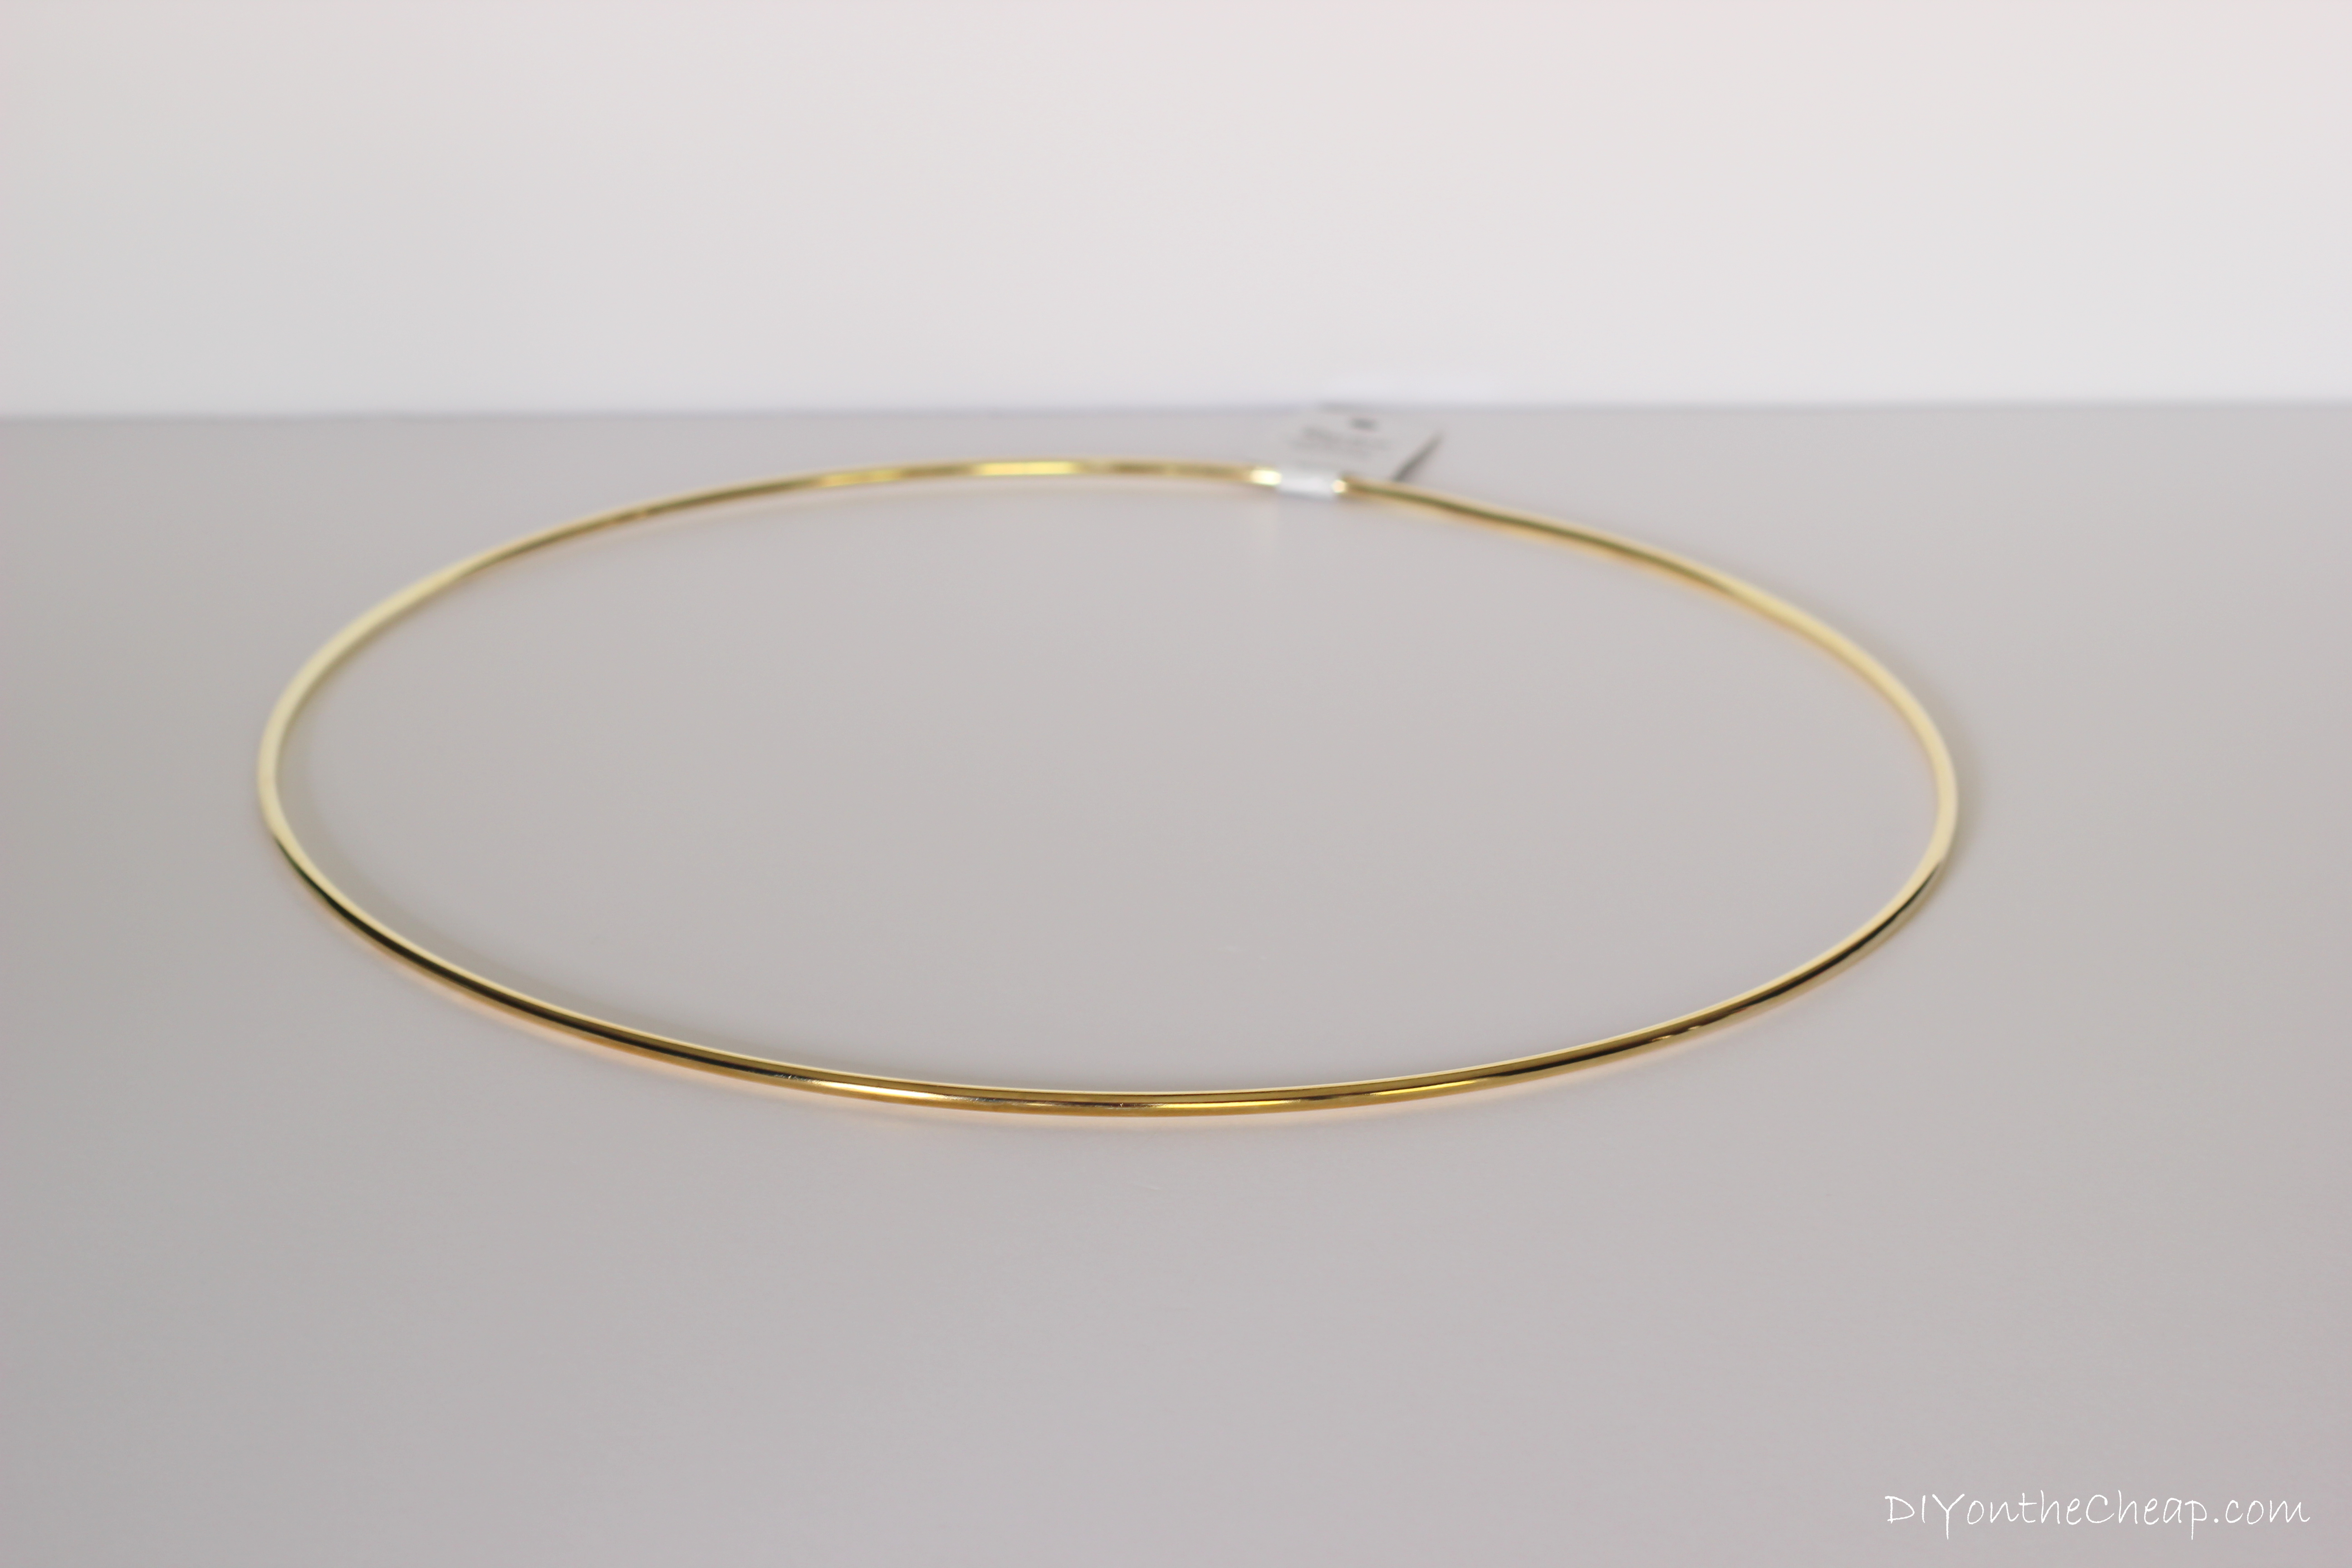
- Gold Metal Crafting Hoop (I used a 12 inch size)
- Sewing Needle
- Scissors
- Glue Stick
Here are some pics of my supplies:

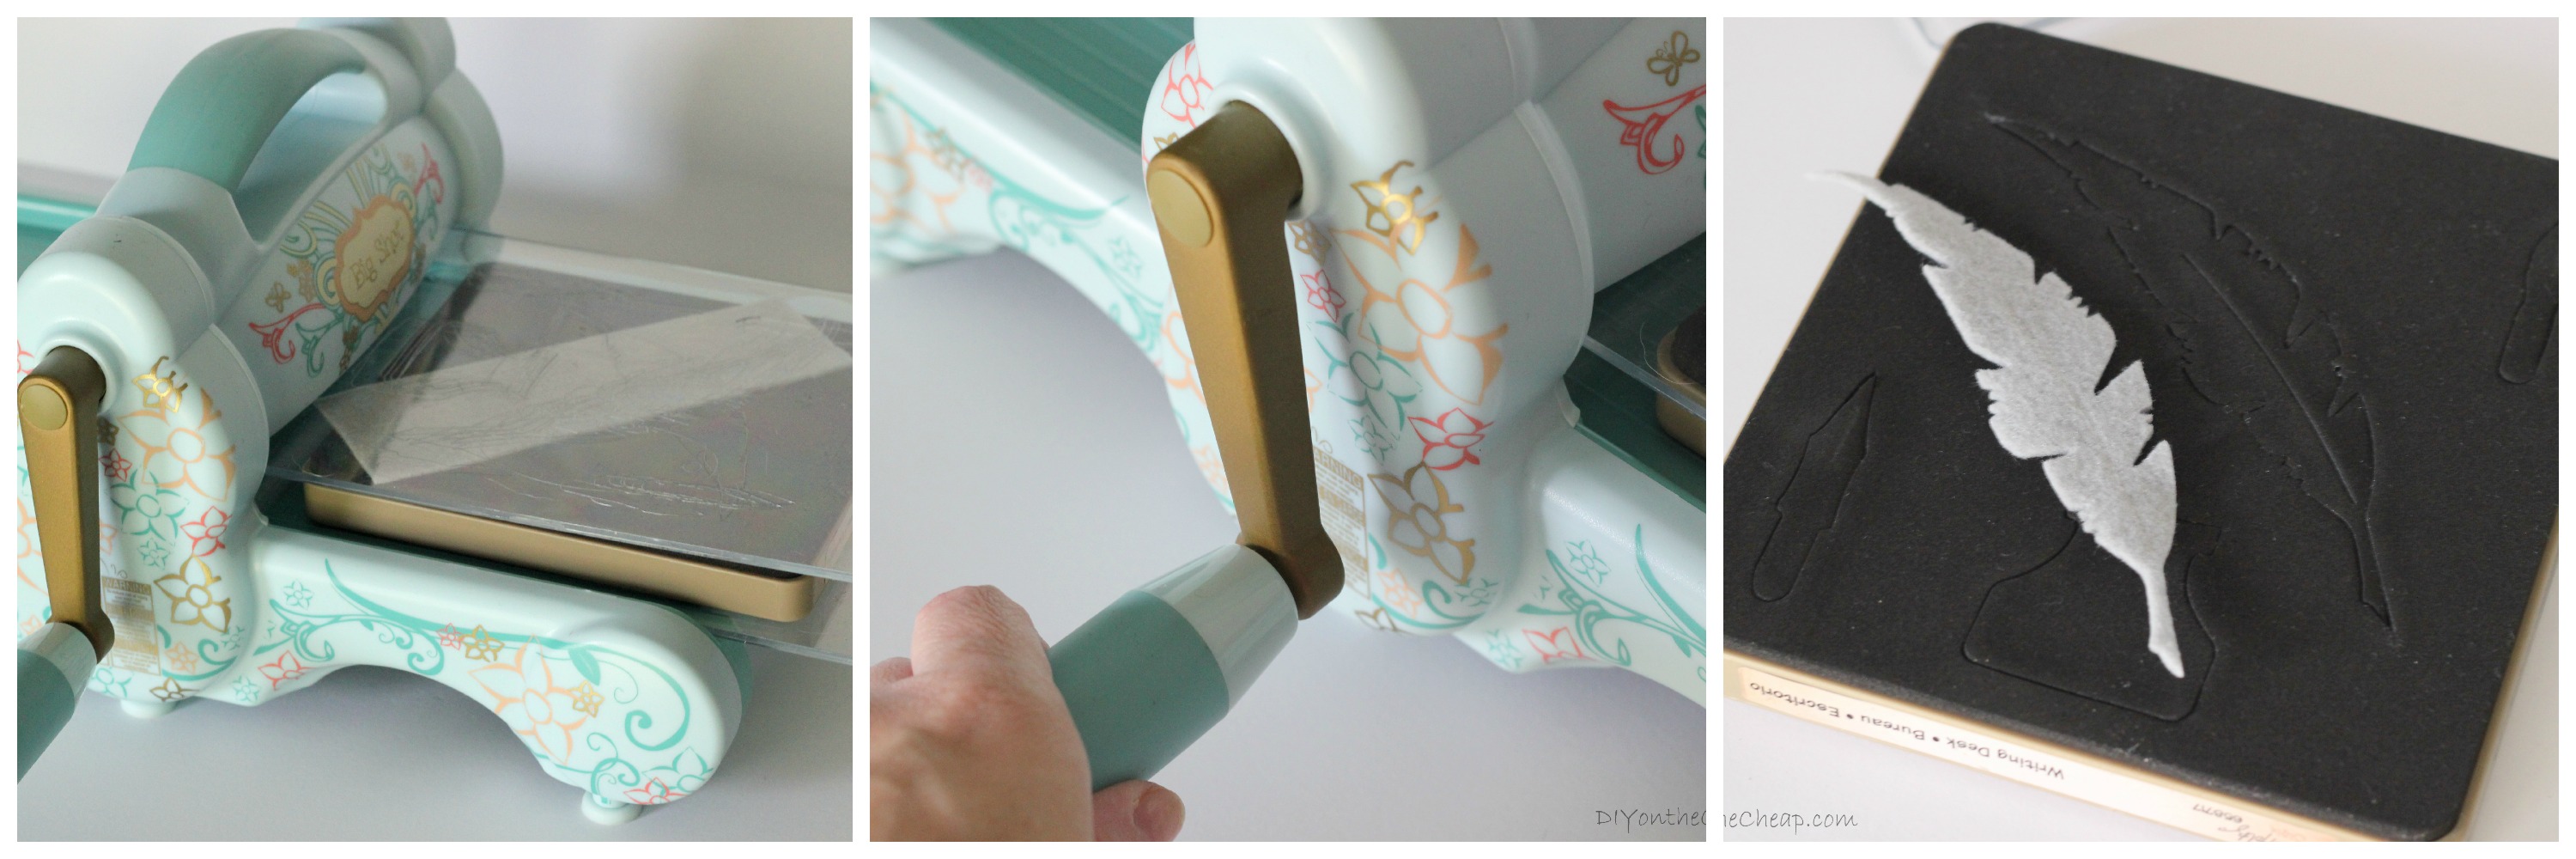
This machine can die-cut or emboss — you simply sandwich your cartridge with your cutting material on top (fabric, cardstock, whatever) between two cutting mats and then crank it through the machine. First, I laid a strip of felt directly on top of the feather portion of my cartridge. Then, I cranked it through the machine while stabilizing the top with my other hand. Easy peasy!
For the gold cardstock feathers, I pressed two strips of glitter cardstock back to back and ran them through the machine together, then used a glue stick to adhere them to each other so the feather would be gold and glittery on both sides. (One side of my cardstock was white.)

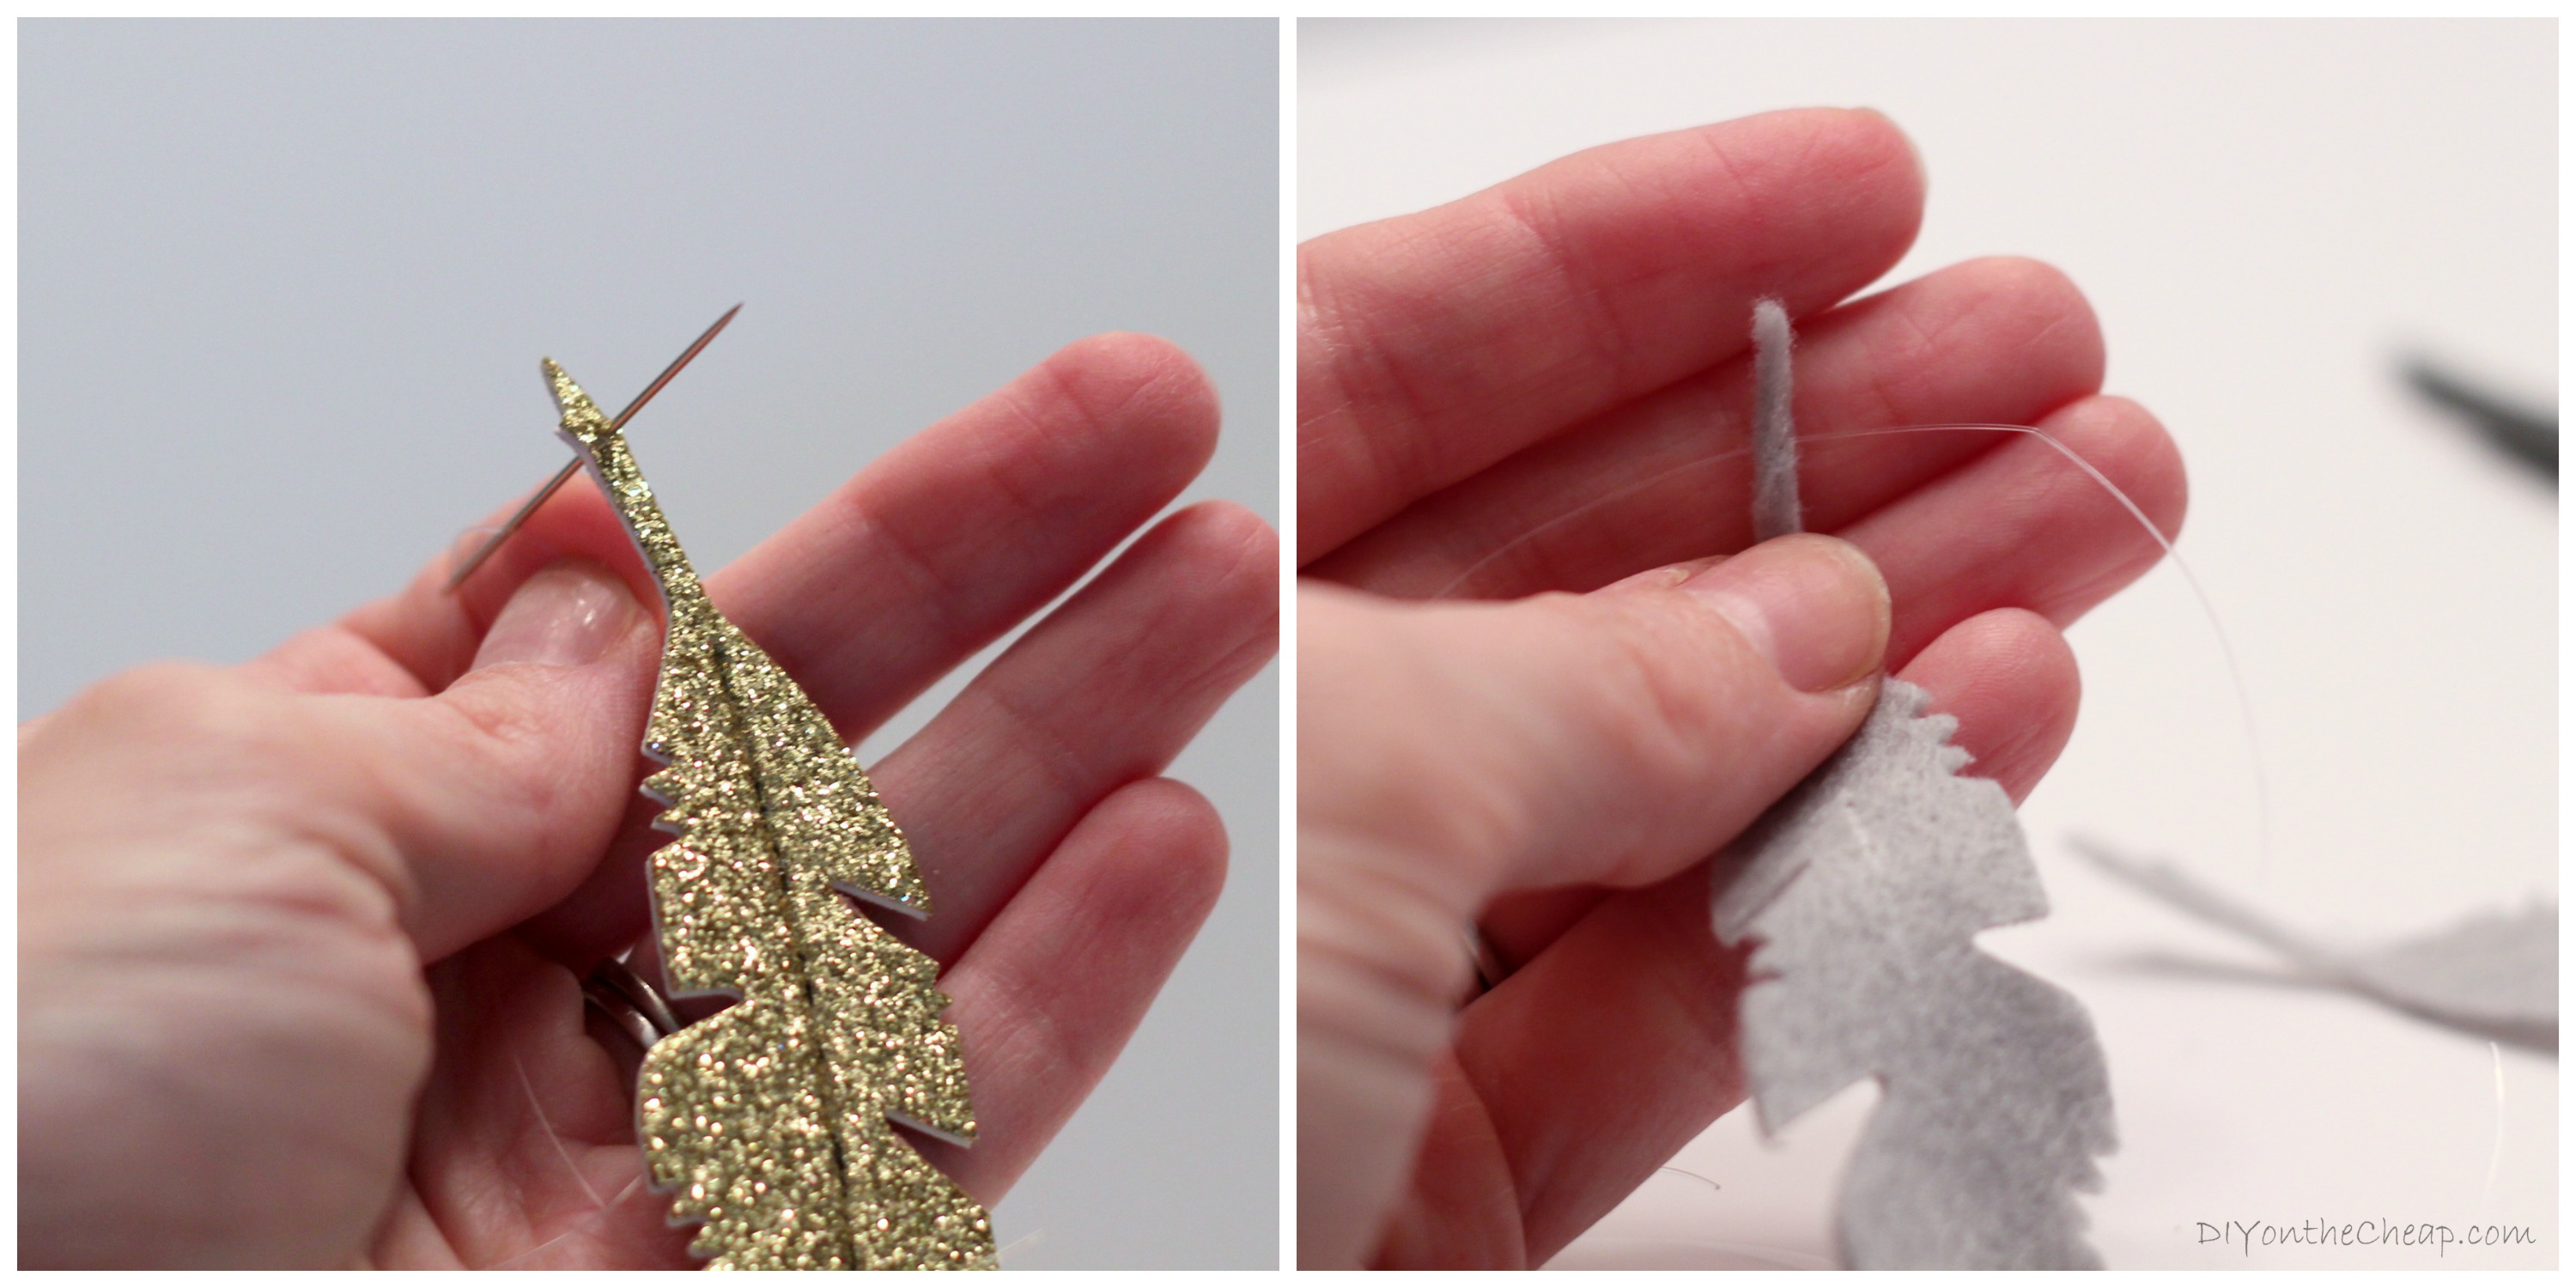
After I had cut out lots of feathers, I threaded my needle with monofilament and stuck it through the stem part of each feather, tying it off in a knot and then cutting off the excess.
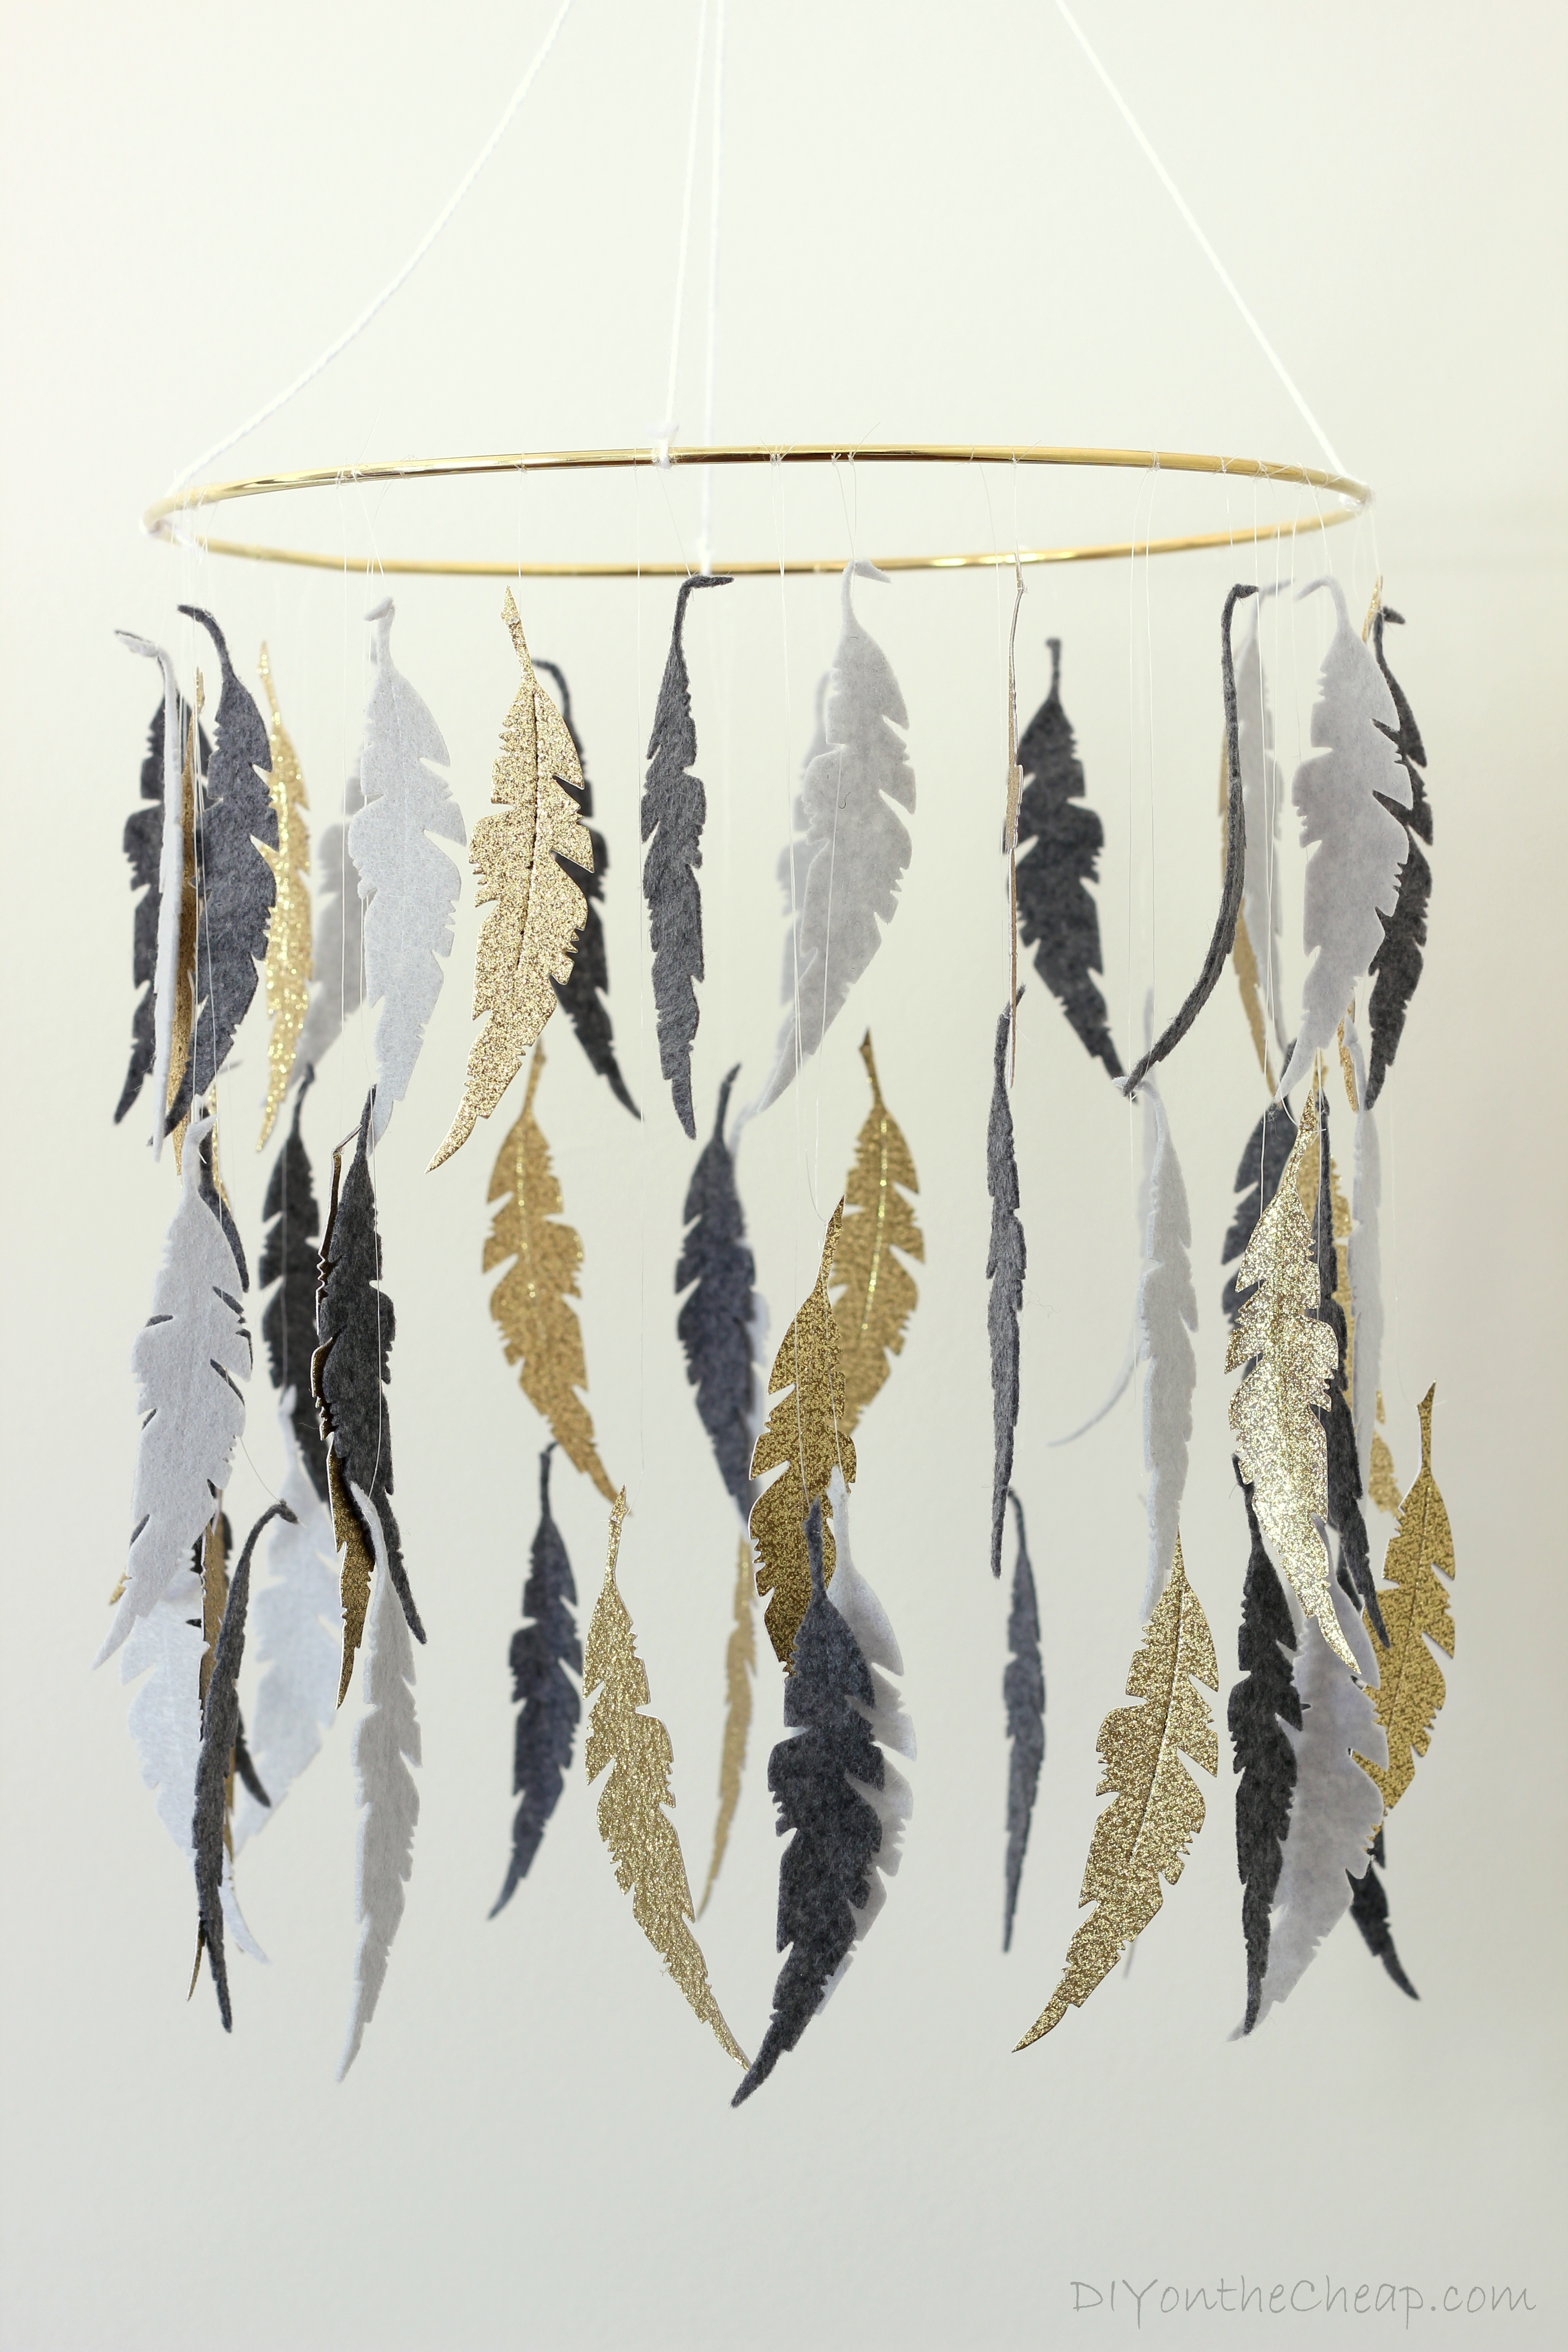
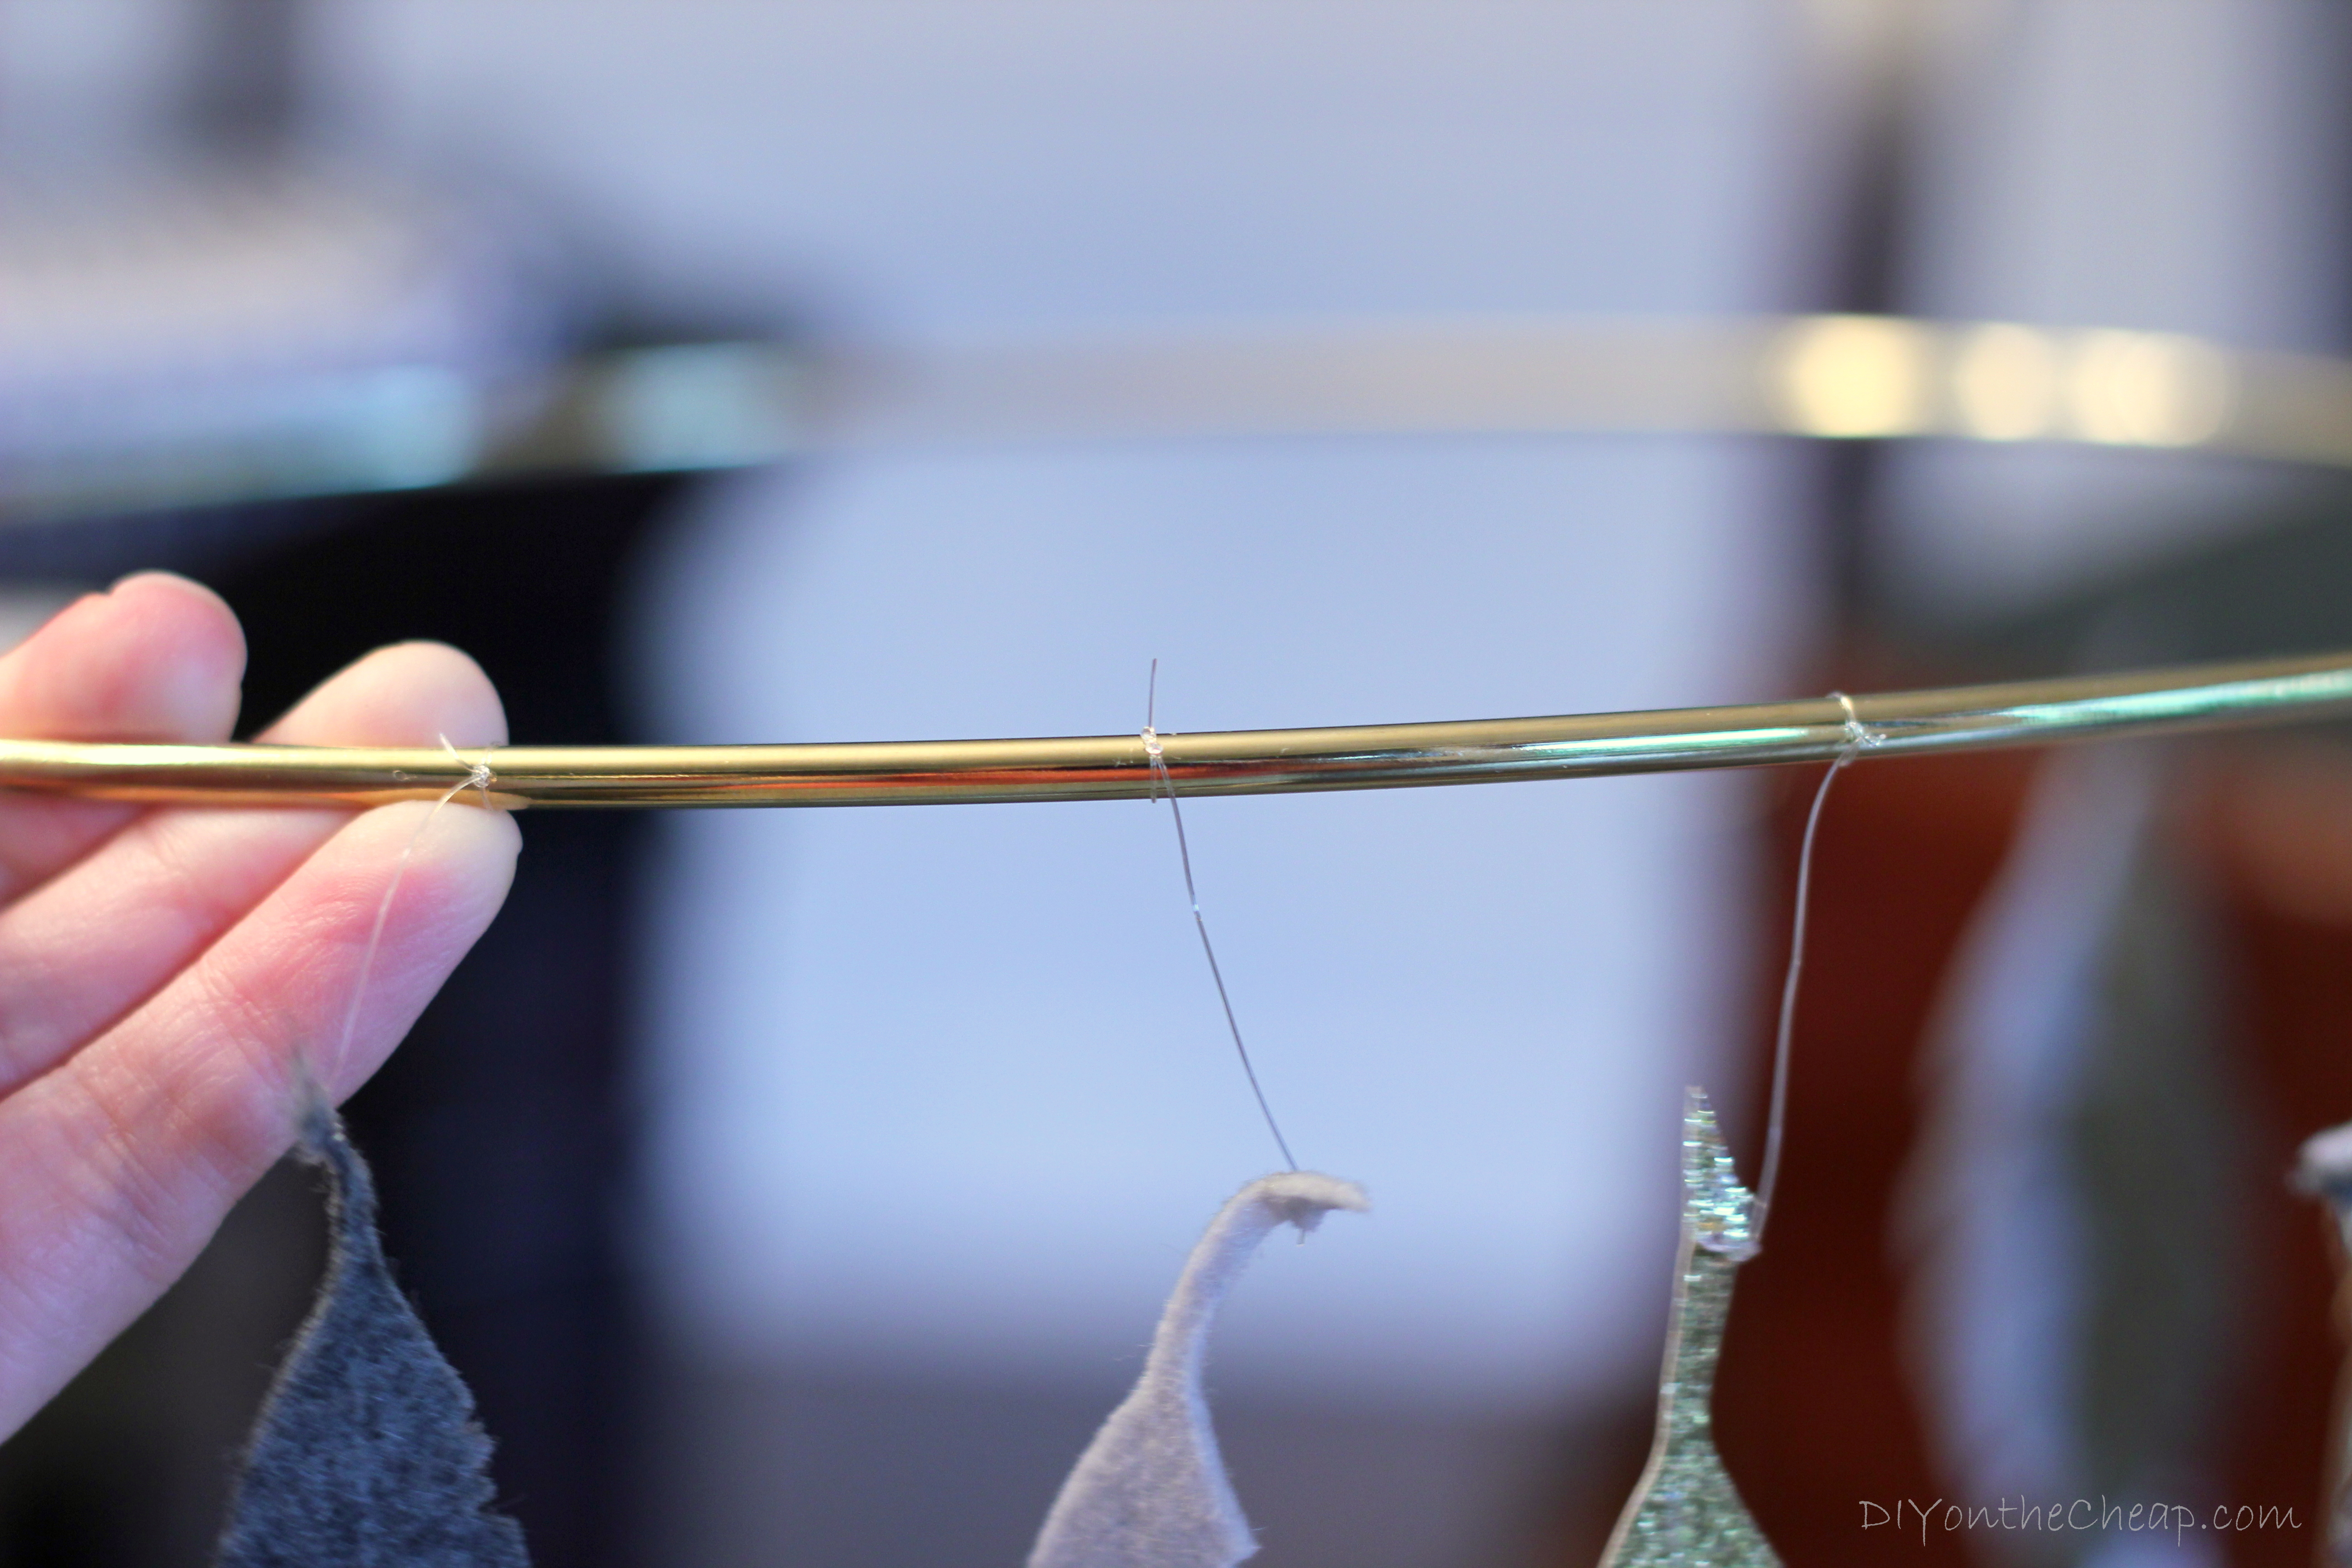
I tied each feather onto the crafting hoop, leaving about an inch between the feather and the hoop. I did this all the way around the hoop until I was satisfied with the number of feathers.
Then, I moved on to my second tier, following the same process but making these feathers dangle a little lower and alternating colors.
I used the same process with the third and final tier — these are the longest strands of feathers. I made sure to alternate colors all the way around.
Bonus: Tie some thread or yarn in a criss-cross pattern across the hoop, flip it sideways and it turns into a dream catcher when the baby gets older.
I can’t wait to hang this mobile in our nursery! If you missed it before, you can check out my mood board and plans for the room here. We are in the process of clearing out the room and then I will start working on it within the next couple of weeks. Of course I’ll be updating you along the way!
Disclosure: I received these Sizzix products for free to review. All opinions are my own. This post contains affiliate links.
YOU MIGHT ALSO ENJOY THESE POSTS:
- Gender Neutral Nursery Reveal
- DIY Nursery String Art
- DIY Kid’s Art Table
- Interactive Chalkboard Gallery Wall
Connect with me here:
![]()
![]()
![]()
![]()
![]()
![]()
