Disclosure: This post is in partnership with HomeRight as part of their blog ambassador program.

HomeRight recently asked me and a few other blog ambassadors to participate in a fun design challenge where we would put our own personal spin on an IKEA Billy Bookcase.
You’ve probably seen these IKEA “hacks” on Pinterest and throughout the blogosphere, but this is my very first one! I was really excited to participate, and you can check out all of the different bookcases here. You all will be able to head to the HomeRight site from July 1-12 and vote for your favorite makeover! (Hint, hint.)

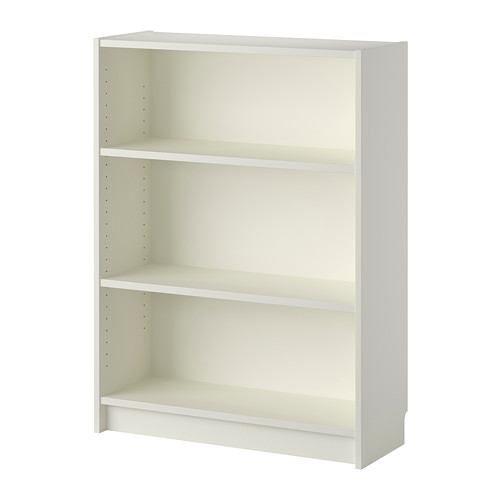
I started out with the IKEA Billy which is a very plain, basic bookcase. I received the white one in the mail.
Here’s what I used for this project:
Disclosure: Affiliate links included. As an Amazon Associate I earn from qualifying purchases.
- HomeRight Finish Max Paint Sprayer
- IKEA Billy Bookcase
- 1×12 wood board
- 1×4 wood board
- Cove Moulding
- Brad Nailer
- 1 1/2″ Brad Nails
- Wood Glue
- Benjamin Moore Advance High Gloss paint with primer in Seaweed (1 quart)
- Anthropologie Woods wallpaper (I had some left over from this makeover.)
- Hot Glue Gun
- Paintable Caulk
- Caulking Gun
- Wood Filler
- Compound Miter Saw (or handsaw and miter box)
The first thing I did was create a “top” by cutting the 1×12 board to 33″ long and attaching it with wood glue and a brad nailer. There was a teeny tiny gap between the wood at the top which I fixed with paintable caulk. I installed the shelves and then filled all of the remaining visible holes with wood filler.
For the bottom, I cut the 1×4 into 3 pieces: (1) at 33″ long (at longest points) with a 45 degree bevel at each end; and (2) at 12″ long at longest points with a 45 degree bevel at one end of each piece. I cut the cove moulding to the same lengths but with mitered ends instead of beveled. I attached the 1×4 pieces onto the front and sides of the bottom of the bookcase and rested the cove moulding on top of it, then attached it all with wood glue and a brad nailer.

I caulked all seams with paintable caulk, then I lightly sanded the whole bookcase.
I used the HomeRight Finish Max to apply my “Seaweed” high gloss latex paint. This is the perfect shade of emerald green, and two coats provided good coverage. I was told that this particular formula of paint dries hard like an oil paint even though it’s latex, so I didn’t apply a topcoat. I love the smooth finish the Finish Max allowed me to achieve, which is so important with a high gloss finish since flaws and brush strokes show more easily.
Then I dotted some hot glue along the back edge of the wallpaper and adhered it to the bookcase backing, and attached the backing to the bookshelf. After having a little fun styling the shelves, the bookshelf makeover was complete!
Disclosure: This post contains affiliate links.
YOU MIGHT ALSO ENJOY THESE POSTS:
- 9 IKEA Bookcase Hacks
- IKEA TARVA Hack Tutorial
- Entryway Bench Plans and Tutorial
- DIY Lego Table IKEA Hack
- IKEA Curtain Hacks
- How to Paint Furniture: A Beginner’s Guide
Connect with me here:
